


Blockers to Launch
These tasks need to be complete on every page before the site goes live so nothing leads to a broken site experience. Reminder: Please do not alter any page’s Permalink or URL at this stage. If you believe your page is in the wrong location, submit a help ticket.
In This Section
Check for broken links — Starting Sept 4
Right now, many of the hyperlinks that are pointing to other pages on the new OFM site are resulting in a Page Not Found screen. Fear not!
Between August 29 – September 3, we will be programmatically updating all links on the WordPress site to their correct URLs.
Starting September 4th, broken links should be few and far between as you review your pages.
About one week prior to launch, Bilberrry will run a broken links report so any remaining errors can be resolved before we go live.
Note: This previously said starting September 2, but we hit a small snag over the holiday weekend! Appreciate your patience.
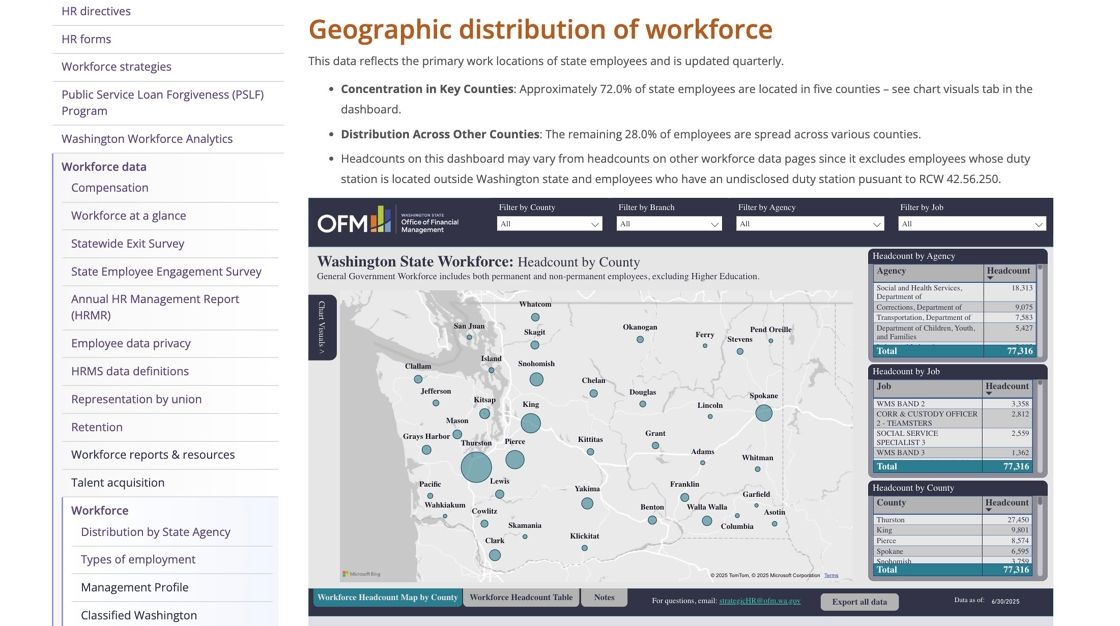
Re-insert iFrames (e.g. PowerBI Dashboards)
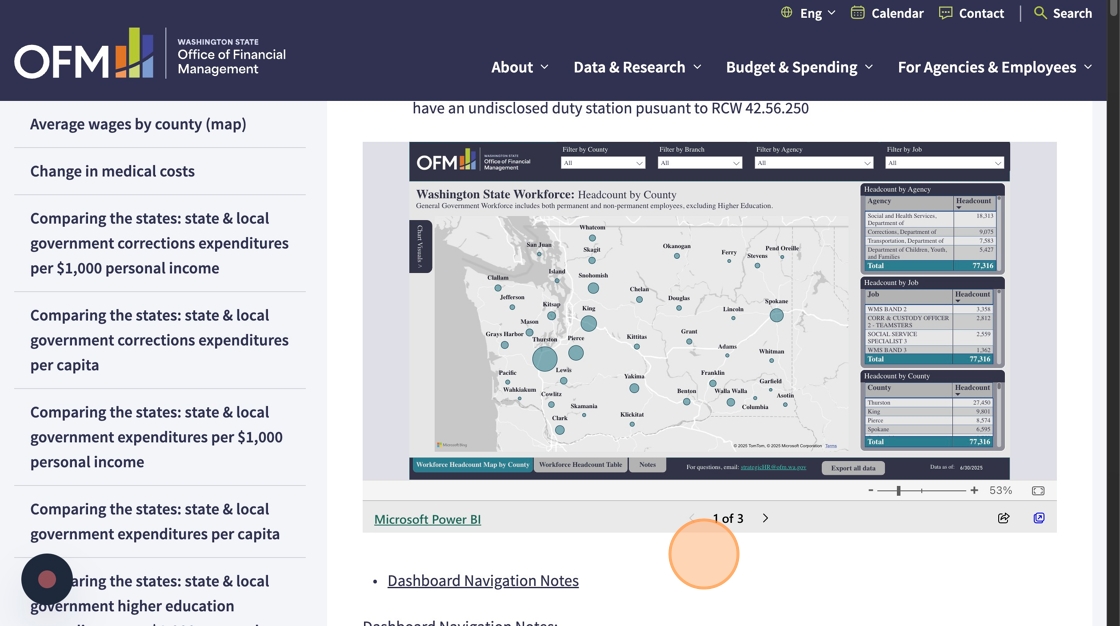
When we moved the site, iFrames such as PowerBI Dashboards did not come through, so we need to re-insert them. Here’s what an iFrame looks like on the existing OFM site.
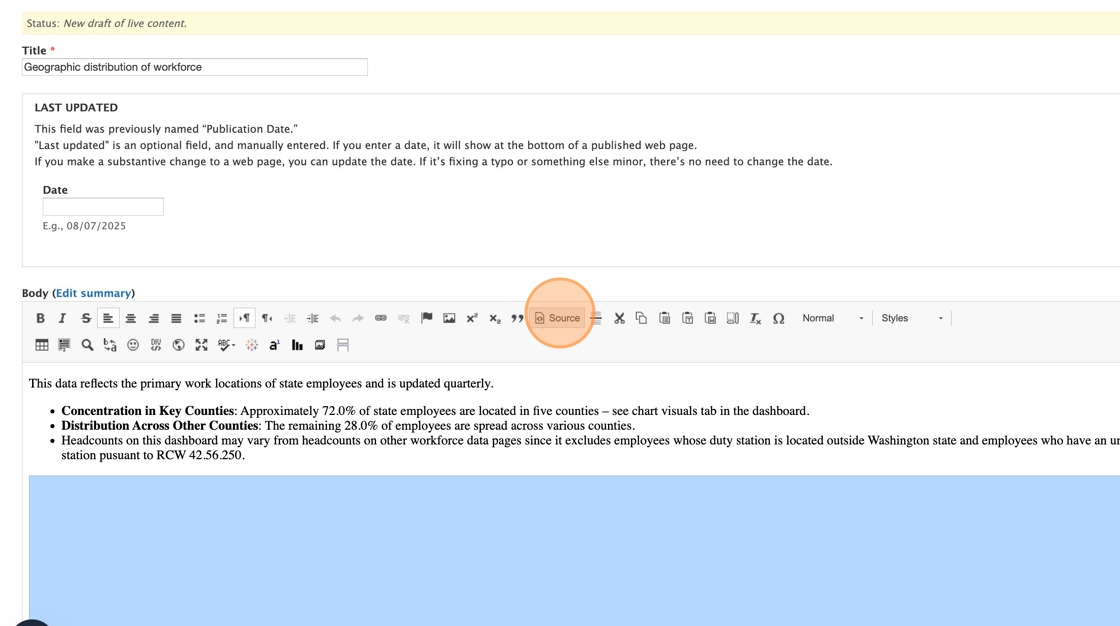
To re-insert the iFrame on the WordPress site, you’ll need to grab the link. You can do this from the page editor on the existing OFM site.
- Click “Source”
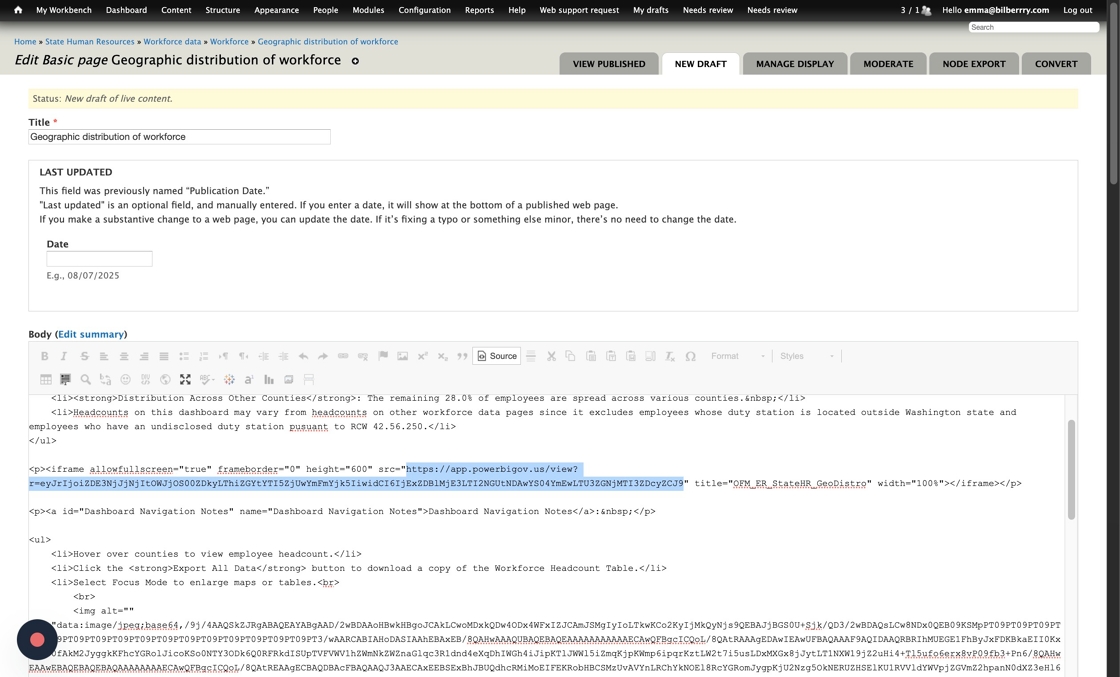
2. Find the iFrame embed, then select and copy the src= URL.
3. Now that you have the URL copied, go to the page editor in WordPress.
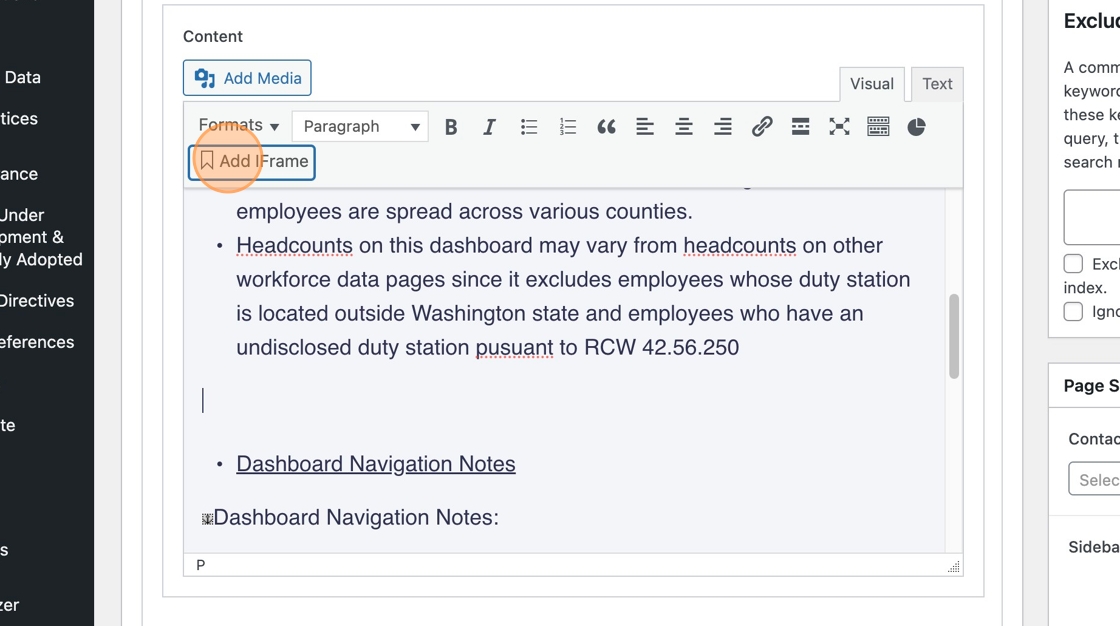
In the Text Box, locate the place you’d like to insert the iFrame.
4. Click “Add IFrame”
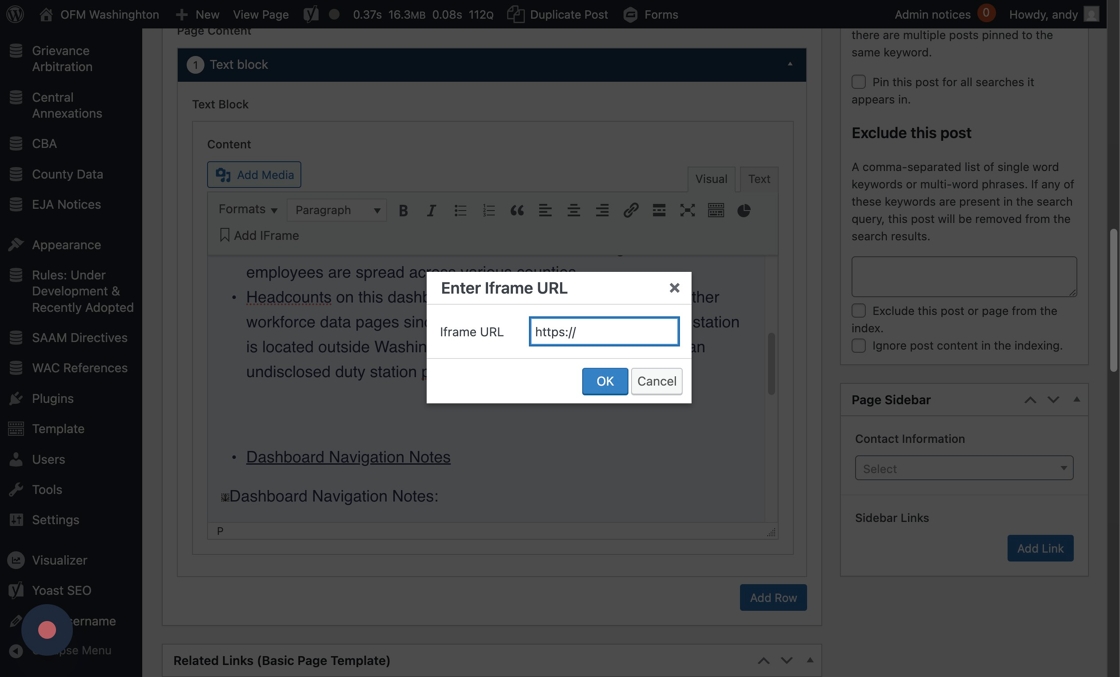
5. Paste in your URL
Pro tip: You may want to select all and delete the helper html first, if the link you’re bringing over already has the https:// included.
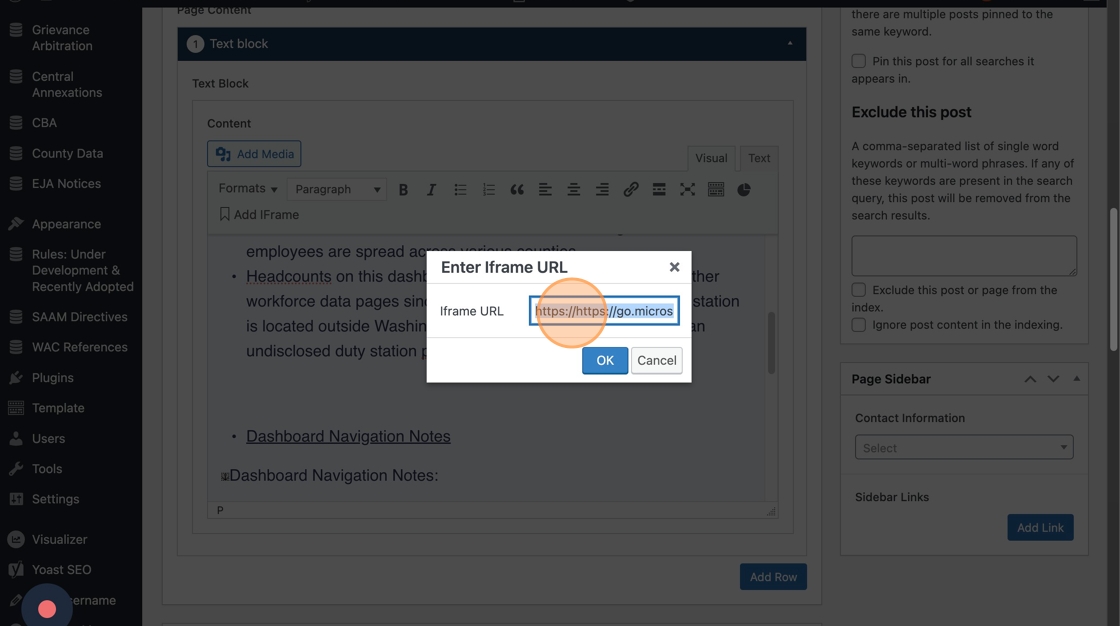
6. So, now you’ll have pasted in the URL for the iFrame. Check the beginning of the “Iframe URL” field — to make sure it doesn’t have an extra https://
Click “OK”
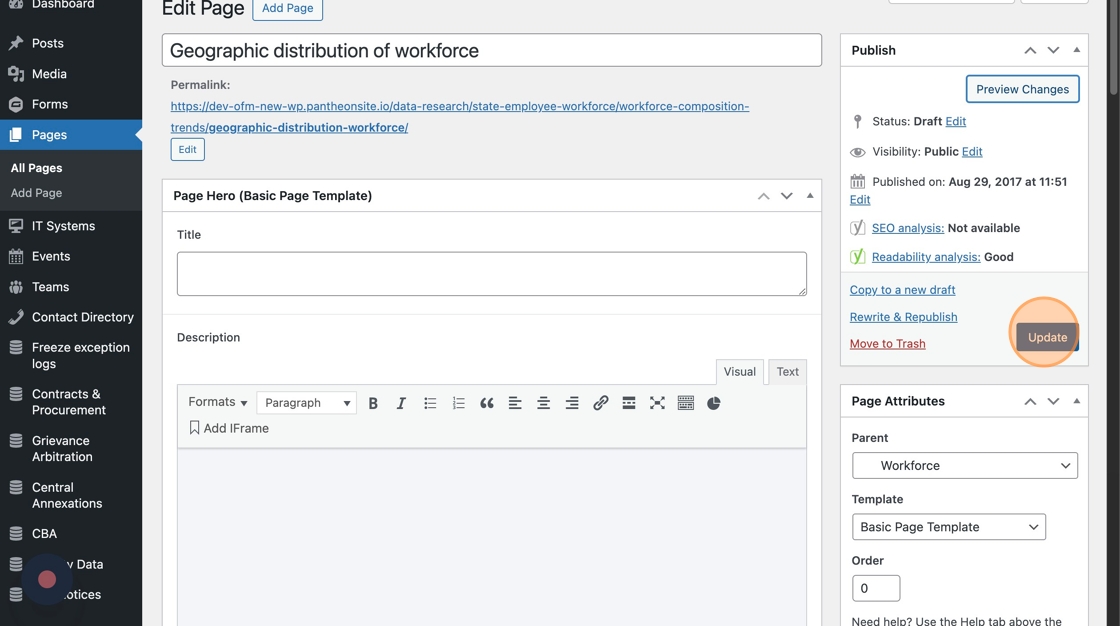
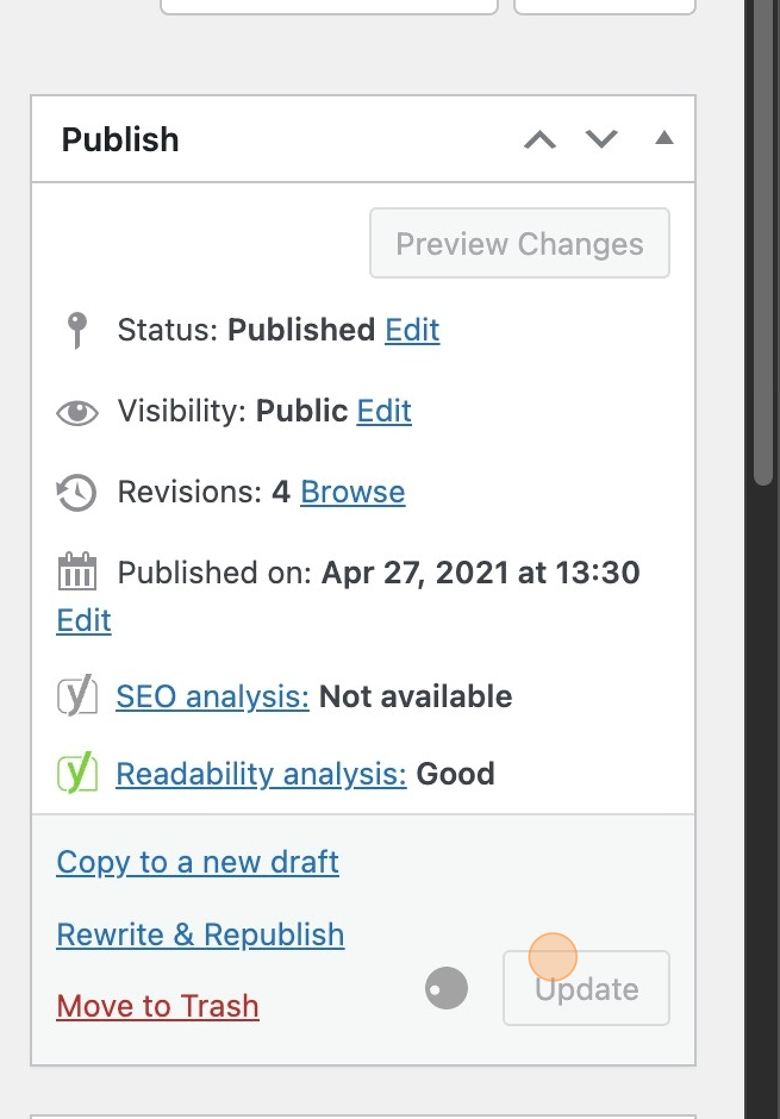
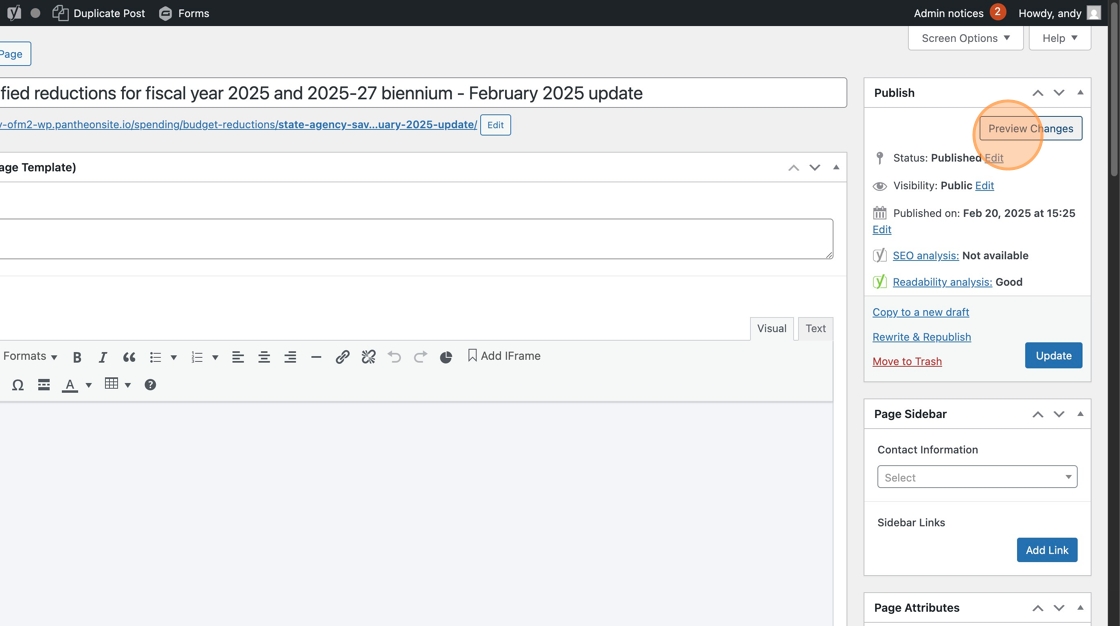
7. Click “Preview Changes” to confirm that it is properly placed.
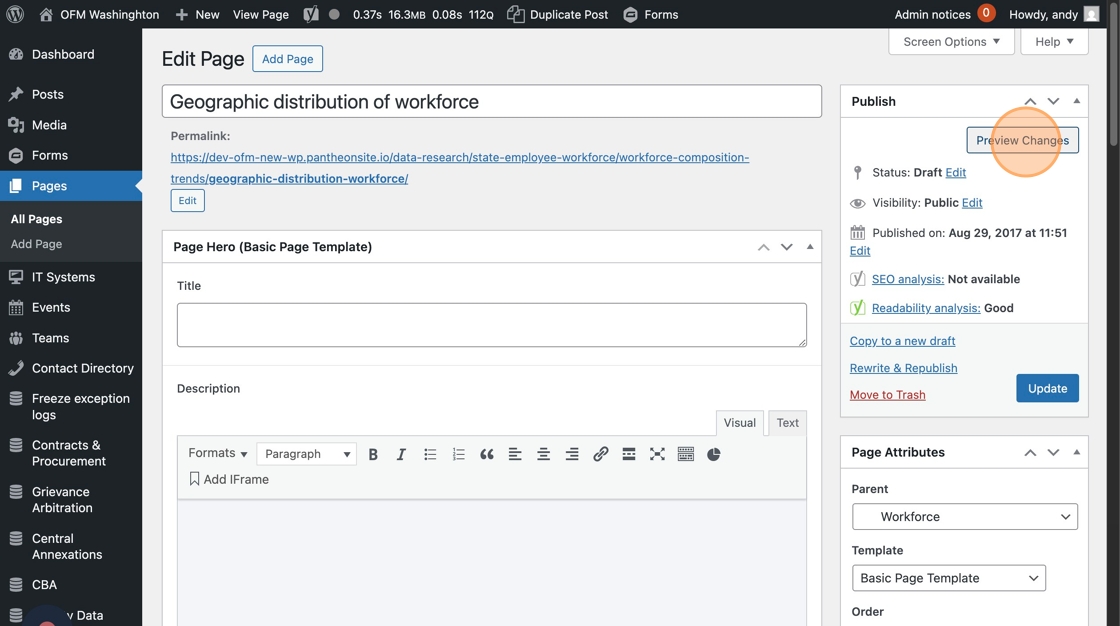
8. When it looks good, click “Update” to save.
Add a Tableau embed
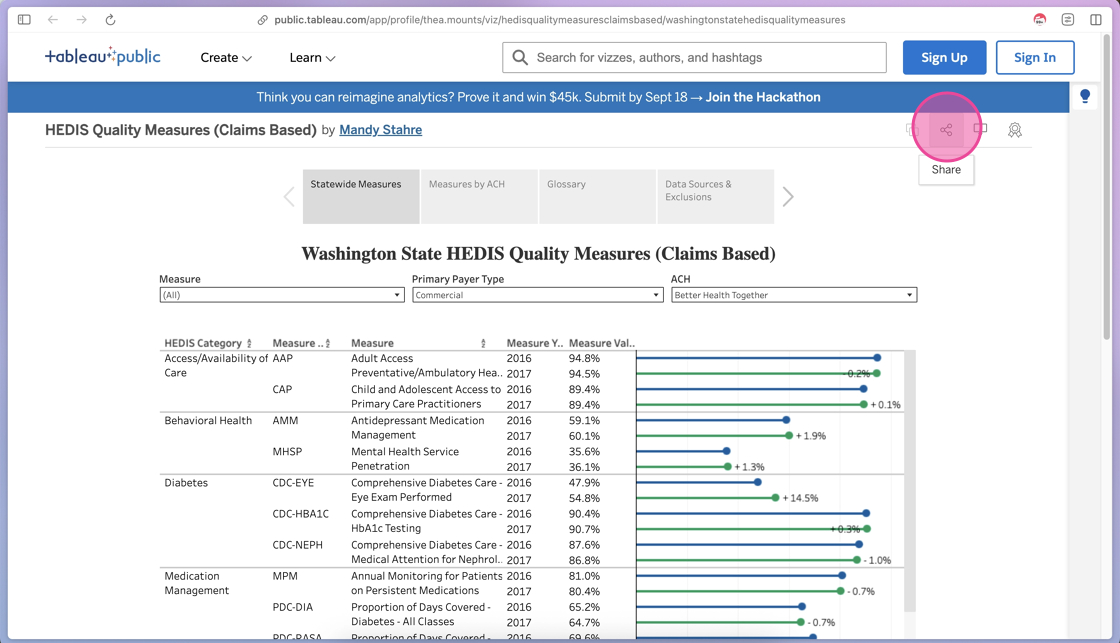
1. In the Tableau dashboard, navigate to the visual you’re adding to the website.
Click the Share icon to open the Share options for the Tableau visual
2. To copy the embed code, click the </> Copy Embed Code button to copy the embed code.
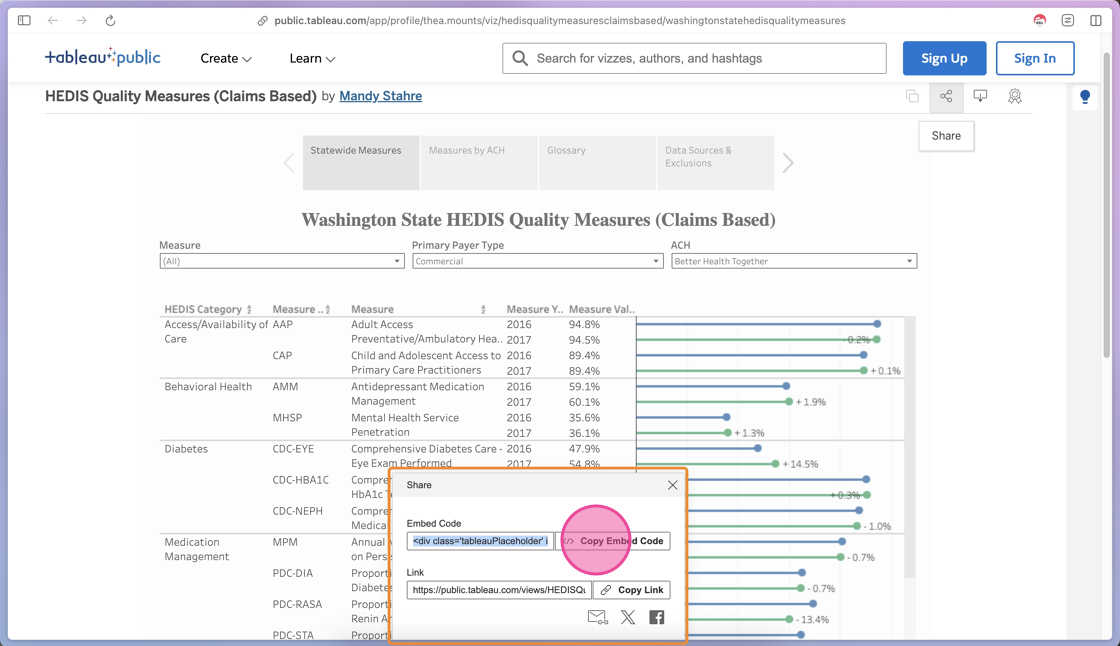
3. You’ll see a green success notification when the embed code has been copied.
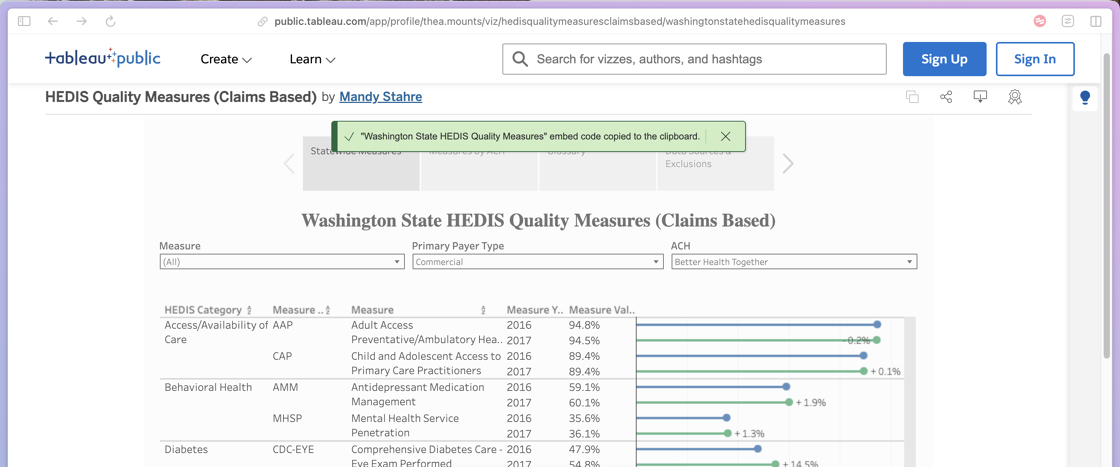
Tip: At this point, you’ll access the WordPress admin panel to add this copied code to your page.
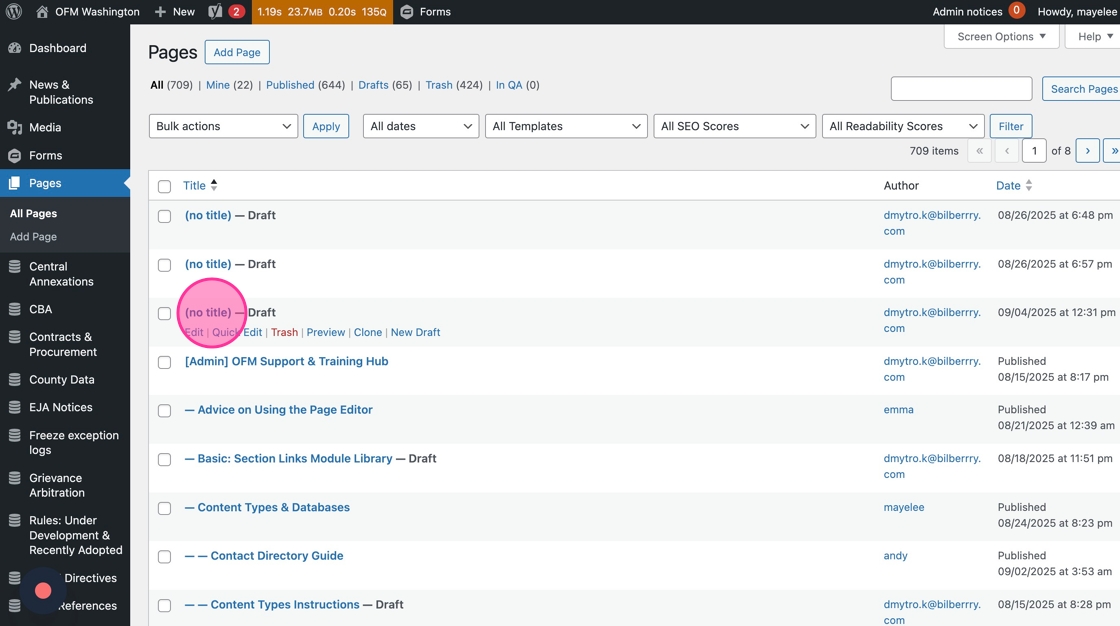
4. Navigate to the page you are adding the Tableau embed
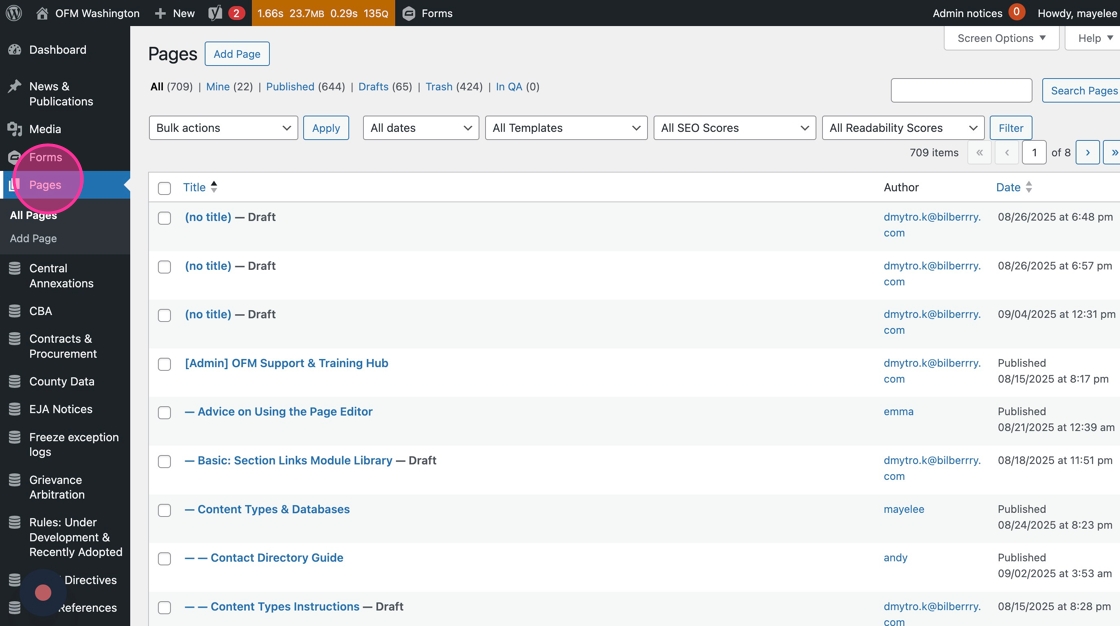
5. Click into the page to edit
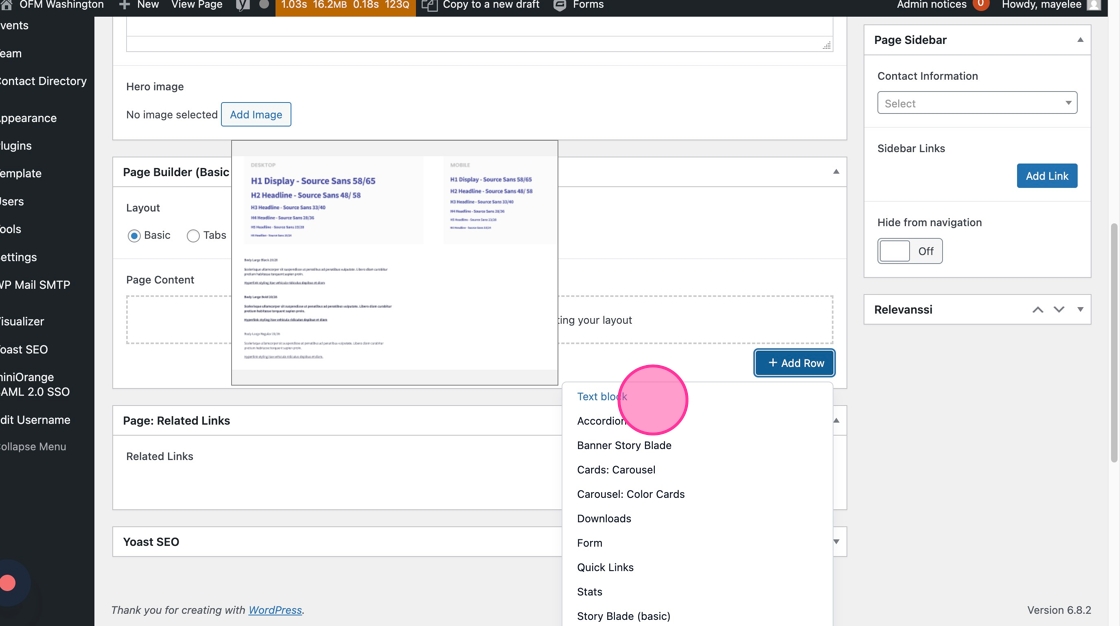
6. Click Add Row to select add the Text Block module to the page.
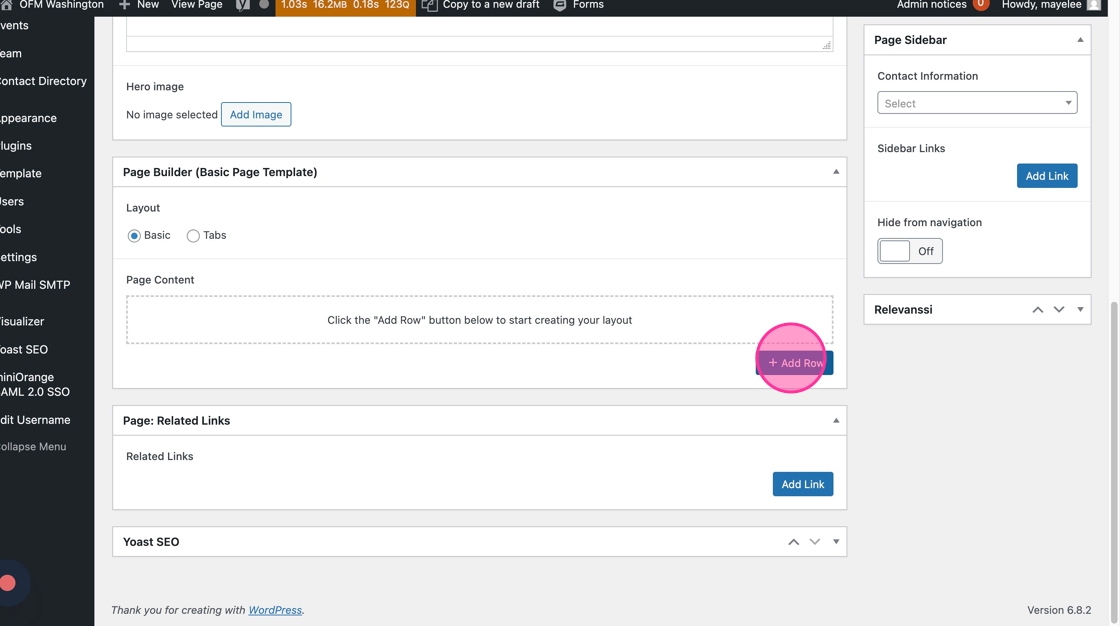
7. Select the Text Block to add that to the page
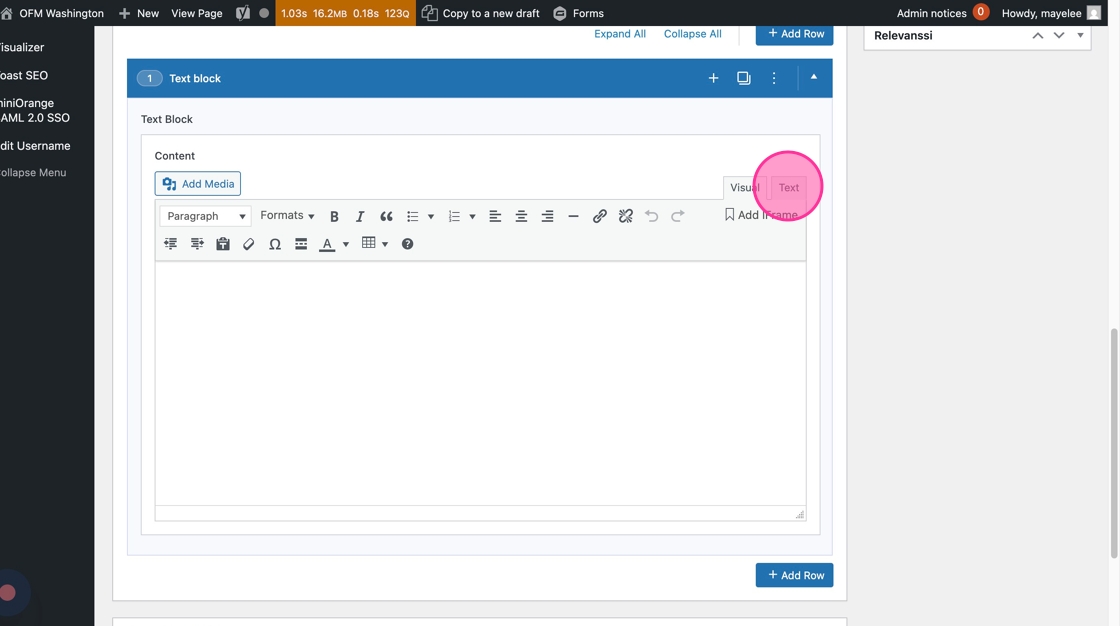
8. Click into the Text option to change the editor view
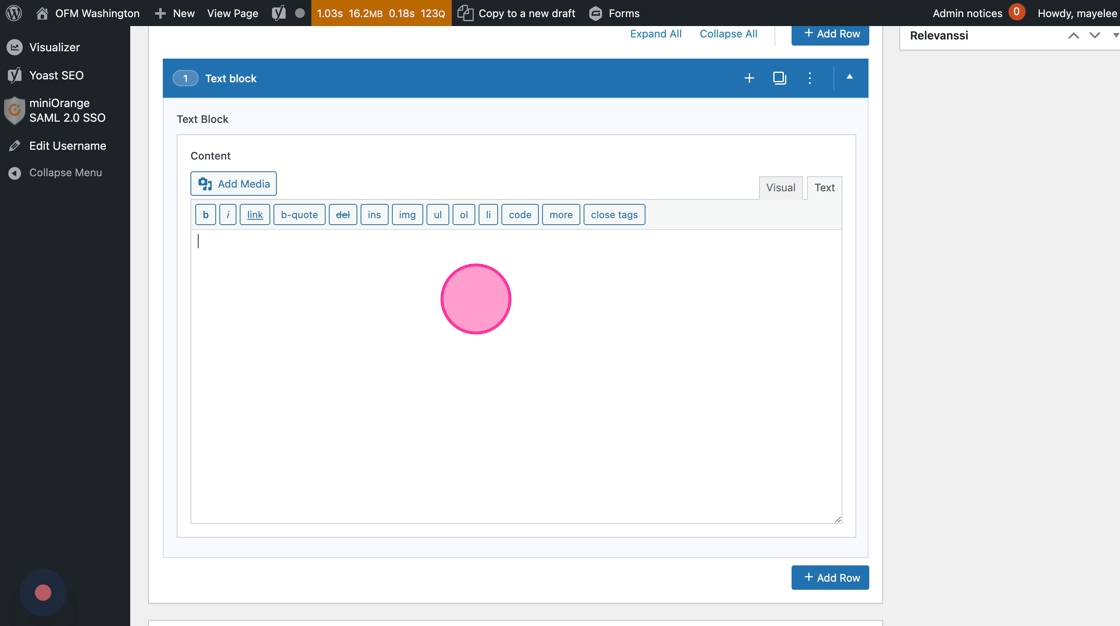
9. Click into the blank field and paste the embed code you copied from the Tableau visual
10. Once the embed code has been pasted into the Text Editor, it will show the script embed
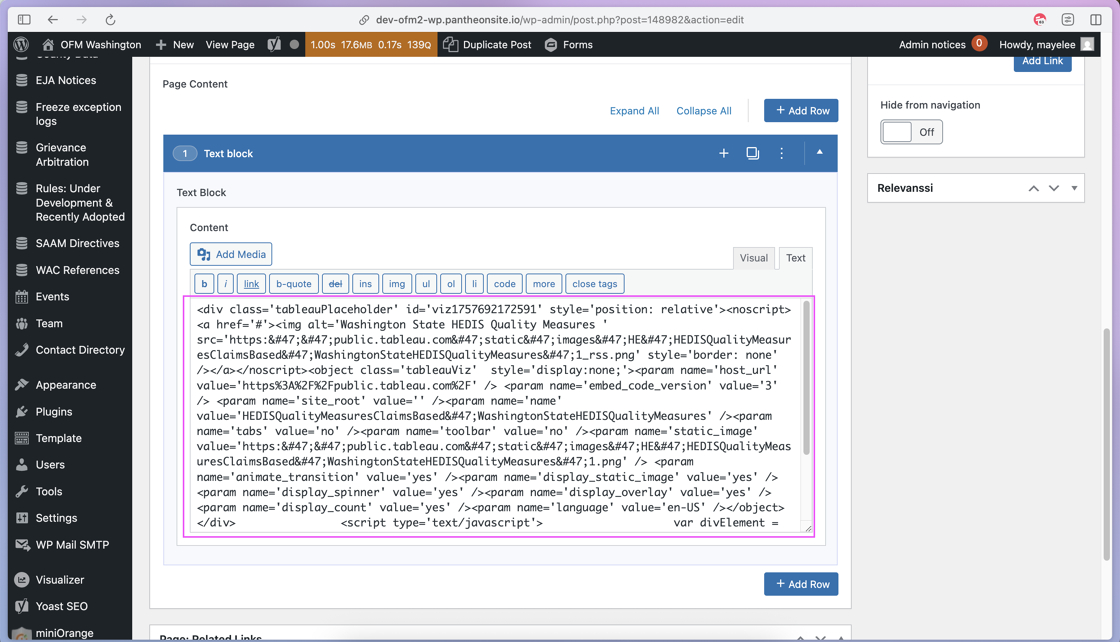
11. Click Update or Publish to save the Tableau embed
Convert ABC anchor links to the Glossary Template
A handful of web editors created their own mini-glossary pages on the existing OFM site. If you’d like to maintain that experience on the new WordPress site, you’ll need to convert your page from a Basic Page template into a Glossary Page. Here’s how.
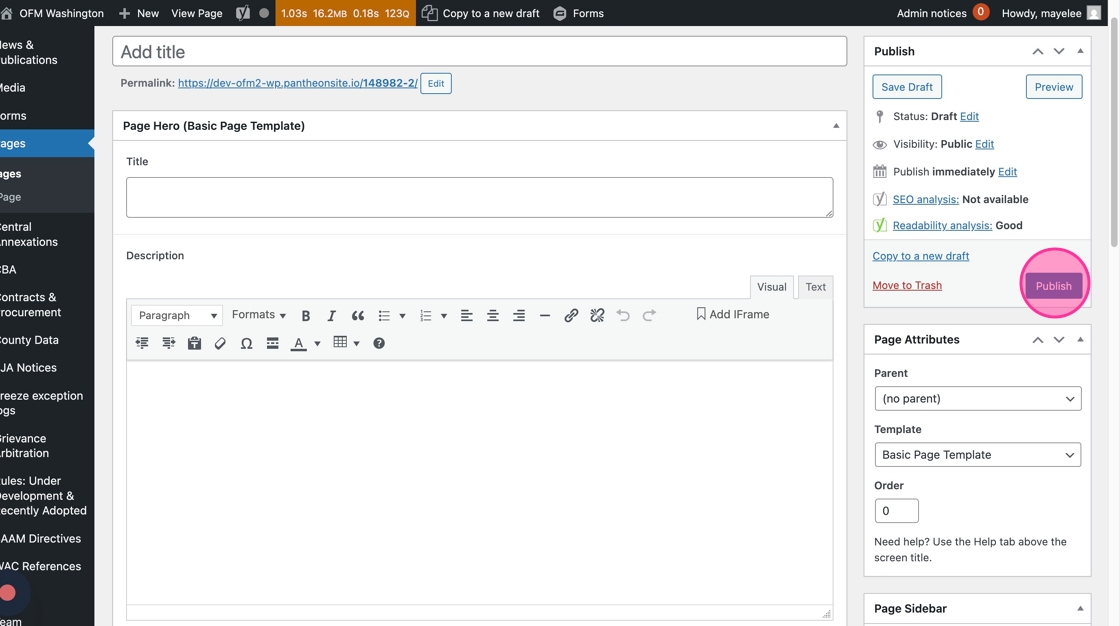
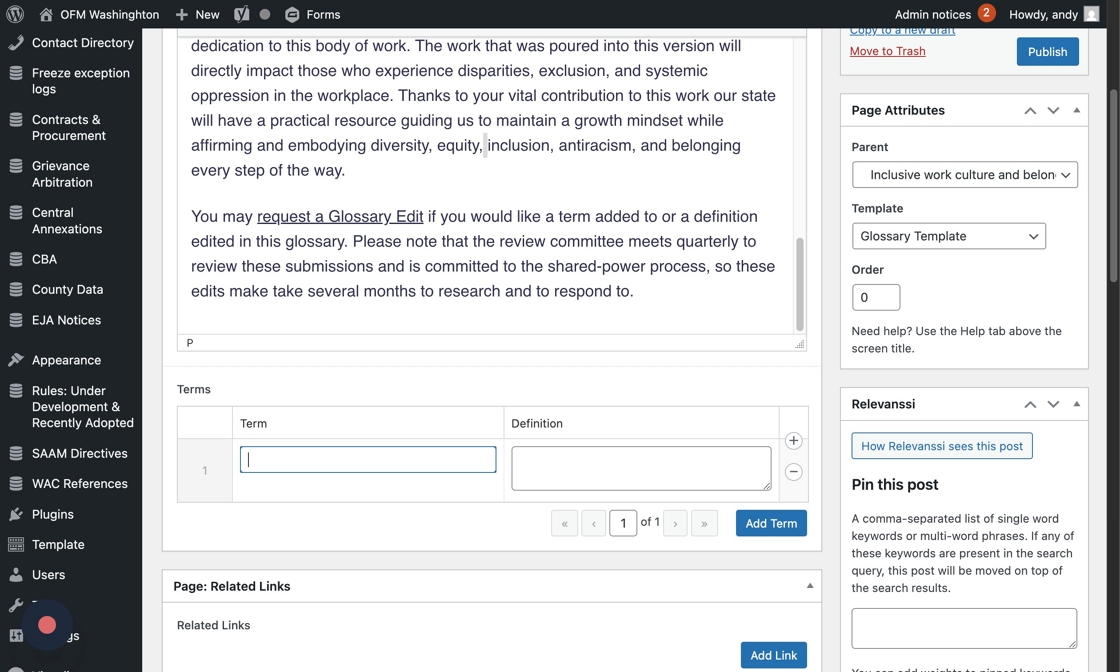
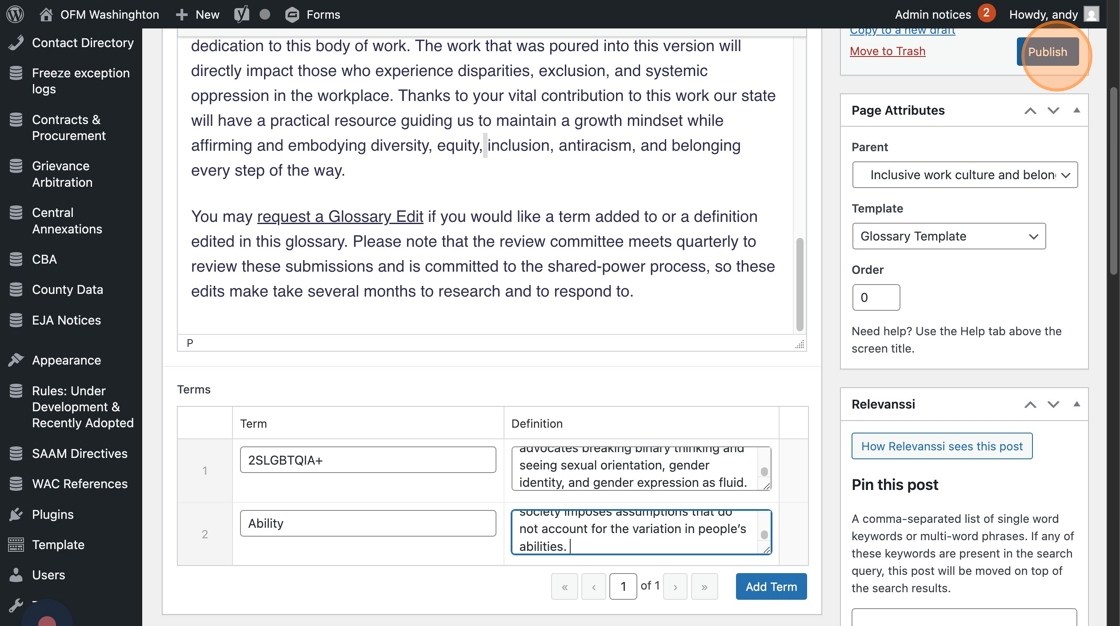
1. Go to the page you’re updating in WordPress. To use the glossary, you’ll need to select “Glossary Template” in the Page Attributes dropdown.
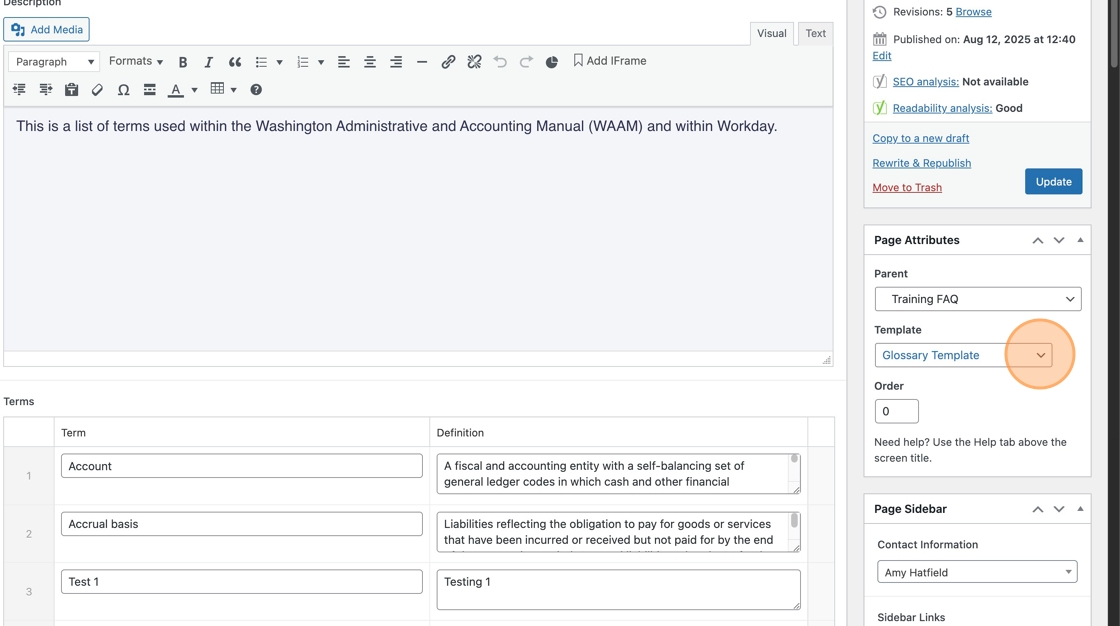
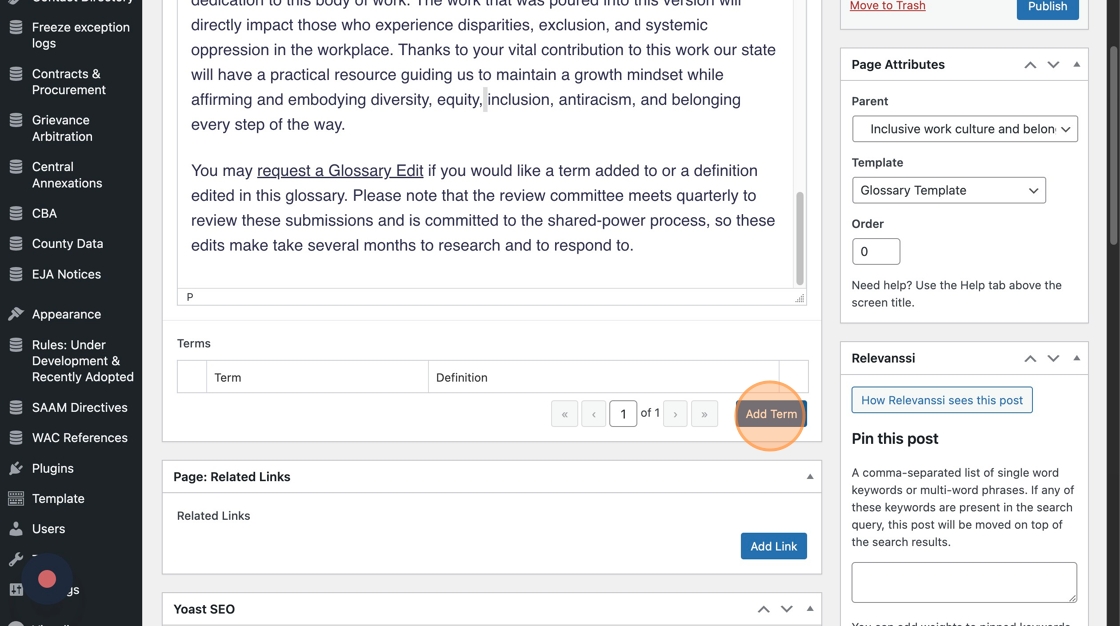
2. You’ll see a new section called “Terms” — this is where you’ll add your Term and Definition, one at a time.
Click “Add Term”
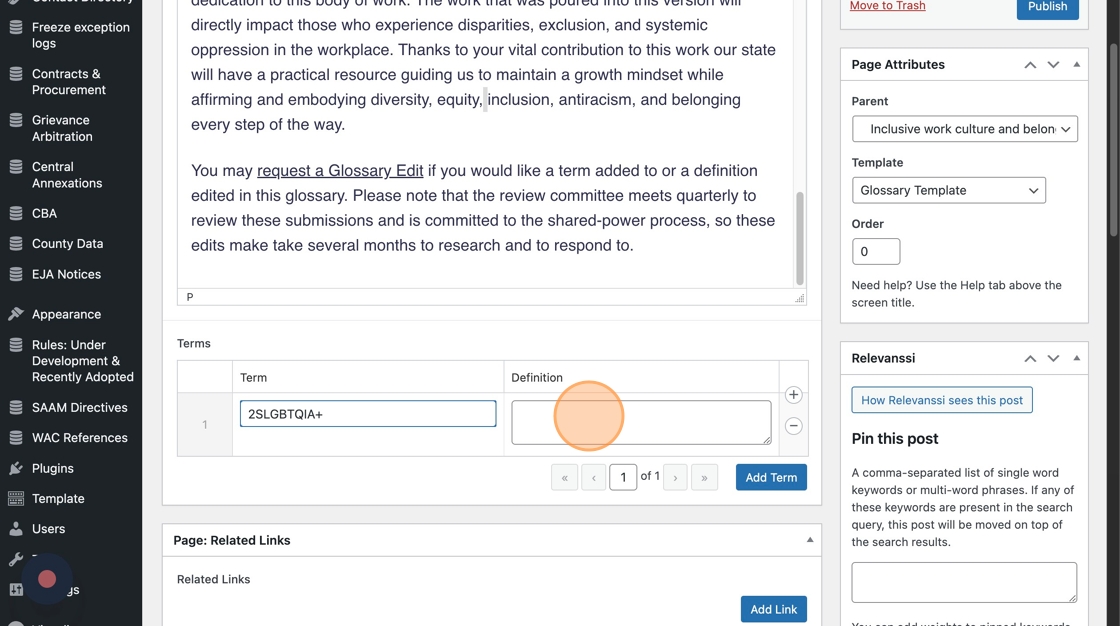
3. Copy the Term you’re adding from the source material.
And paste it in the Term field.
4. Do the same for the Definition, copying it from the source material…
And pasting it in the Definition field.
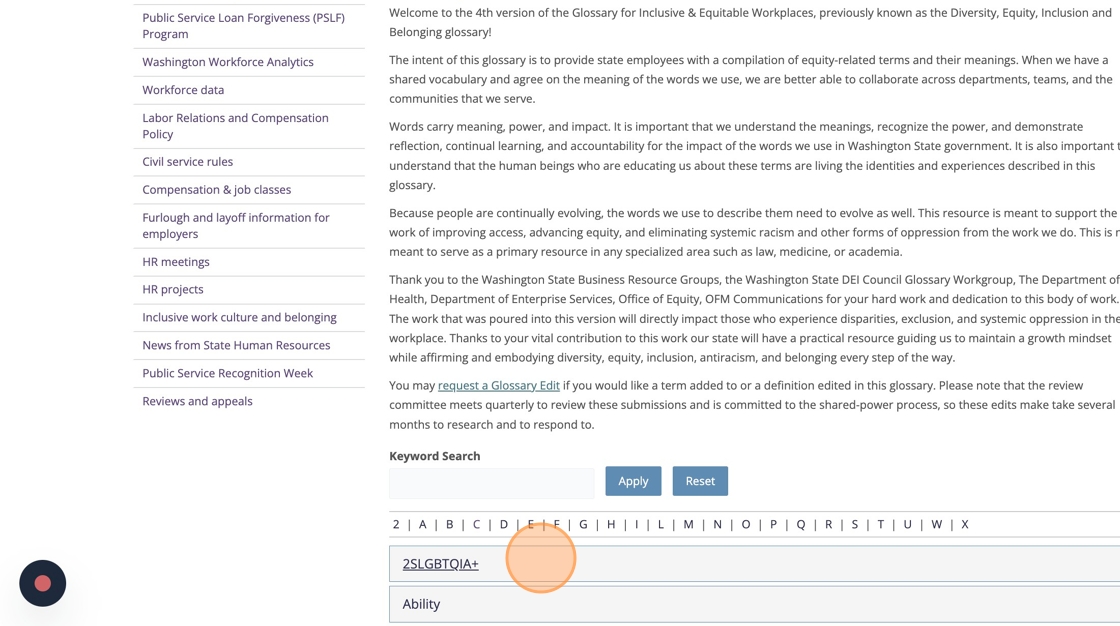
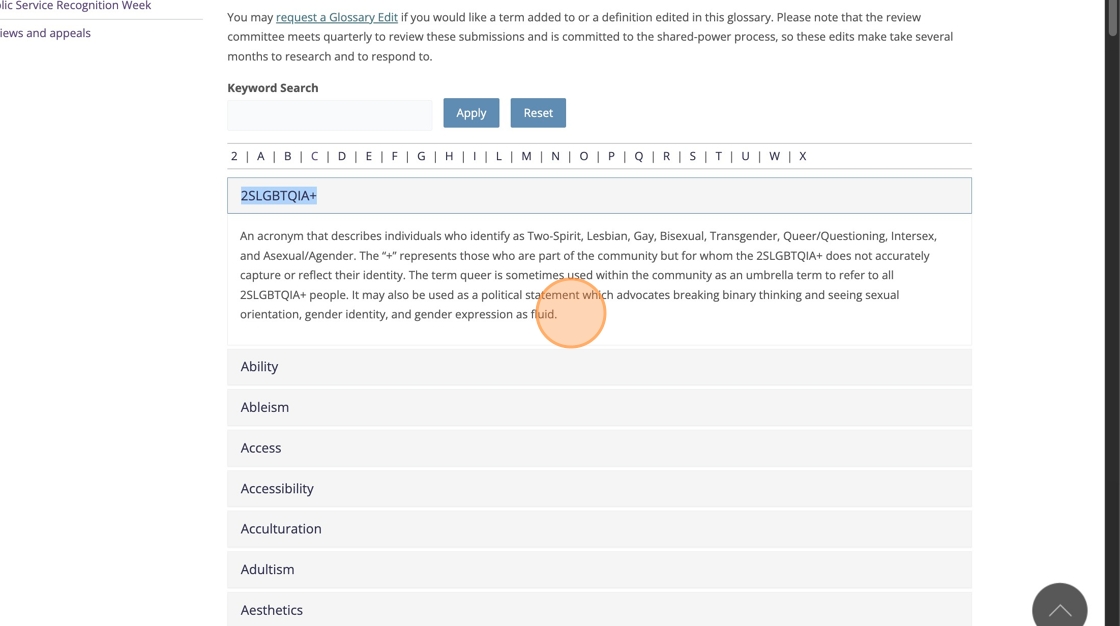
5. Click “Add Term” to add another. Rinse, repeat. The template will automatically alphabetize the terms, sort them by letter, and add the letter links.
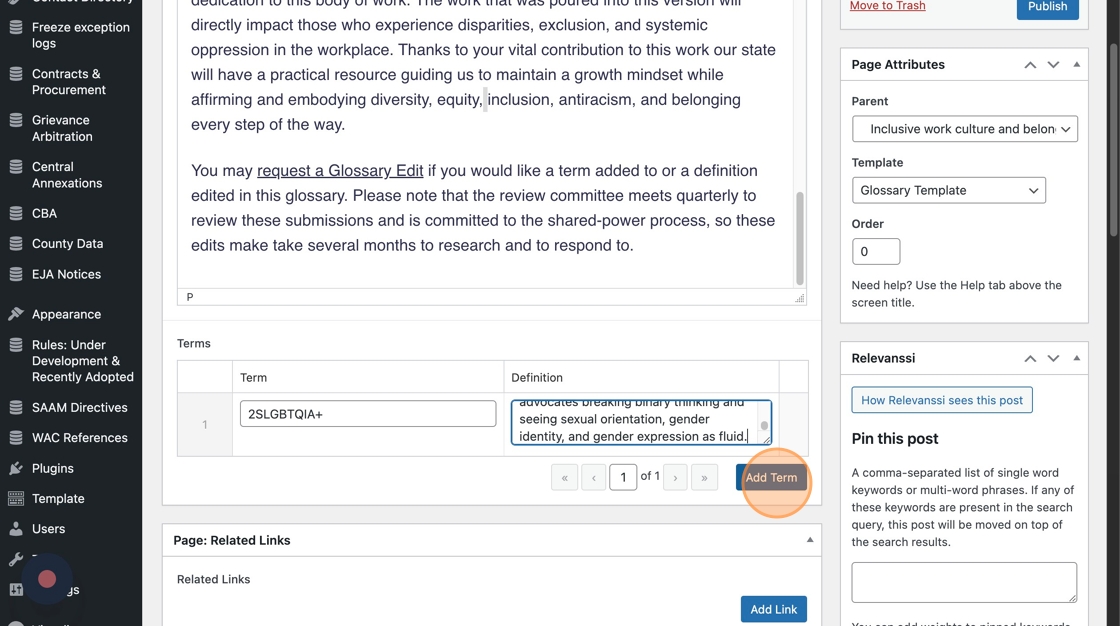
6. You can save your work by clicking “Save Draft,” “Publish” or “Update.”
Replace old short code blocks with new content and/or content modules
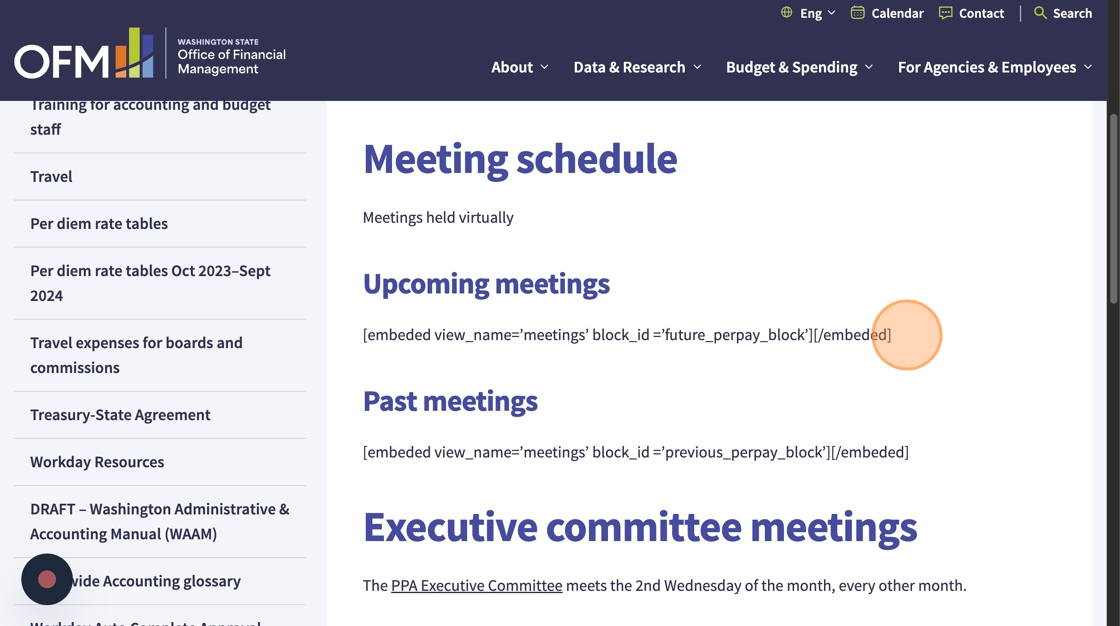
Some of the short codes that are used on the existing OFM site will need to replaced with either plain content in the text editor or with a new WordPress component. Here’s an example of a short code that needs to be replaced:
Here’s how you’ll update these.
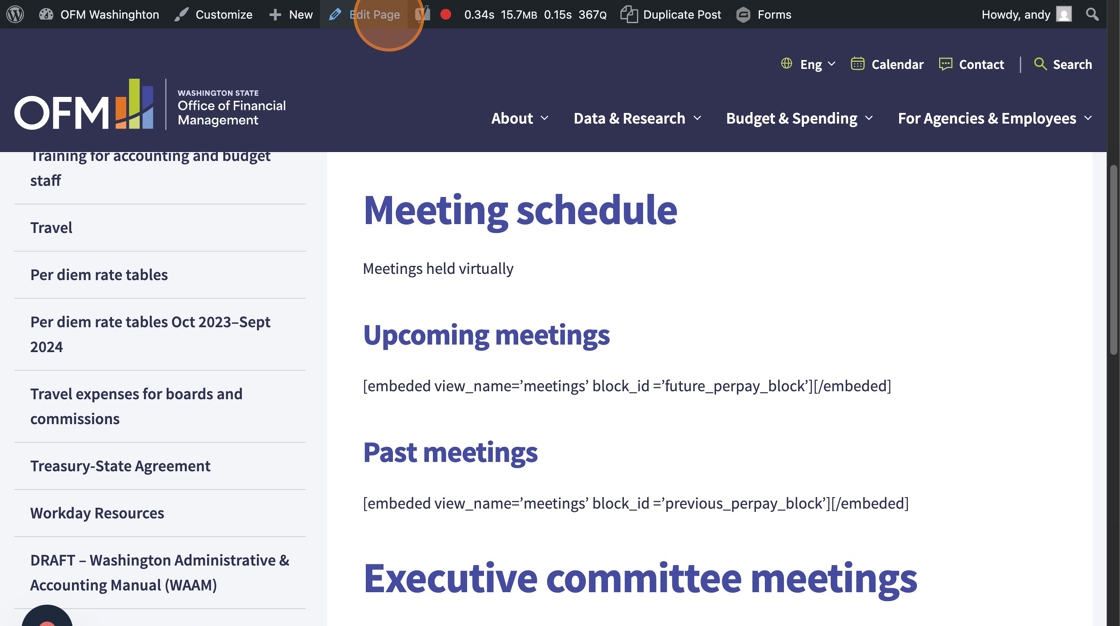
1. Click “Edit Page”
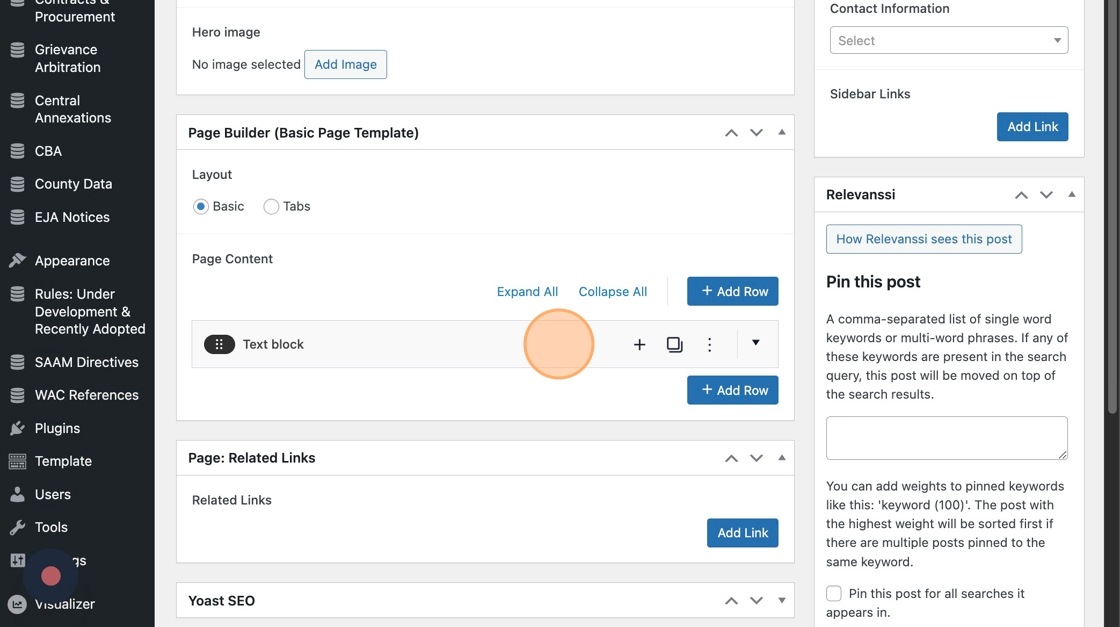
2. Click on “Text block” to open the text editor.
If you are replacing the content with new plain text, you can simply delete it and type in what you’re using instead.
Note: you can use plain text to update the short code.
- Replace the short code with a hyperlink
- Click the hyperlink and select “Button” in the Formats dropdown in your text editor tool bar:
hyperlink
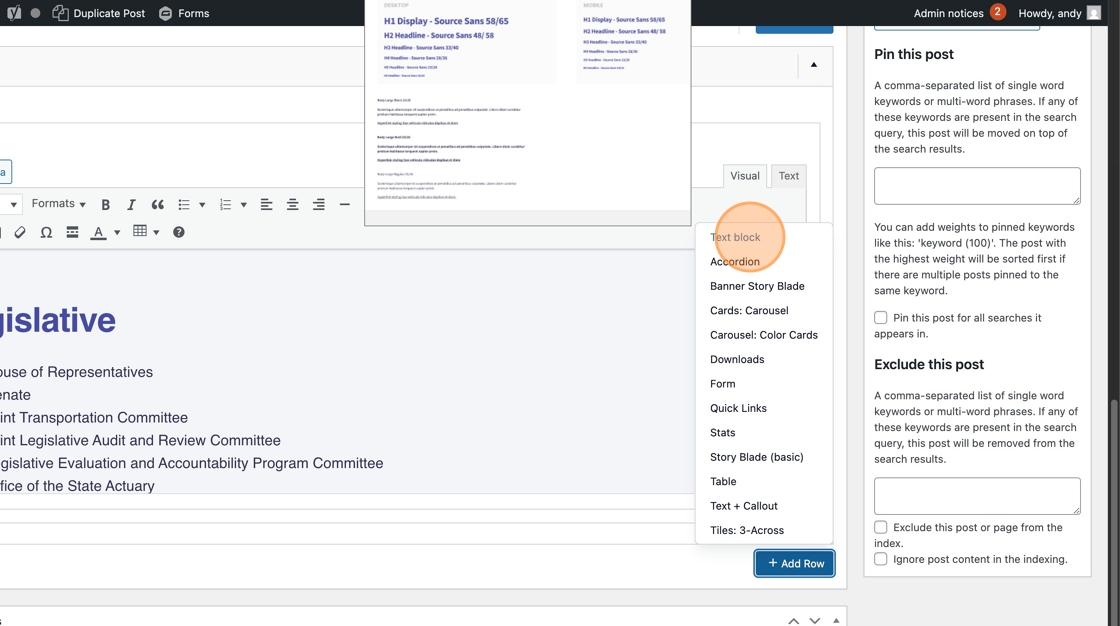
3. If you want to replace the short code with one of the new content modules available on the WordPress site, click the “+ Add a row” to Add a module.
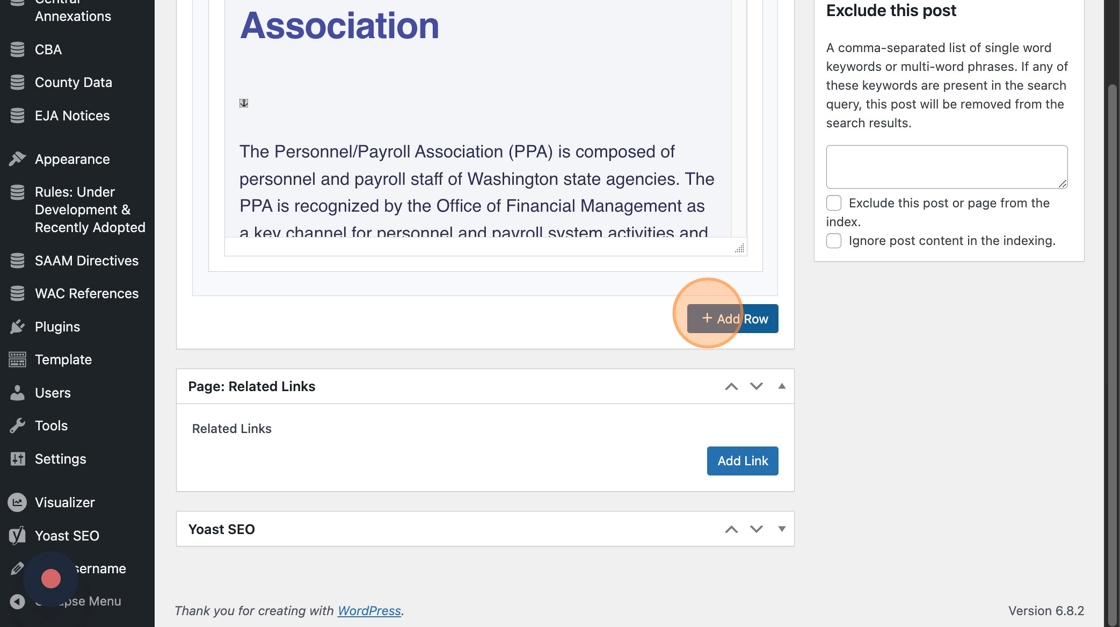
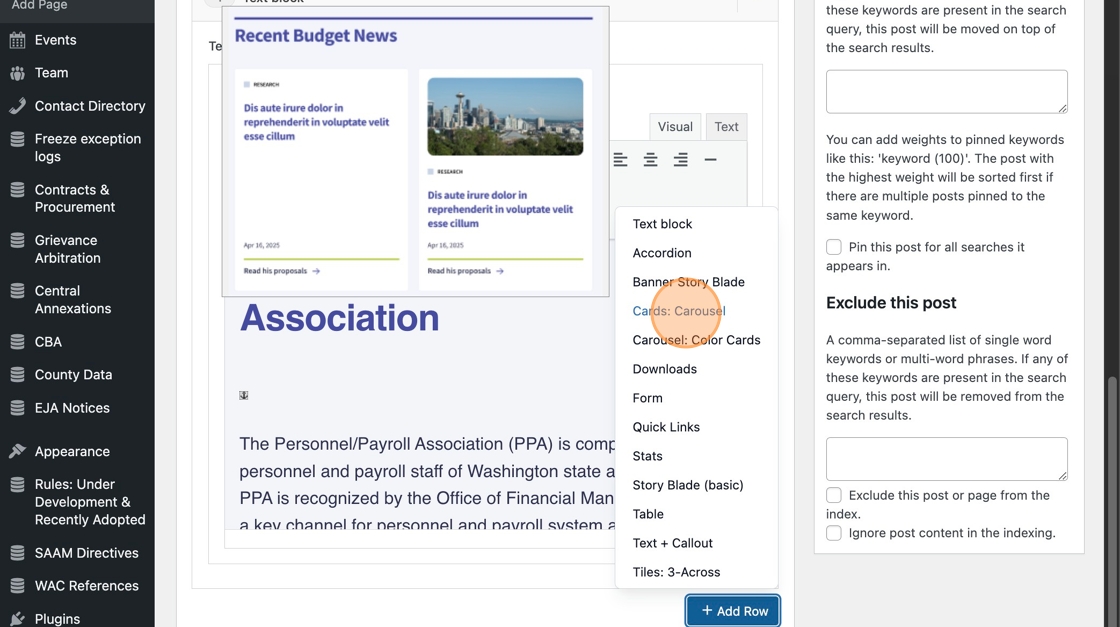
4. Select the module from the list.
Some suggested modules:
- Calendar, events, or meetings –> Cards: Carousel (select Events)
- News, reports, or memos –> Quick Links or Cards: Carousel (select News)
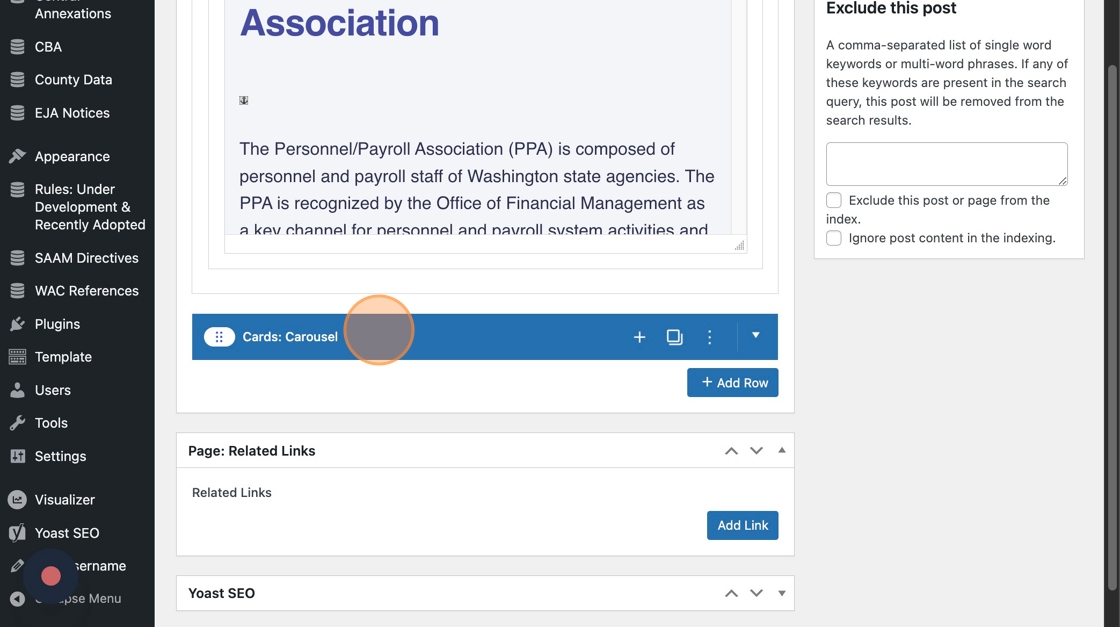
5. Click in to edit the new module
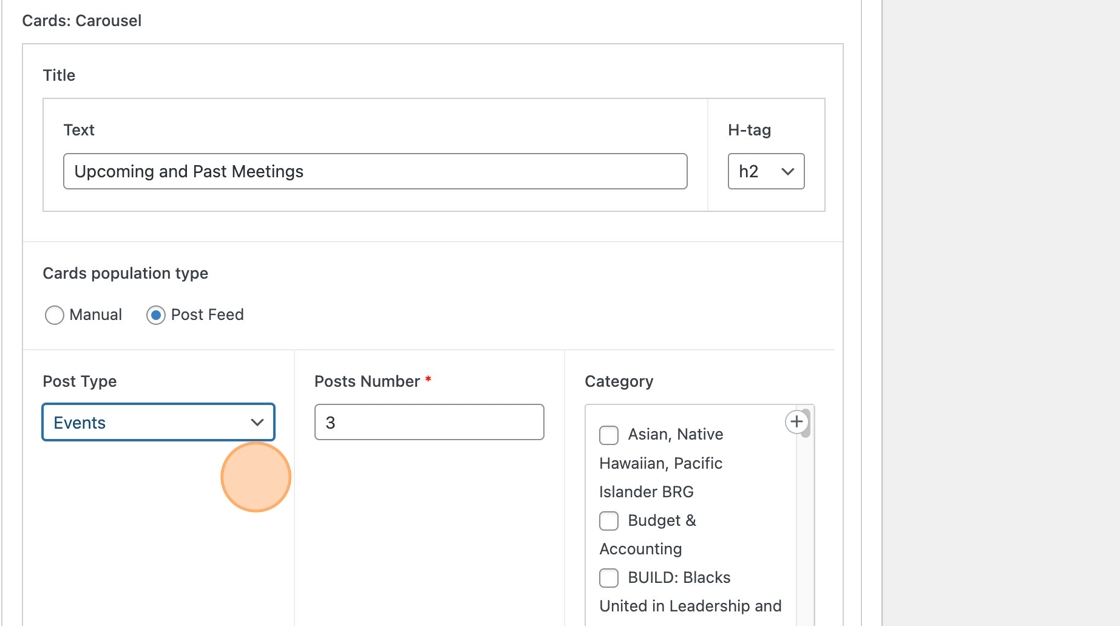
6. Then, update the module settings as needed. In this example, we are setting the cards carousel to show events in a certain category.
7. Then, delete the old Drupal short code from the Text Block.
8. If the short code embed was in the middle of your content, you’ll need to split that text box in two in order to slot the new module in.
You can do that by using the + to Add layout, then copy-pasting the relevant content in each box. Or, you can use “Duplicate layout” and delete the content from each block as needed.

With either approach, you want the block above the New Module to have the content that will appear above the New Module on the page and the block below it will have the content that will appear beneath the New Module.
9. Next, “Preview Changes” to make sure it looks how you want, checking that the new content is correctly placed and the old short code is deleted.
Here’s our example, looking good with the new content module in place of the old short code.
10. Save your changes by clicking “Update.”
Delete dangling short code html
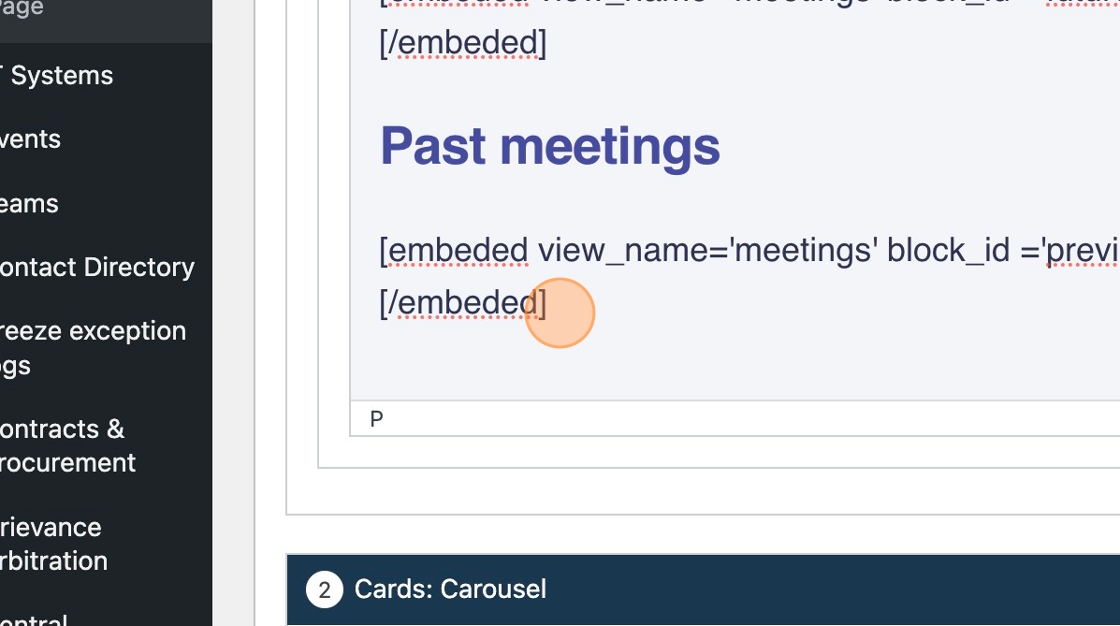
Some of the most frequently used short codes on the existing site — like accordions — translated nicely to the new WordPress site. But keep an eye out for “dangling” short codes on your page that can be deleted.
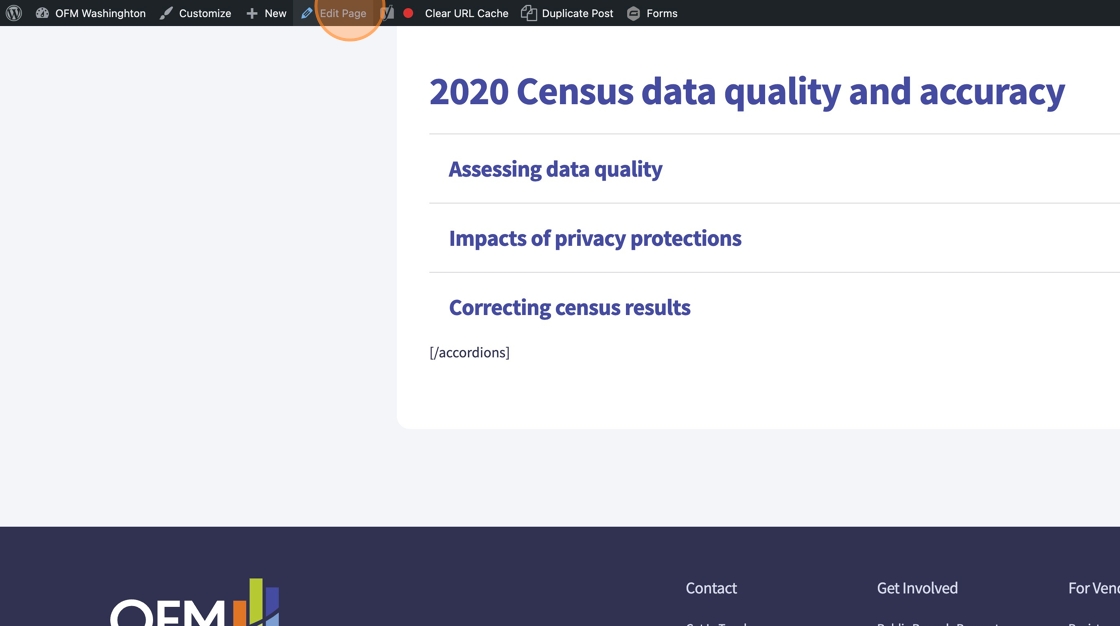
For example, you can see the “[/accordions]” on this page. We need to go in and delete it.

- Click “Edit Page”
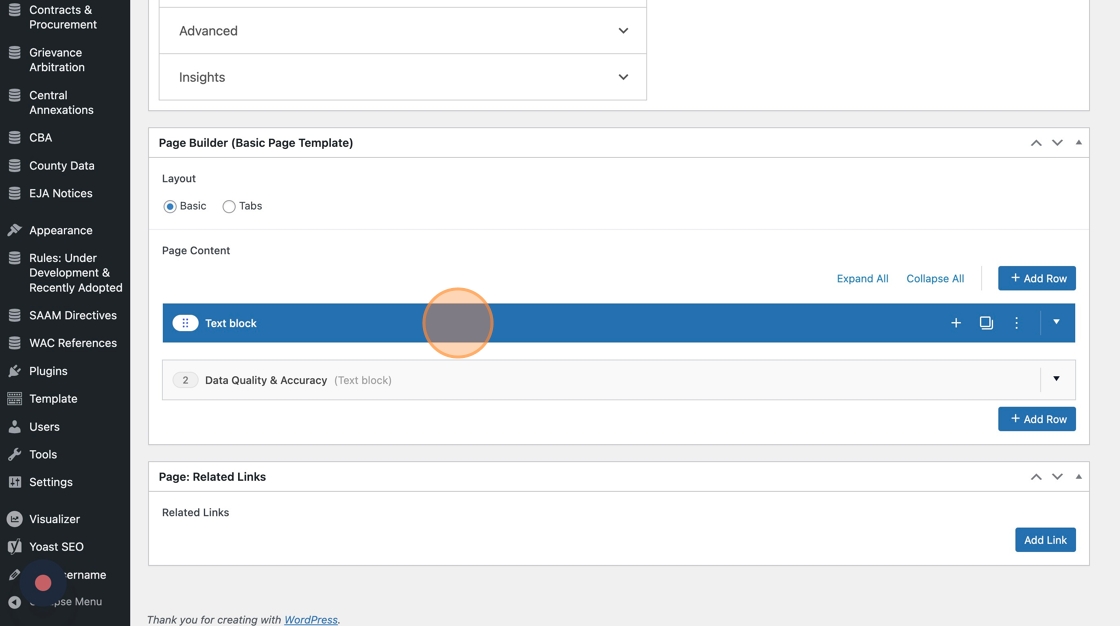
2. Click “Text Block” to pop open the text editor
3. Locate the dangling short code “[/accordions]” and delete it.
Note: There may be other short code visible in the text box that is still operational. Delete only the dangling short code you saw on the front end. Often, it will be the second instance. Delete only second one, and check your work.
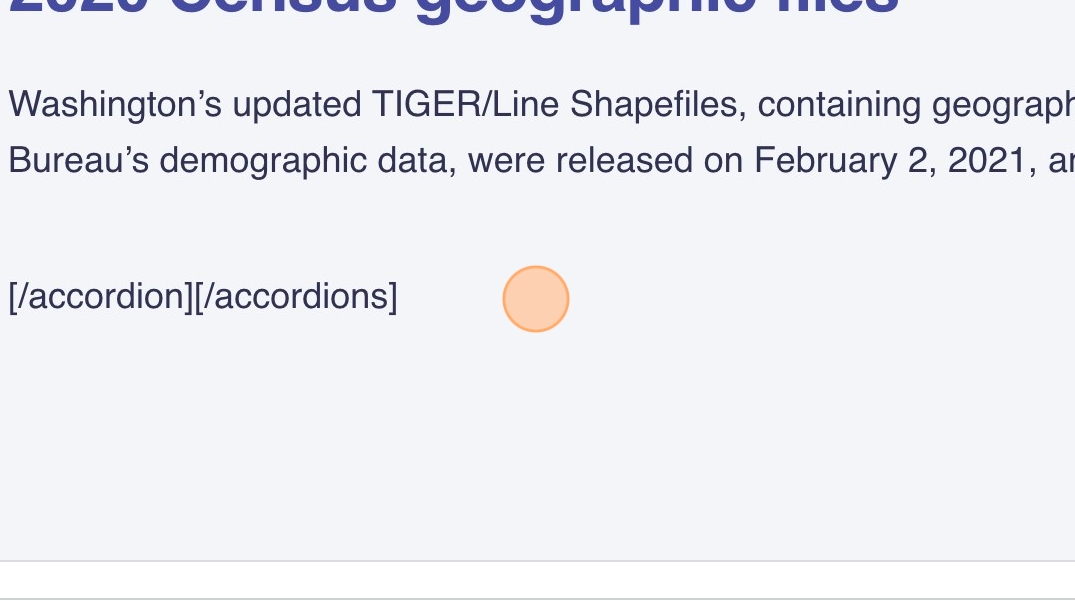
4. Check the entire page as there are often multiple instances of dangling short code on the same page.
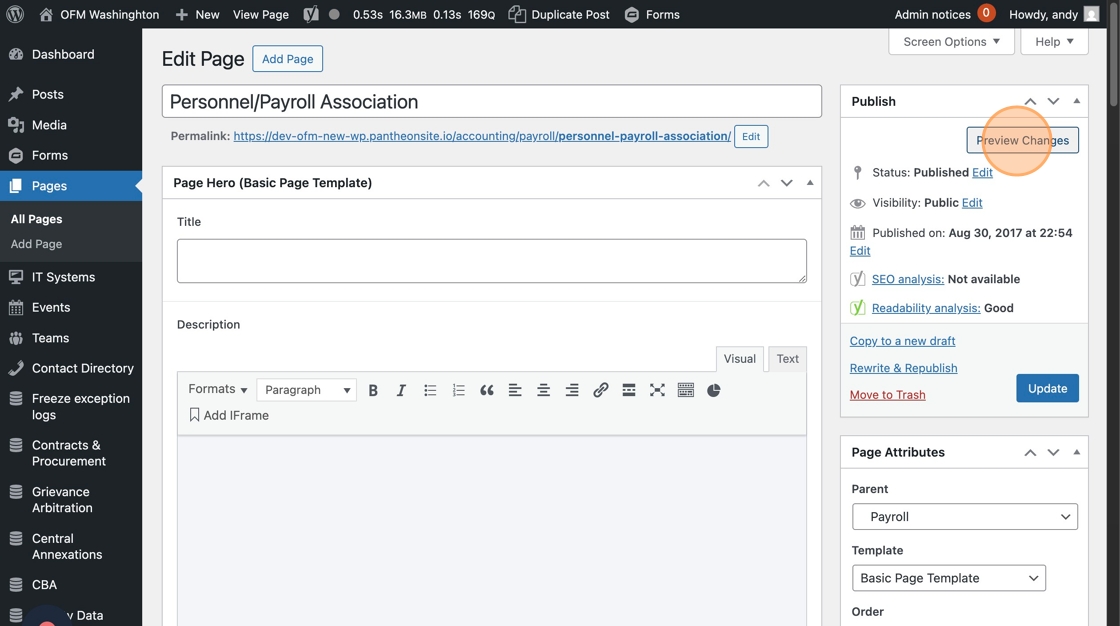
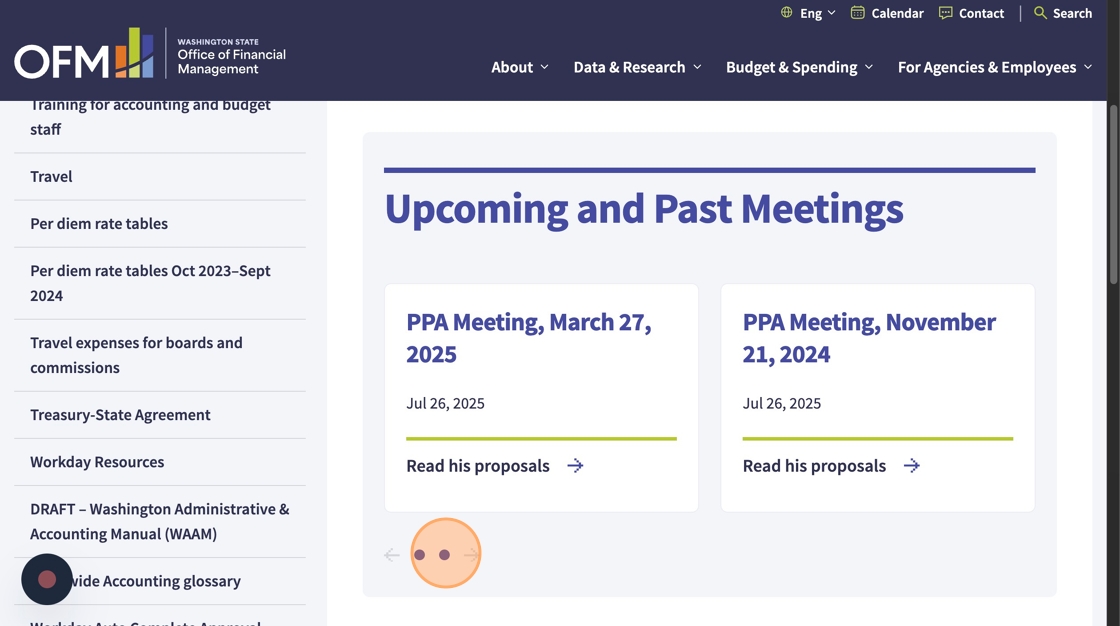
5. Click “Preview Changes” to confirm that your changes have been made correctly. You’ll be looking to see that the dangling short code is deleted and your actual content is appearing properly.
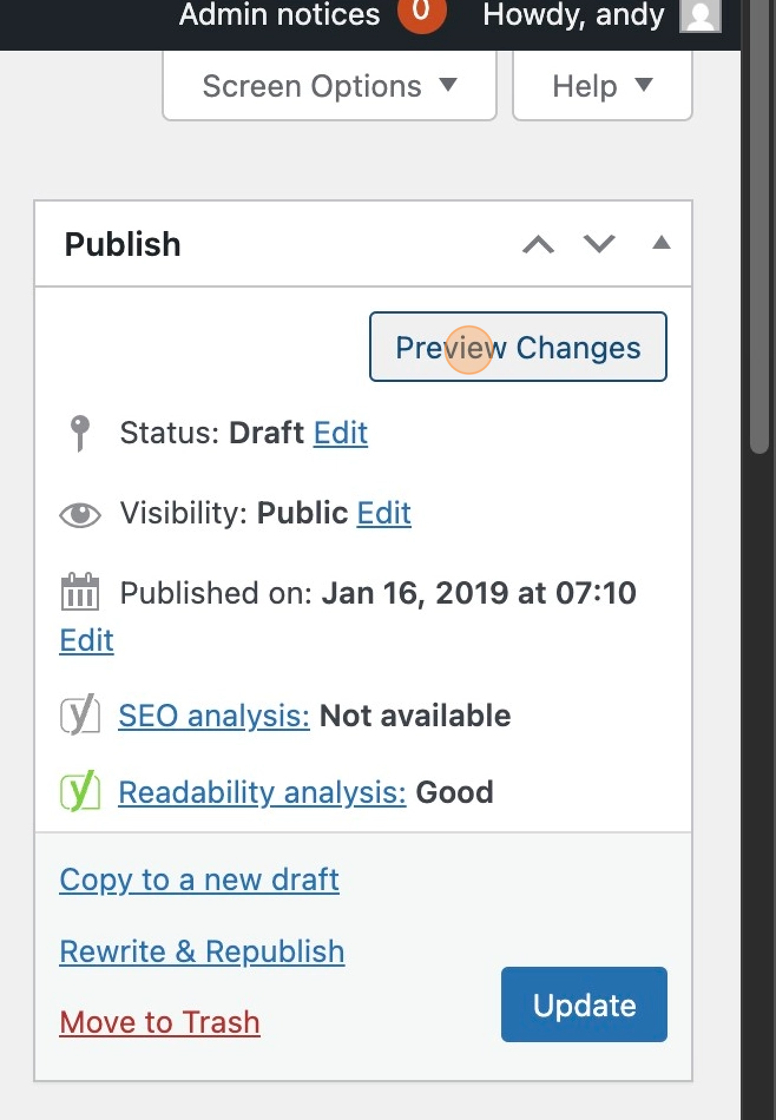
Everything here is looking good — no stray short code in sight!

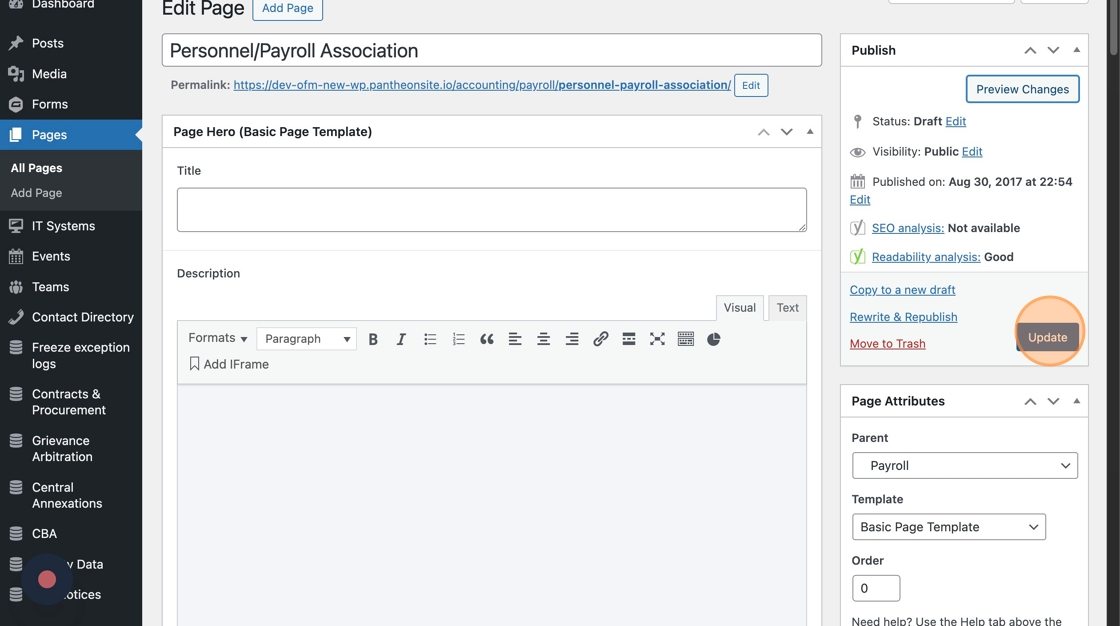
6. Once all of your edits look good, you can click “Update” from the editing tab to save your changes.
Disable Content
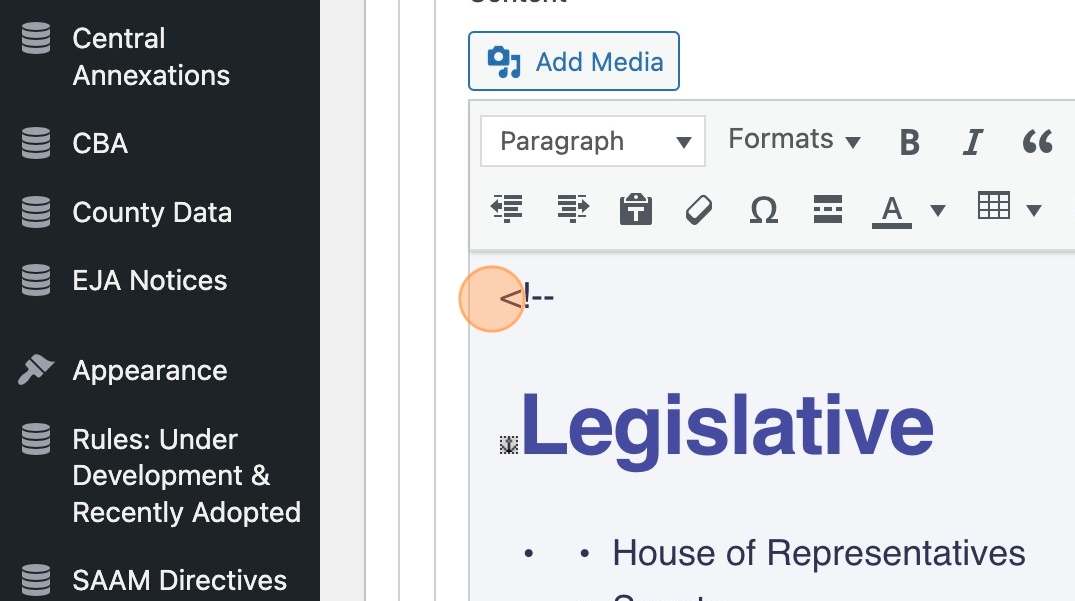
1. If your page in Drupal used the <! short code to disable content and you’d like to retain that disabled content, you’ll need to move that content into its own text box and use the WordPress disable feature. Otherwise, the content and the short code will appear on the site, which is not what we want.
Tip: If you no longer need the disabled content, you also have the option to delete it completely.
2. The WordPress disable feature can be activated on the module level, so you’ll need to put the content you’d like to disable in its own module.
For most content, this will mean creating two additional text boxes, one for the content you’d like to disable, and then another for any content that appears beneath the disabled content on the page.
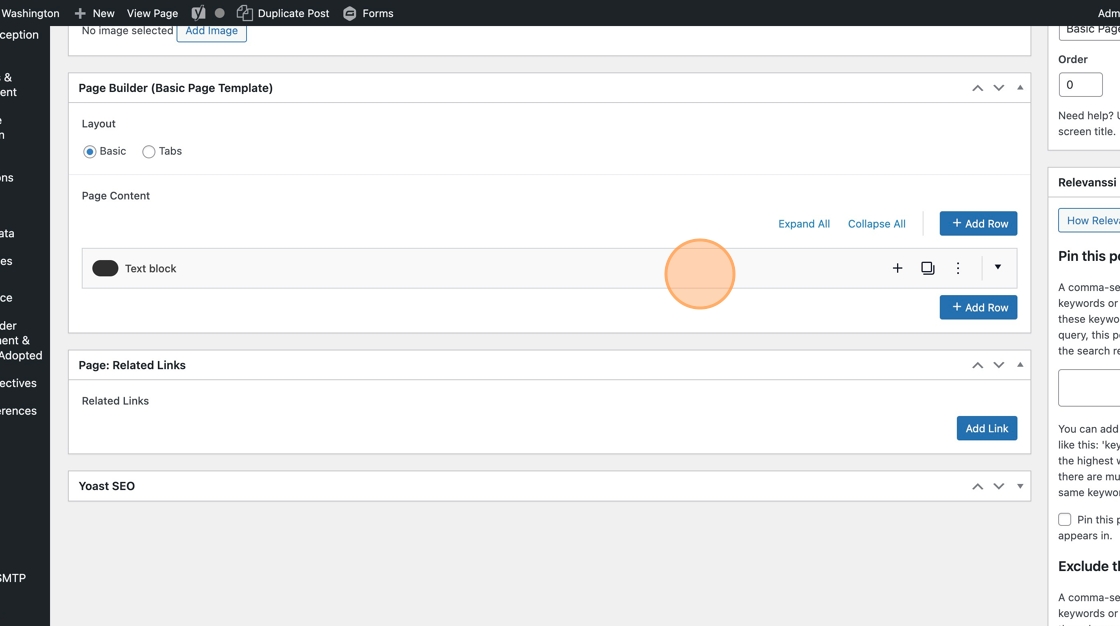
3. To add a module, click “Add Row”
4. Select “Text block”
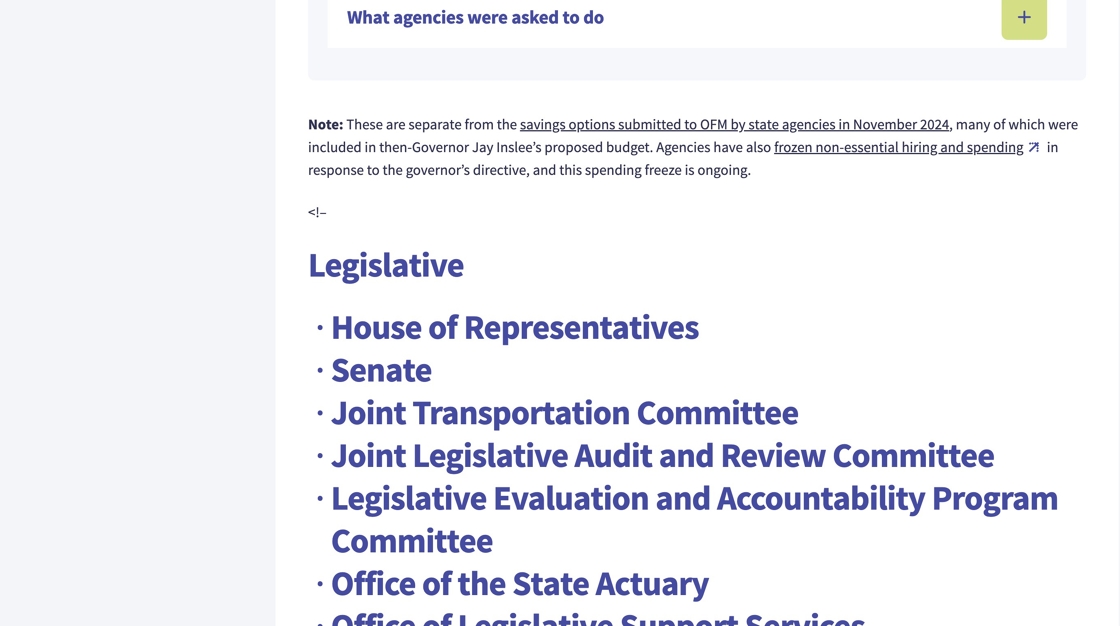
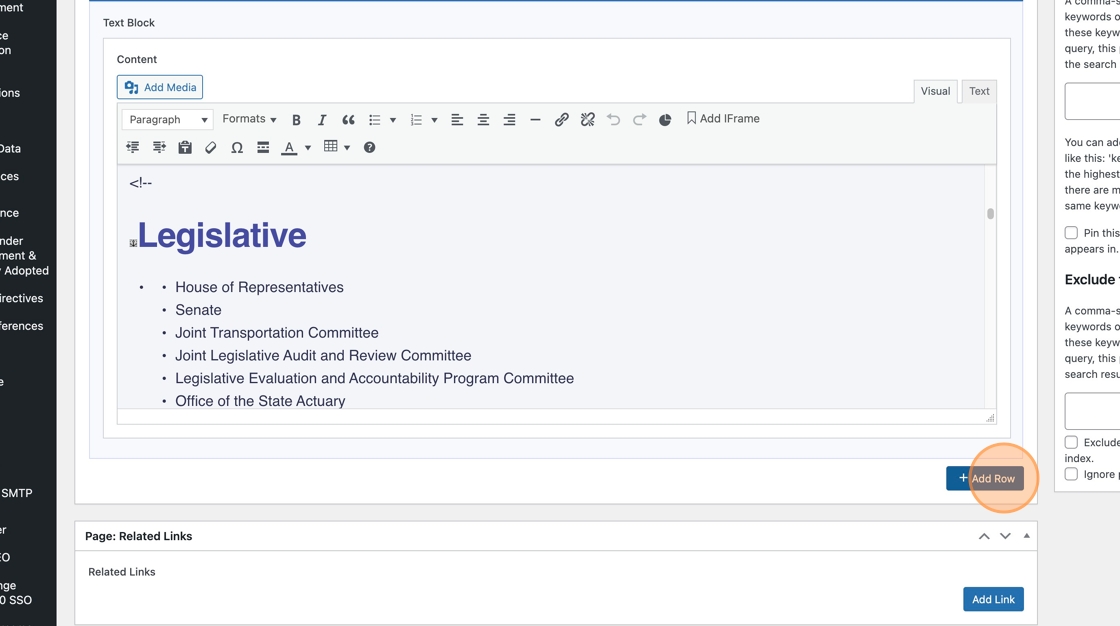
5. Move the content you want to disable into the new text box. Make sure you grab both the starting code <!– and the end code –>
Now that it is in a new module, you can delete those bits of code.
6. Click the three dots for More layout actions.
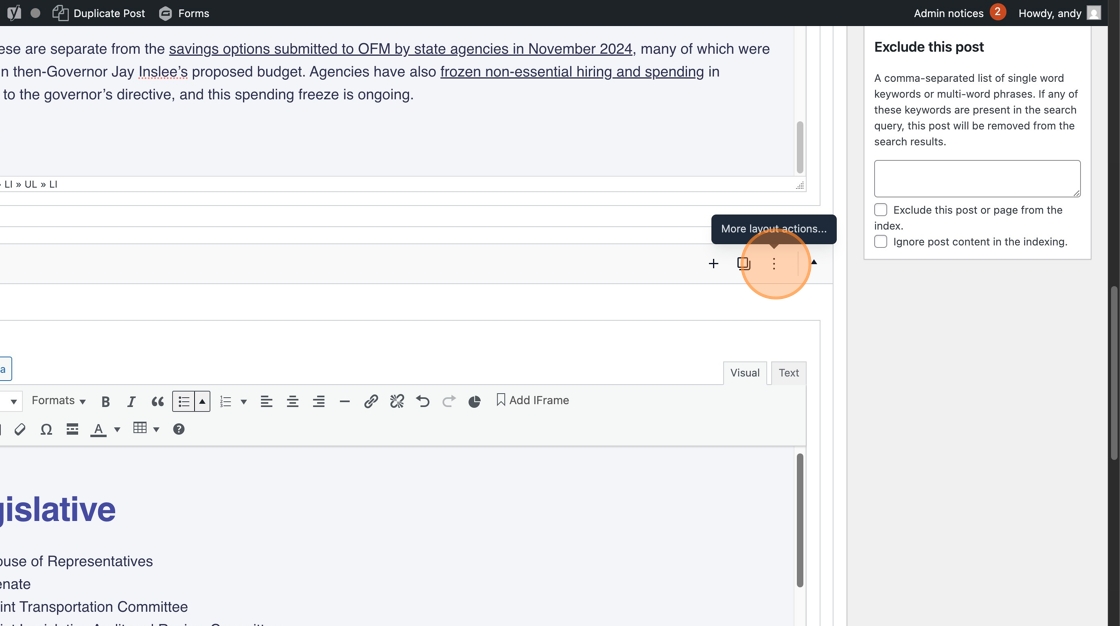
7. Click “Disable” to hide your content from the front end. To re-enable the content, you’ll use this same drop down.

8. To keep your Disabled content properly organized on the page, you’ll need to put the content that appears below it in its own module below it. You’ll do this by repeating the process of adding a module below the Disabled content and pasting the Visible / Enabled content in.
If you have more than one section of Disabled content on the page, then you will be creating multiple modules and disabling each of them.
Tip: Pro tip: If you’re getting a little lost in all the short code, the live Drupal page will have the appropriate content hidden, so you can use it as a template for what you need to keep enabled as you work.
9. Click “Preview Changes (opens in a new tab)” to make sure your changes are correct and no dangling short code or disabled content remains.
10. When everything looks good, click Update.