


Nice-to-Have Page Updates
Select a topic
Convert html accordions into Accordion content module
This is a nice-to-have because the accordion short code that migrated from the existing OFM website functions just fine on the WordPress site — they are just harder to manage/update in the editor, and miss some of the features of the new Accordion module, like Section headers and description.

- To update, click “Edit Page”

2. Open the appropriate Text Block. We’ll be pulling the existing content from the Text tab of this block.

3. To create the new accordion, click “Add Row”

4. Select “Accordion”

5. Click “Add Item” to add your first tray in the accordion.
Note: There are fields to add an Accordion Title, description, downloads and links. Use them if they will enhance your content — but they are optional. You can leave them blank if you don’t them.

6. Now, start populating!
In your html/short code version, the Tray Title is called “accordion title.” Copy it…

… and paste it into the “Tray Title *” field.

7. Now for the body of the tray. Copy the content from the html/short code, stopping before you get to the next Title, like so:
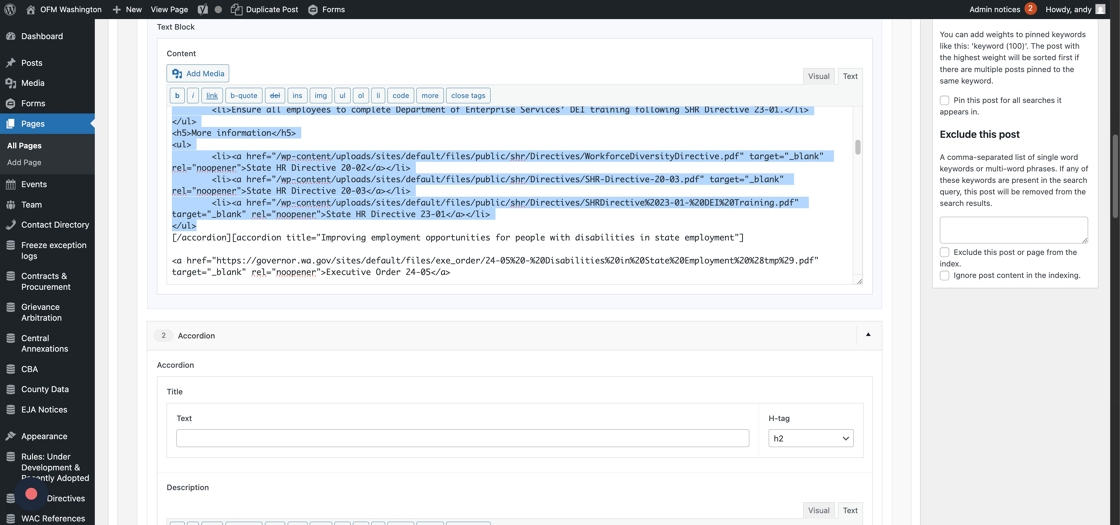
… and paste it into the Tray Description.

8. Then, rinse and repeat, adding trays using “Add Item”

9. Once the entire accordion has been transferred, go back to the original Text Block and delete the short code version.

Delete html anchor links
When content was migrated from the existing OFM site to the new WordPress version, content that was populated in the Right Callout section(s) of the page moved to the bottom of the WordPress page.
That includes the On This Page table of contents that used anchor links to navigate — rendering them pointless.
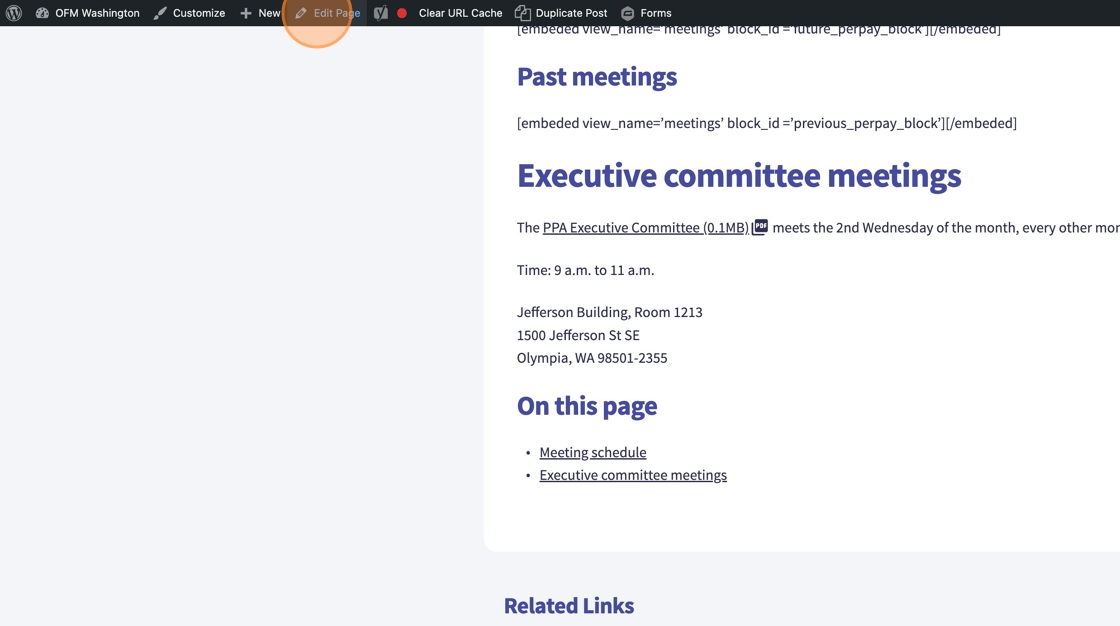
1. Click “Edit Page”
2. Open the Text block by clicking it

3. Find the links and the header, highlight them, and delete them. You can do this from the visual tab of the editor or the text tab.

4. Now, we can delete out the little anchors — we don’t need them in WordPress. You can highlight them and delete them from the visual tab.

6. Or you can click Text

7. And delete them from the html.

Tip: If you see one anchor link, scroll through the page — there are probably more.
Convert related links
This is a nice-to-have that utilizes one of our design elements to give a page hierarchy and a consistent place for a reader to look to find related content.
When content was migrated from the existing OFM site to the new WordPress version, content that was populated in the Right Callout section(s) of the page moved to the bottom of the WordPress text box. That includes Related Links.
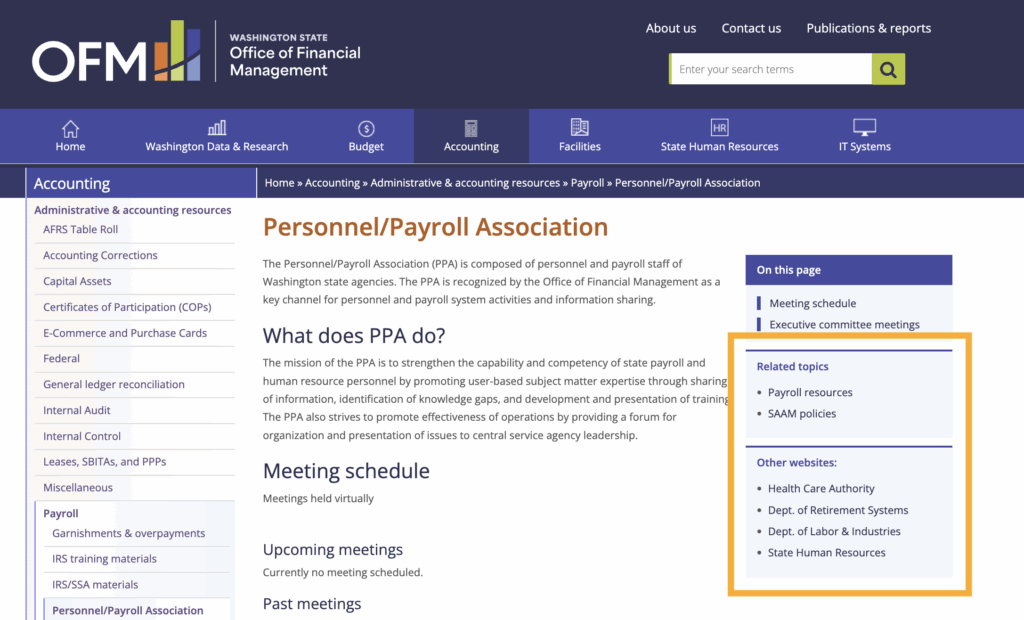
Here’s the before on the existing OFM website:
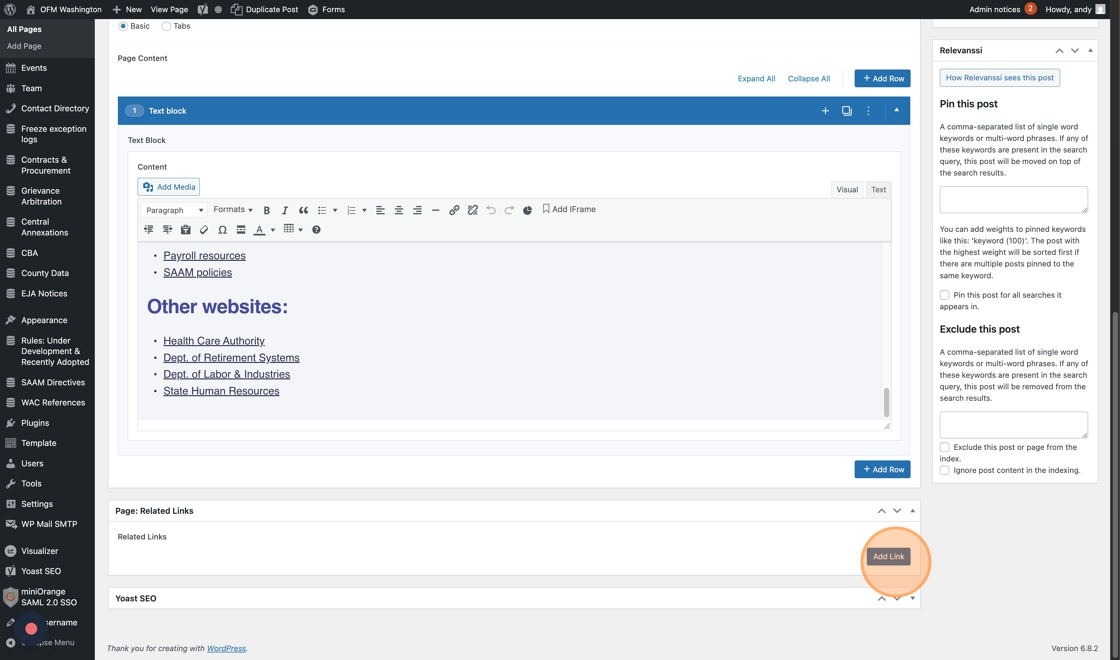
Here’s what the links look like if you leave them at the bottom of the text box in WordPress.

And here’s the after, using the dedicated Related Links section of the page:

- To make this improvement, click “Edit Page”

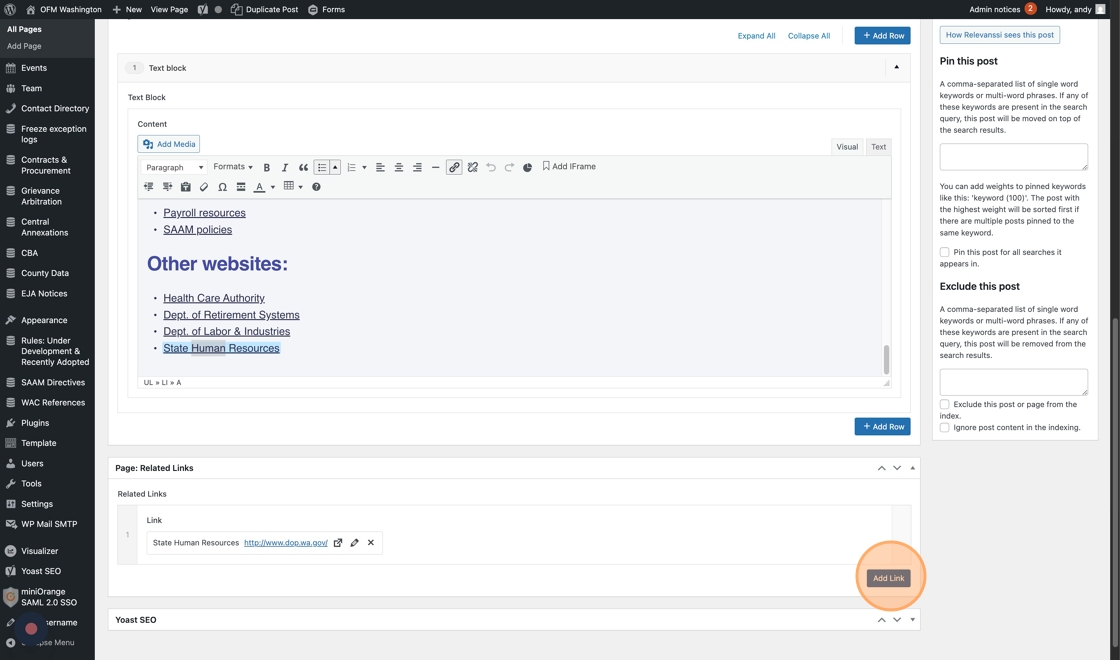
2. Click to open the Text block — this where you’ll grab your links from.

3. Next, click “Add Link” in the Related Links section, which is just beneath the Page Content.
4. Now, start the process of copying and pasting your links. For off-site links, it’s as simple as copying the URL and the text of the link and adding them to the fields:
Click “Select Link”
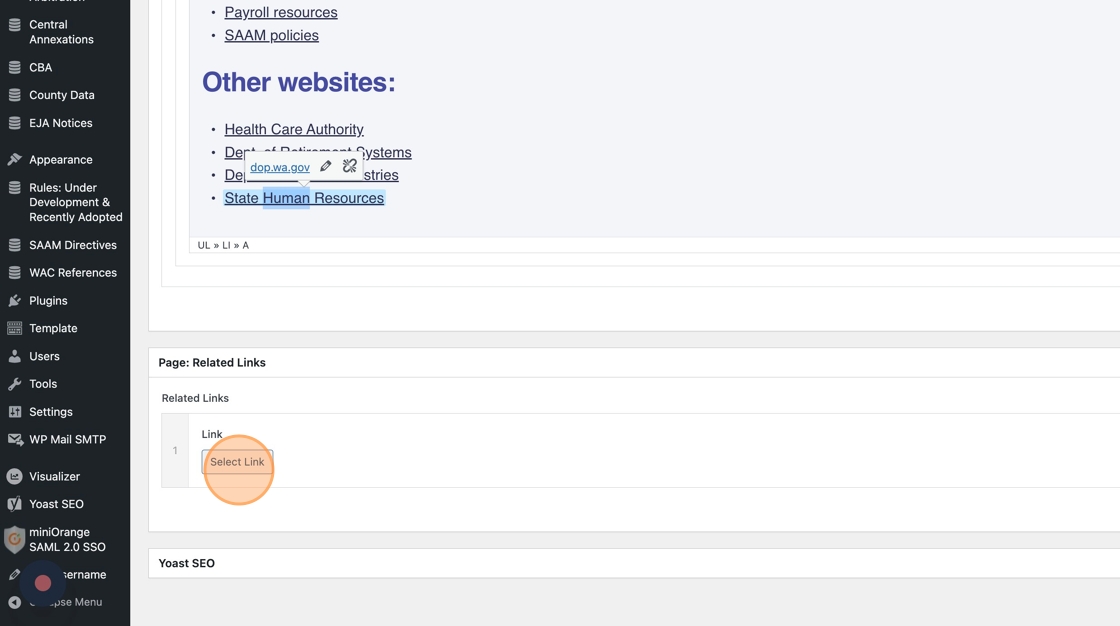
Paste in your link content: URL, Link Text, and select Open in a new tab. Off-site links should always open in a new tab. Then click Add Link.

5. To add another link, click “Add Link” and repeat the process.
Tip: Remember, cross-links within the OFM site require a different process. Copying and pasting the link will not work because the link is a Drupal link.
6. If you need to re-order the links, grab the link from the left side and drag it into place.

7. When all the links are added to the Related Links section, you can delete them from the Text block.
8. Click “Preview Changes” to check your work

9. When everything looks how it should, save it by clicking “Update.”

Add Contact Card information
In this Nice to Have, we’re adding new contact information, or replacing the contact information that was originally populated in the Right Callouts section of the existing OFM site. Depending on how you built your page on the existing OFM site, these contacts may show up on the bottom of your WordPress page, or may not be there.

The new contact card in WordPress pulls from the Contact Directory database, so if you ever need to update a contact, you’ll do it in one spot and it will update on every page it appears on. Nice!
1. Click “Edit Page”
2. On the right side of the page editor, there is section called Page Sidebar. This is where we’ll be adding the Contact Card.

3. Using the drop down, select the Contact, or search for it.

In this example, we added the Accounting division contact. We’ve pre-populated the Contact Directory, so you should find what you’re looking for in there. If you need to add a new Contact, you’ll do that by adding a Contact into the Directory first, then coming back here to select it on the page.

4. If you’d like to point your users to find Agency Assignments or their dedicated analyst, use the Sidebar Links option.
Click “Select Link”

In this example, we added a link to the Agency Assignments tab of the Contact Directory, and added the link text “Find your statewide accountant”

5. Click “Preview Changes” to check your work.

6. Click “Update” to save.