Events & Calendar Guide
In This Section
Event Creation Guide
Follow the guide below to learn how to create Events.
Sign into the admin panel to add your News & Publications entries here.
Events Calendar
Create a new Event post
1. Navigate to the Events section of the admin panel.
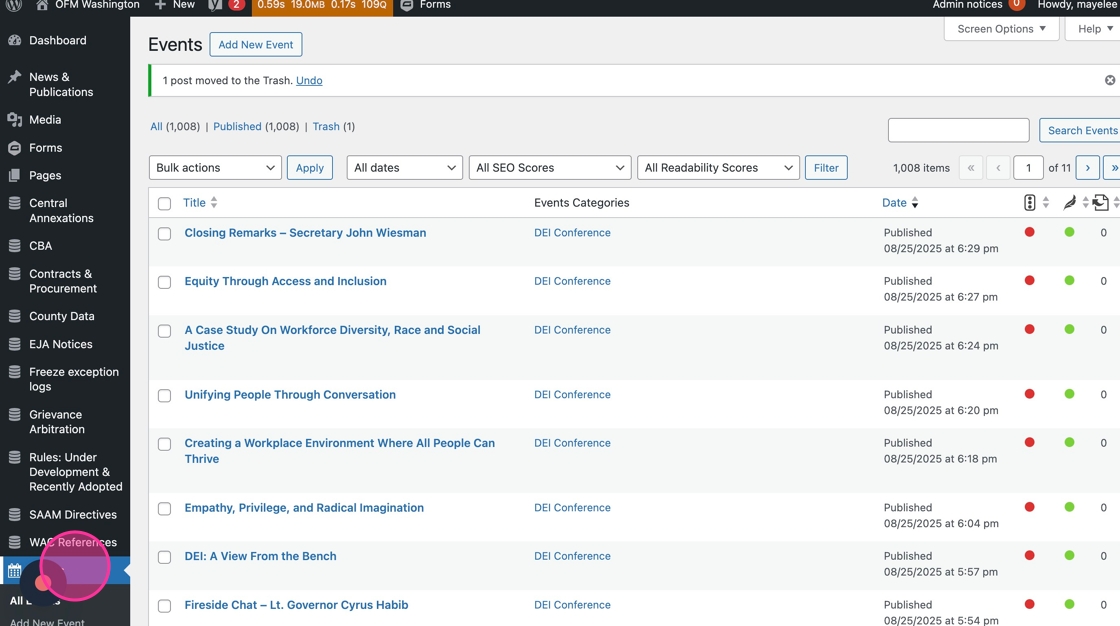
2. Click the “Add New Event” button to create a new Event.

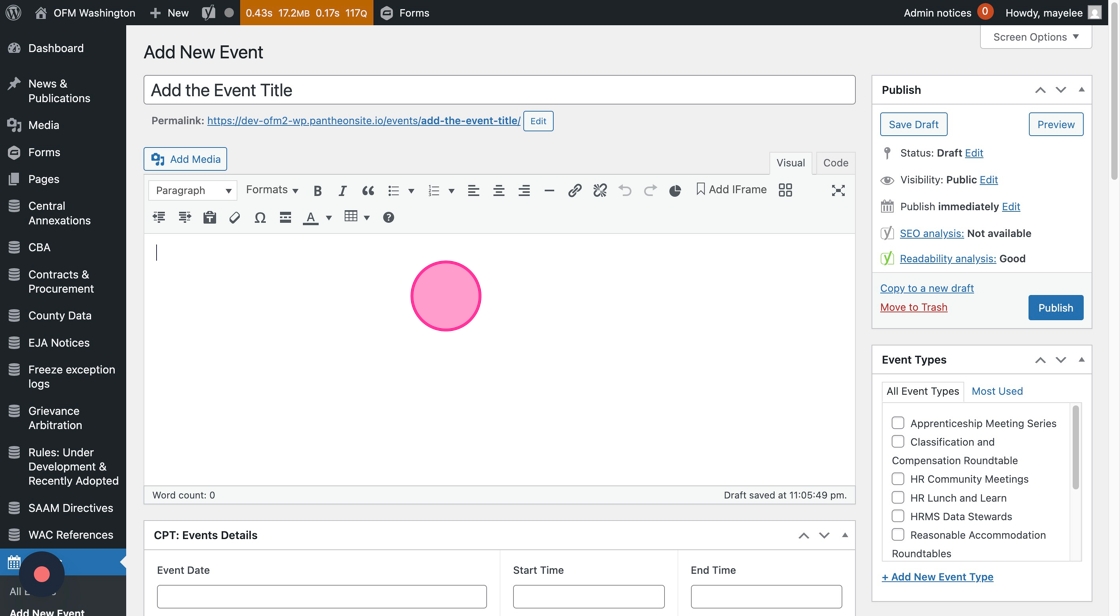
3. Click the “Add title” field to type the name of the Event.

4. To add content that describes the Event, click into the Text Editor field and type away as needed.
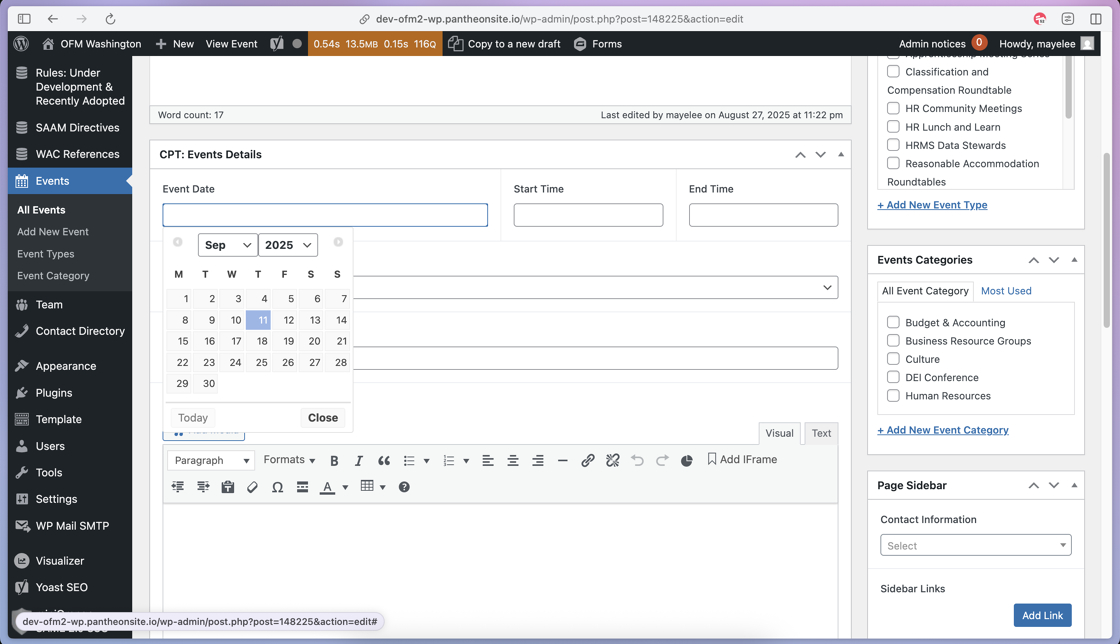
5. To add the date of the event, click into the Event Date field.
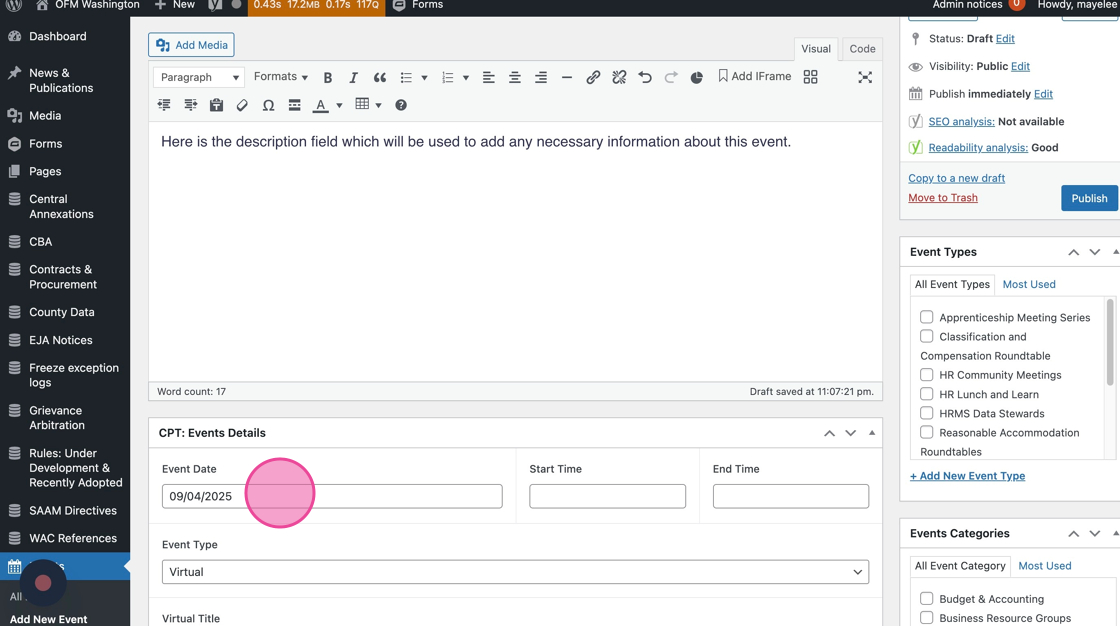
6. Type the date directly, or use the date picker’s Month and Year dropdowns or arrows to find and select the Event Date.
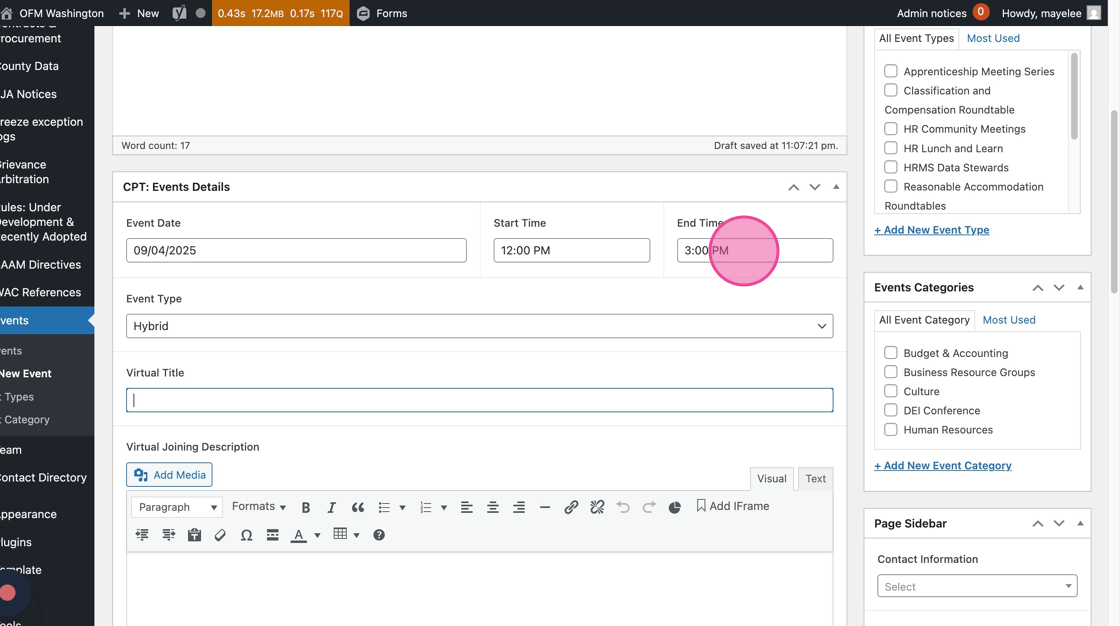
7. Add the Start Time of the event by clicking into the Start Time field.

8. If there is an End Time, click into the text field to type in the event’s end time.
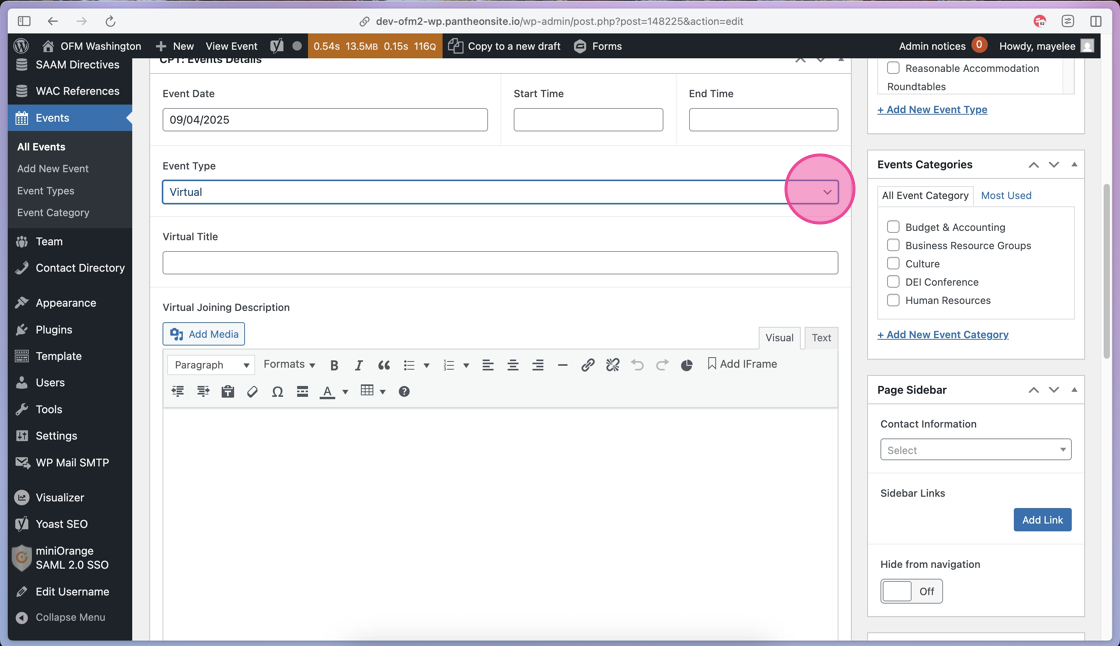
9. Select the Event Type by clicking the dropdown menu to open the options, select the relevant Event Type:
- Virtual
- Hybrid
- In-Person
- Date of Interest (select this if there is no meeting/event associated with the notice, e.g. Budget Dates of Interest)
10. If the Event Type is Virtual or Hybrid, you can use the Virtual Title field to label the meeting details section. This is optional — if you do not fill this field in, it will pre-populate the frontend with “Joining Instructions.”

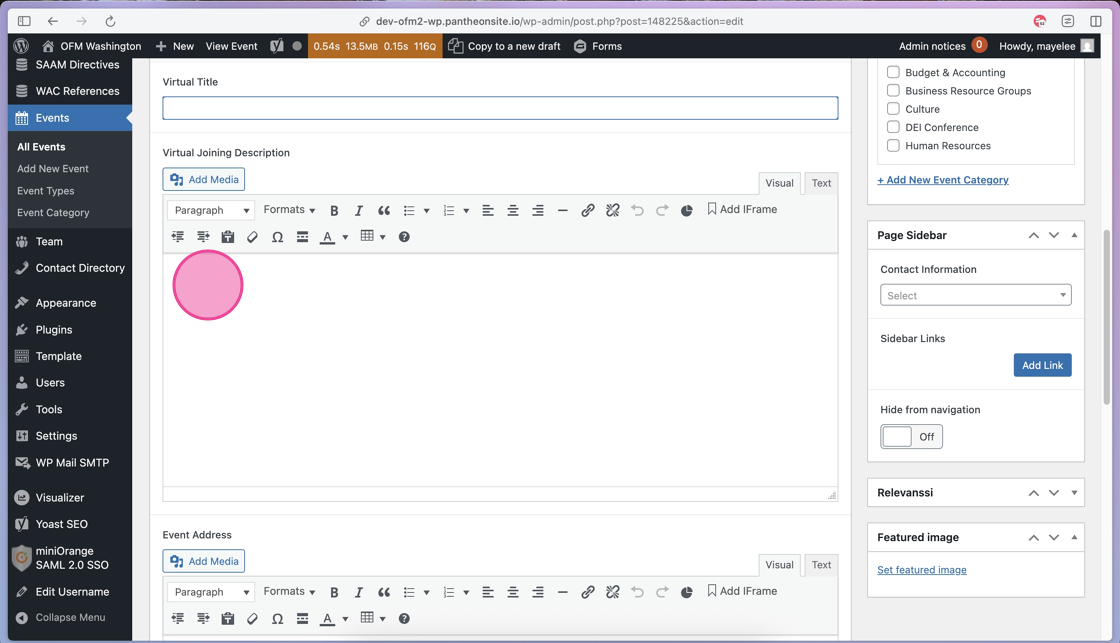
11. If the Event Type is Virtual or Hybrid, you can use the Virtual Joining Description field to include instructions on how to join a virtual meeting.
Tip: We recommend including the Meeting Links, passcodes, or other quick details. You can also use the Text Editor to style those details.
This section will also feature an Add to Calendar button that is automatically added to the post allowing users to add the details to their calendar.
12. If a meeting is a Hybrid or In-Person event type, you’ll add the location/address of the meeting to the Event Address field.

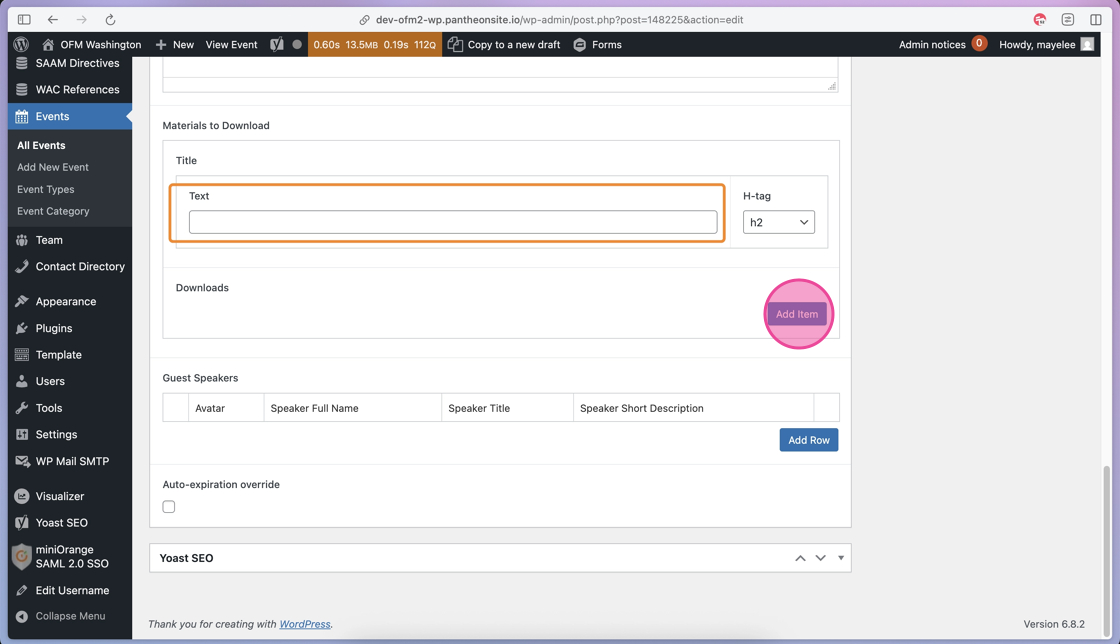
13. If you have Materials to Download to add, you’ll click the Text field to add a Title to this section.
Then, click the Add Item button to start adding the Downloads.
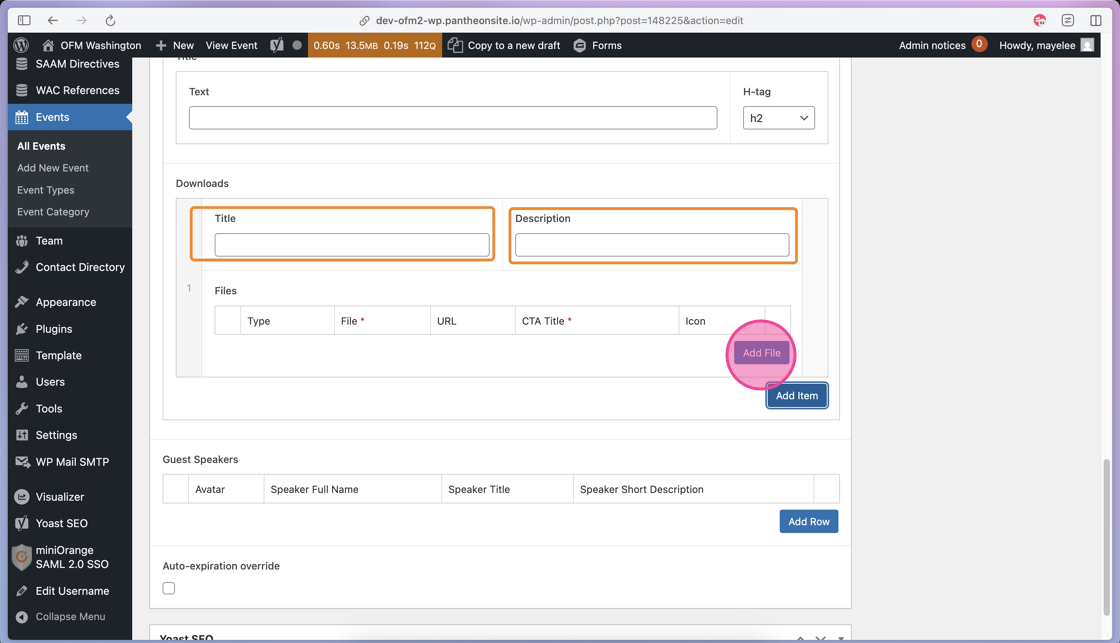
14. Click into the Title field to add a title to the Downloads you add.
Click into the Description field to add an optional description about the Downloads.
Then, click the Add File button to open an empty file row.
15. To add a File from the Media Library, keep the Type selected to File.
Click the Add File button to open the Media Library options.

16. You can find and select the File you’d like to add by using the Folders or the Search Media field.
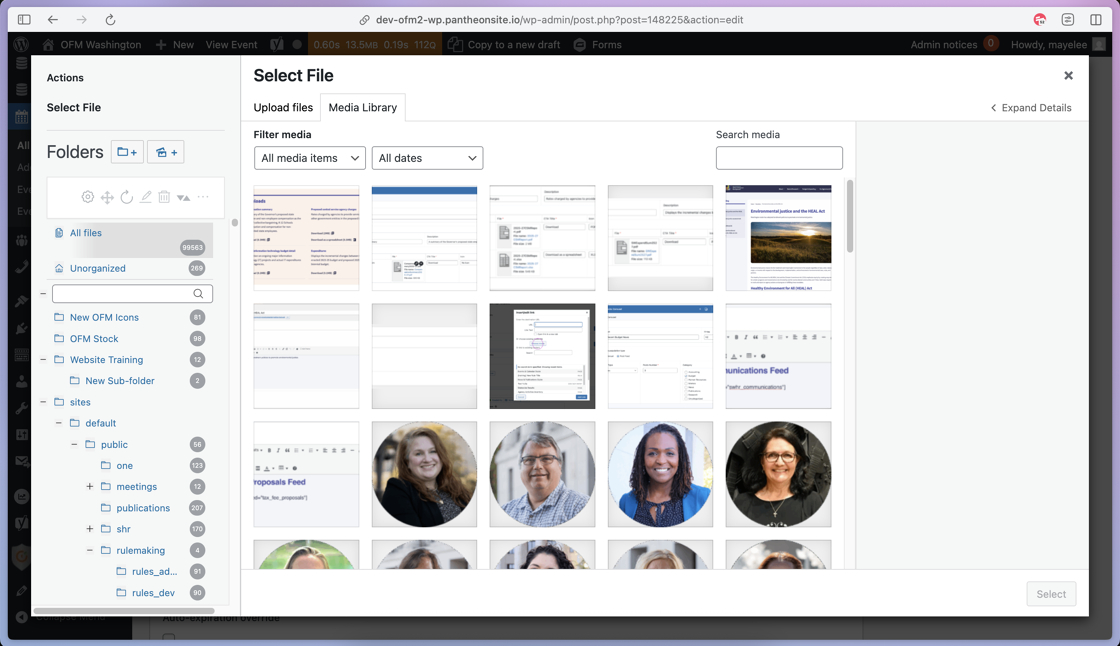
17. Once you have found and selected the correct file, click the Select button to add it to the Downloads section.

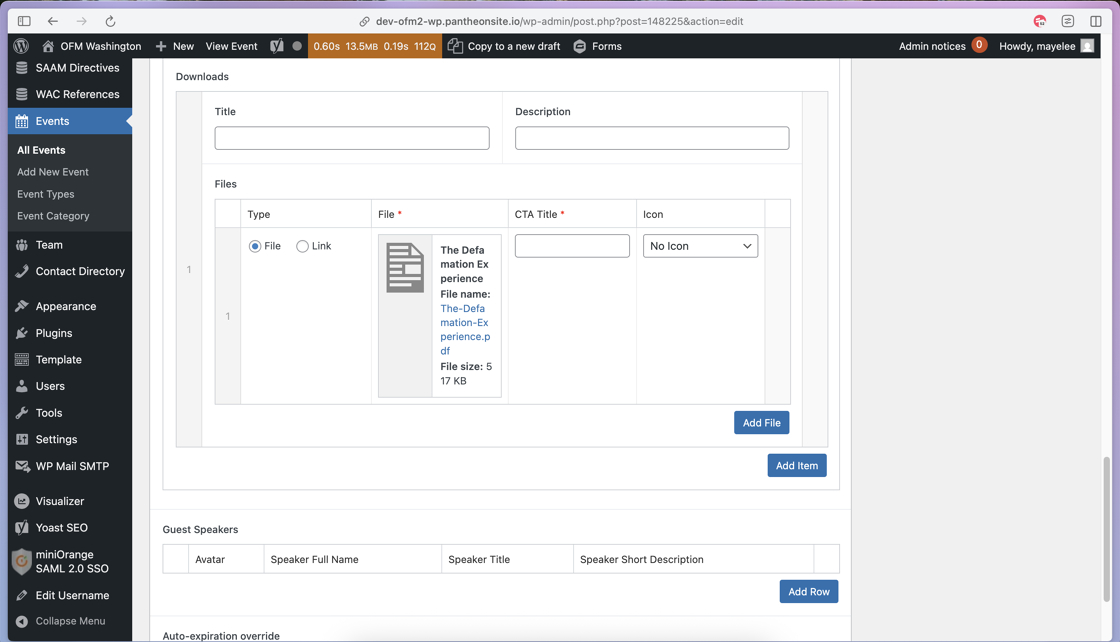
18. After the File has been selected and added, click into the CTA Title field to add a label to this File link.
Then, confirm the Icon selection is correct based on the File format.
Tip: To add additional downloads that are files, click the Add File button to repeat Steps 15–18.
19. In addition to Files, you can also add Links using the Link Type option.
Click the Select Link button to open the settings for adding the Link.

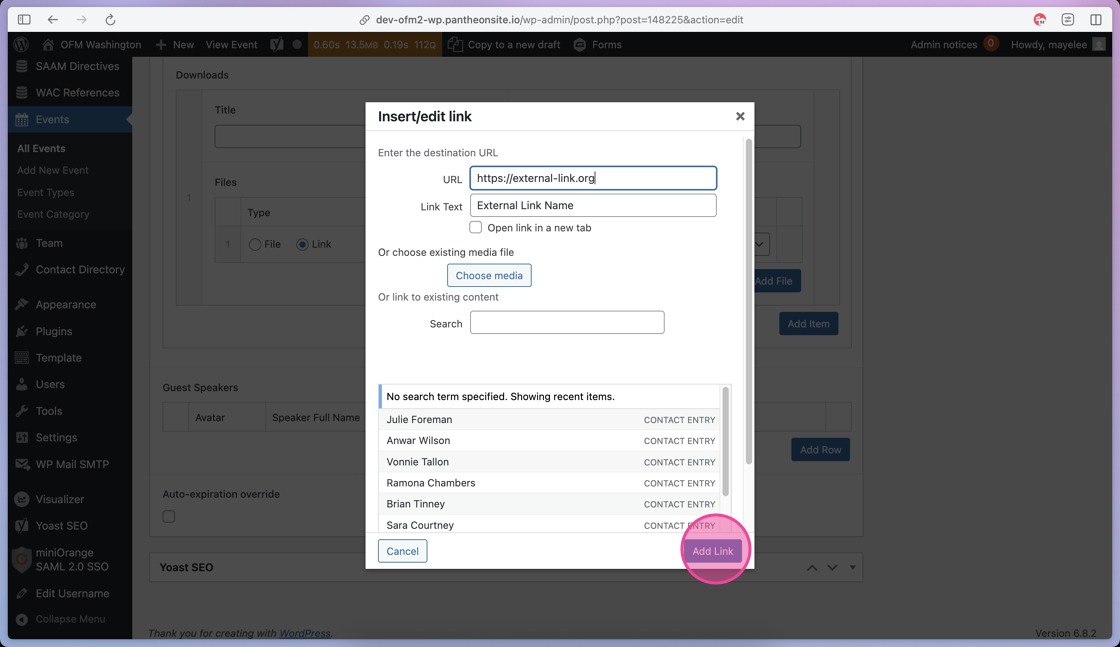
20. To add the Link, click into the URL field to type or paste in the link.
Then add the Link’s Title, by clicking into the Link Text field and adding the link text for the frontend display.

21. After those fields have been completed, click the Add Link button to save the Link to the Downloads section.
22. If your link needs an Icon, you can use the dropdown selector to choose the correct icon or leave as No Icon.
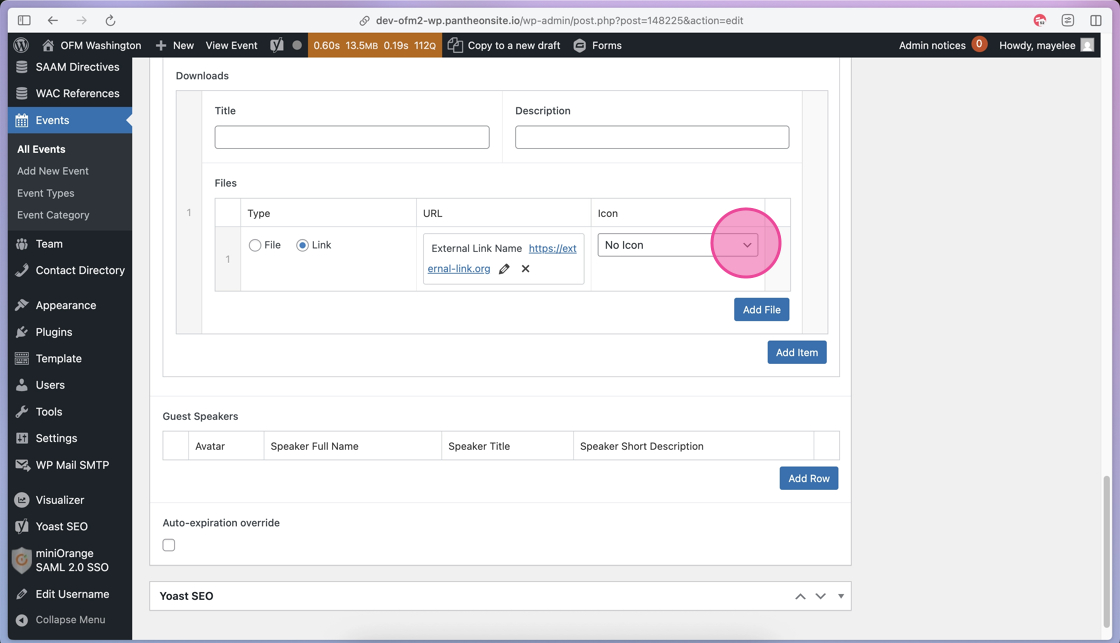
Tip: Repeat to create additional links, as needed.
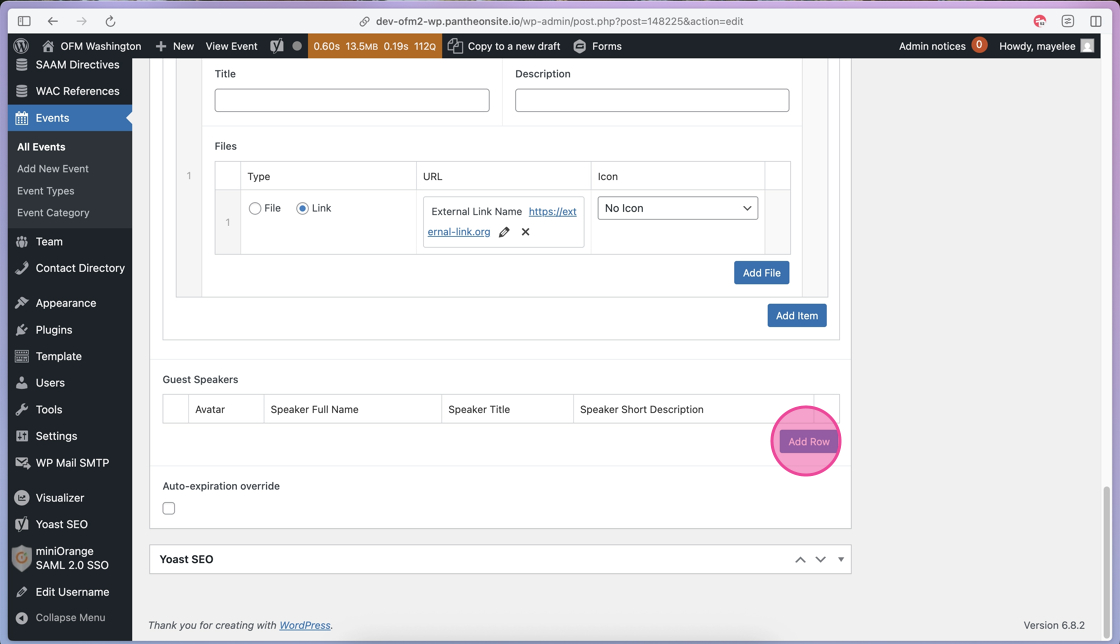
23. If your event includes Guest Speakers, you will click the Add Row to open those content fields.
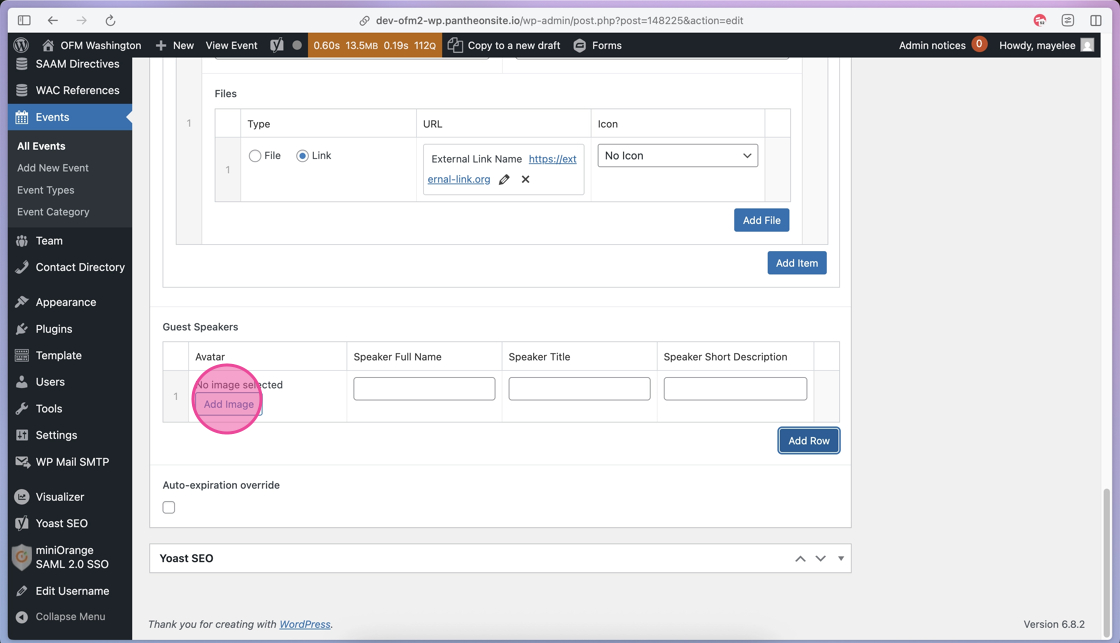
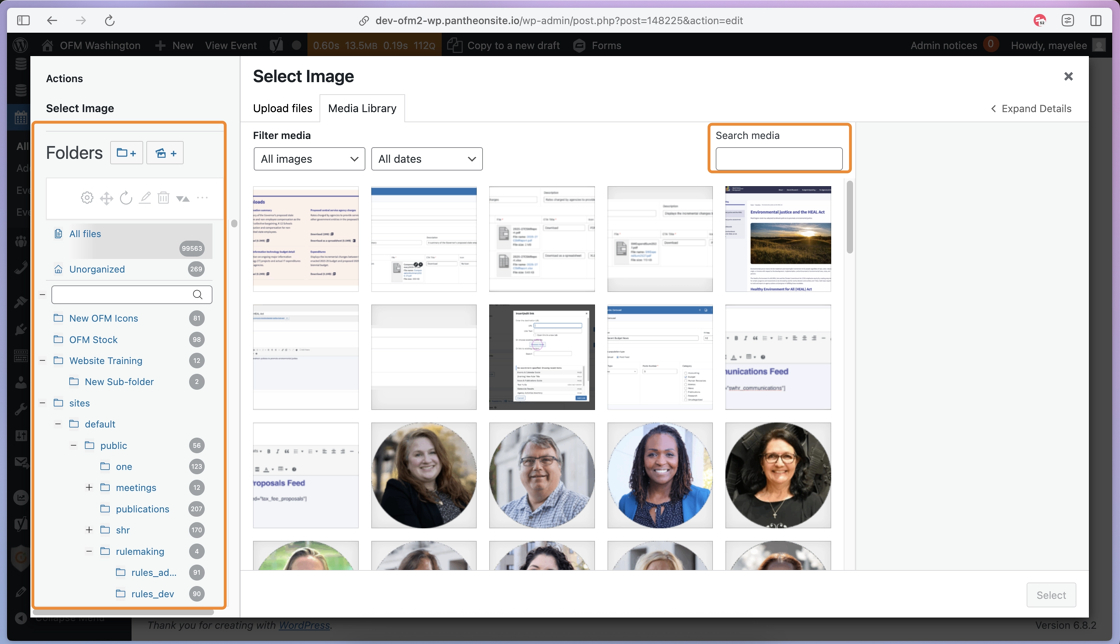
24. To add the Guest Speaker’s headshot, click the Add Image button to open the Media Library options.
25. You can use the Folders on the left or the Search Media field to find the correct image to be added as the Guest Speaker’s avatar.
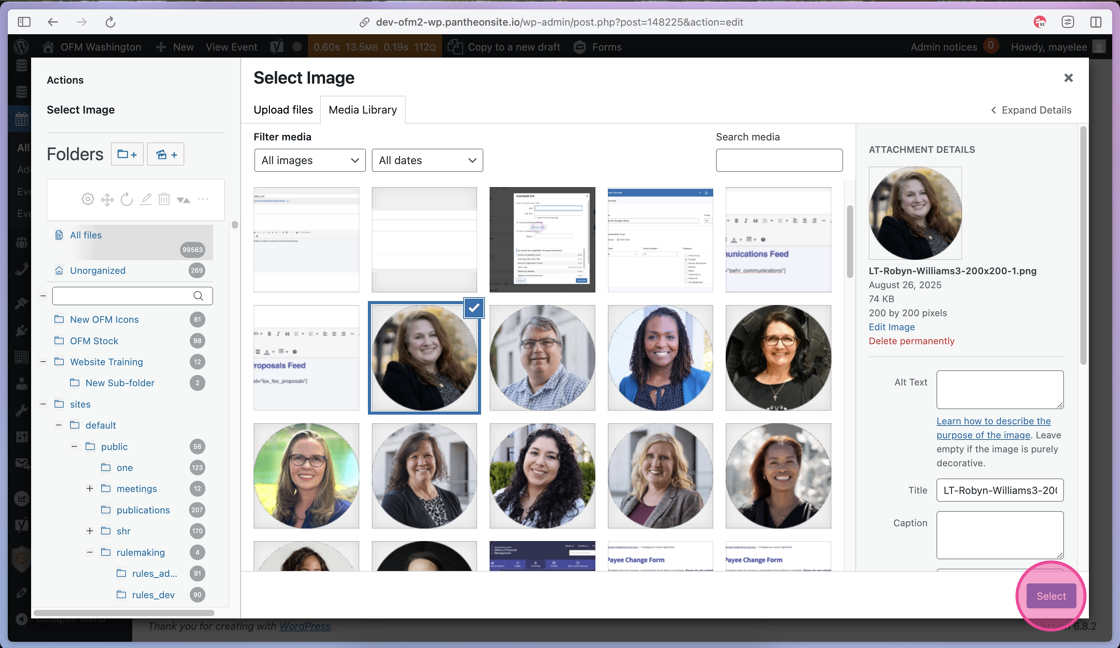
26. After you click to select the appropriate image, click the Select button to add the image to the Guest Speaker row.
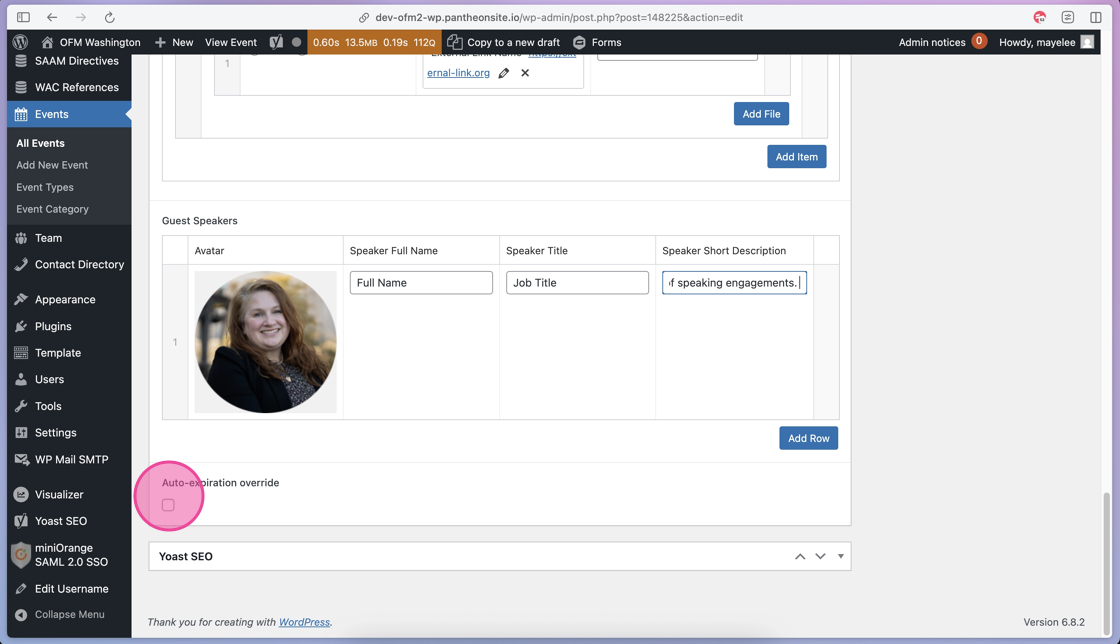
27. Click into each of the remaining Guest Speaker fields to add content about each Guest Speaker.
- Speaker Full Name = speaker name
- Speaker Title = speaker job / presenter title
- Speaker Short Description = short 2 sentence bio
To add additional Guest Speakers, click the Add Row button to create additional rows of fields.

29. There is an expiration setting configured that deletes all Event posts 2 years after they happen.
To override that automatic setting, enable the Override checkbox.
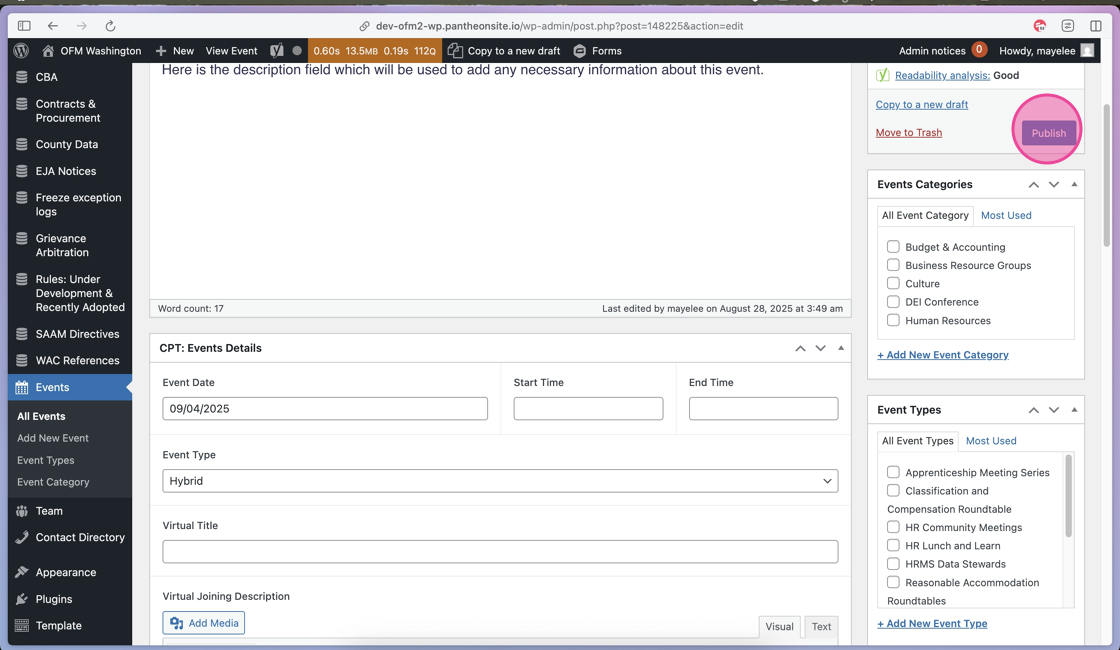
30. Each Event post should be assigned a Category tag. Adding Events to a Category allows users to filter Events on the calendar. It also allows web editors to display this content in other places on the OFM site.
To assign the post to a Category, select the appropriate checkbox.

31. If an Event has an additional Type, then it should also be assigned to the post by selecting the checkbox.
These are optional tags – not all events will have a Type tag; these are an additional filter option on the Events Calendar page view.

32. If you have a specific Contact that should be included on the Event post, click the dropdown menu.
Then, type or scroll through to find the Contact person for this Event post and select their name. If the contact is not listed — you’ll need to add them through the Contact Directory.
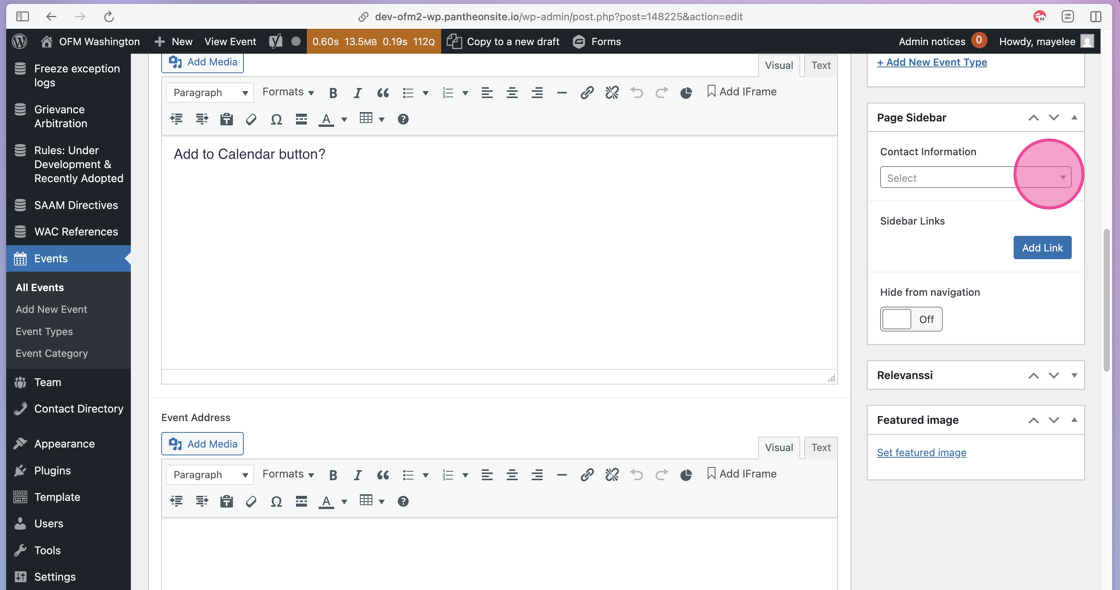
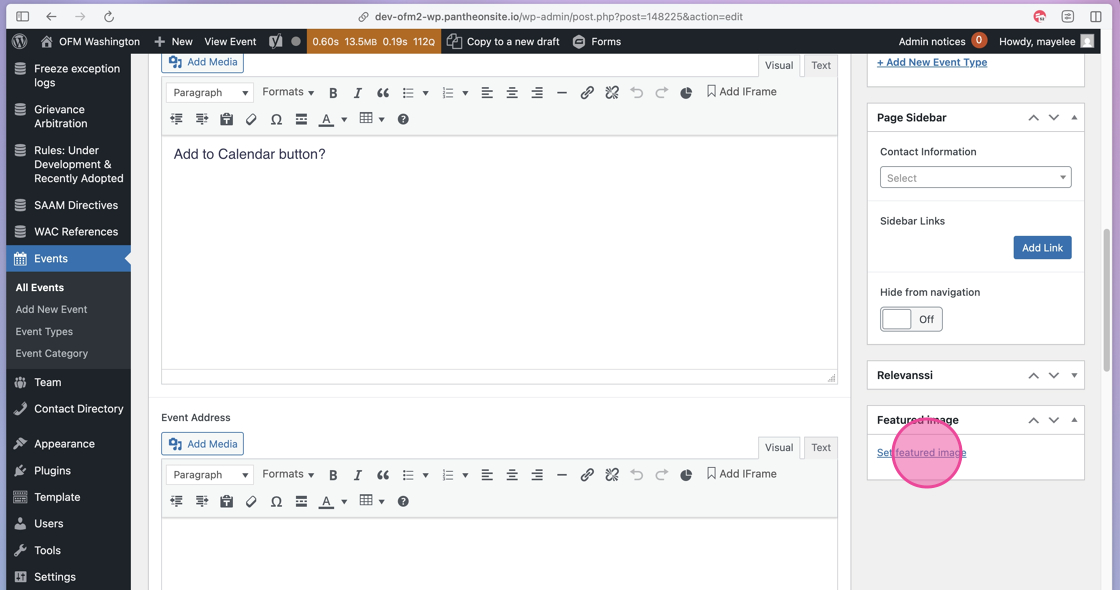
33. To add a Featured Image to this Event, click the Set Featured Image link to open the Media Library.
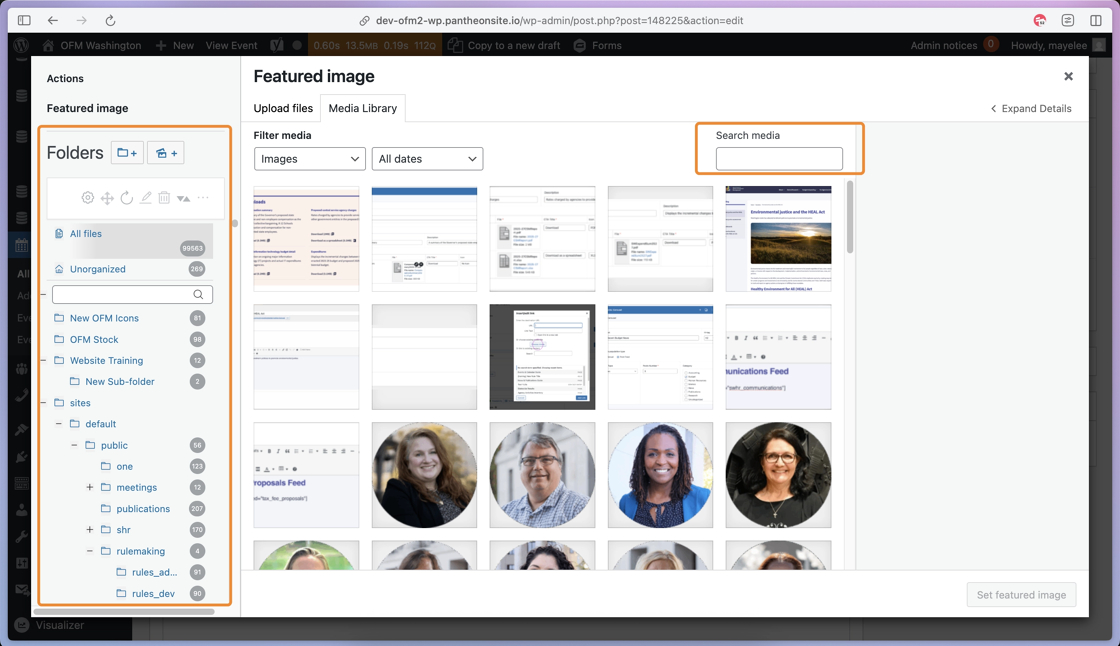
34. With the Media Library open, you can use the Folders or Search Media field to find the image you’d like to add to the post.
35. Once selected, click the Set Featured Image button to add it to the Event post.

36. After you have added the necessary content to the Event post fields, click Publish to display this Event on the frontend.
A published Event entry can be added to other page modules throughout the new OFM site.
For example, you can show the Events based on their Category in the Cards: Carousel module.
Check out the Recent BRG Events Cards: Carousel module example below.
The cards will continue to update automatically when an Event with the Business Resource Groups category is published.
This reduces the amount of updating web editors have to do on an individual page, and keeps the publishing process in the News & Publications database.
BRG Events
And here’s what that carousel looks like on the backend:

Fields
- Post feed — when selected the carousel will be programmatically updated
- Post number — choose the number of cards in the carousel
- Category — select which Event category will populate the carousel
- Type — This is an Optional field; select an option here if you’d like to narrow down the events even further. For example, if you’d like to show HAPPEN events, instead of all BRG events.
Note to Web Editors: For launch, we have pre-populated the Category and Type tags based on our Discovery sessions and User Testing — we recommend using the existing tags to start, since all known events have been accounted for in the current tags. In the future, you may want to add tags and here’s how:
Add / Delete Event Tags
1. To edit an individual event — that is to remove or change its Category or Type — you can check or uncheck the options in the Category and Type checkbox options on the event post.

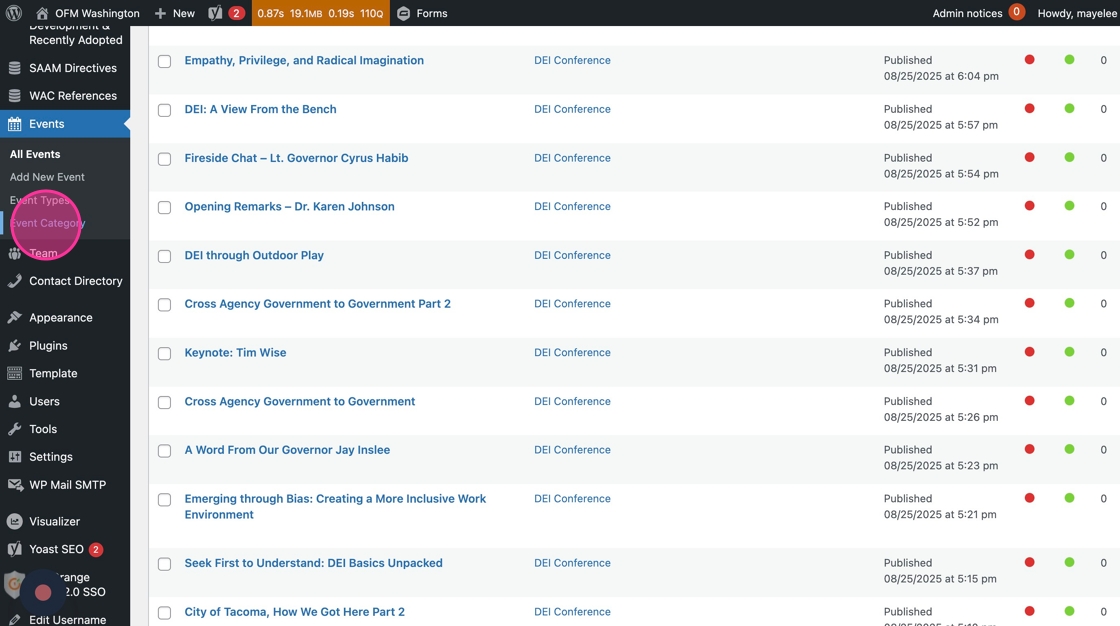
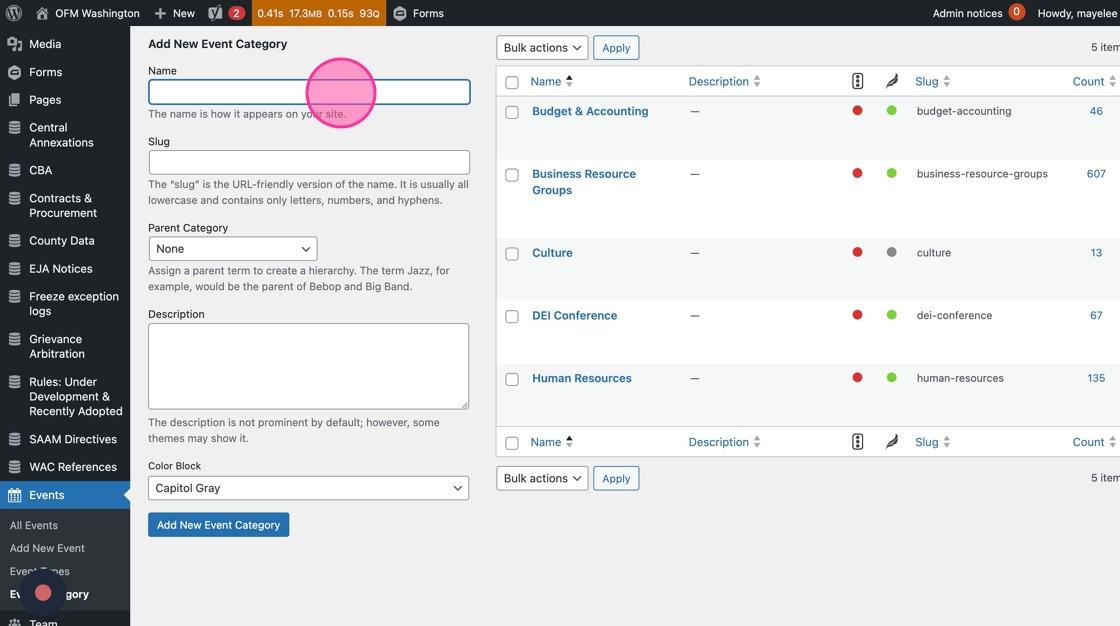
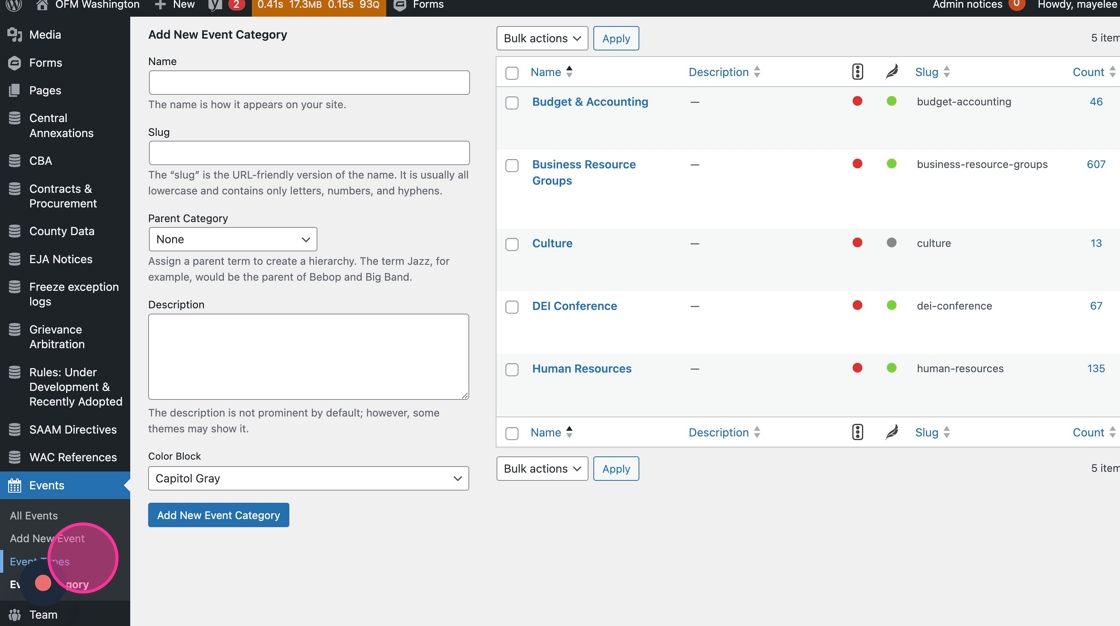
2. To adjust the organization of the entire calendar by adding a new Event Category tag, click the Event Category section of the admin panel.
3. Click into the “Name” field and type the name of the new Category.
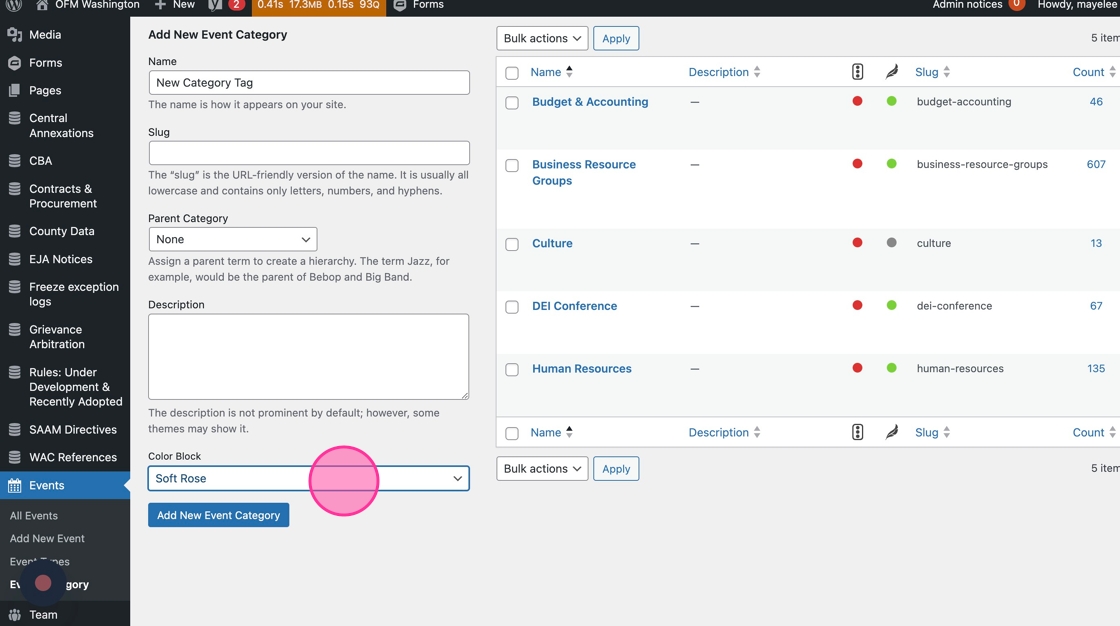
4. Click into the Color Block dropdown field to assign this new Category a color option.
5. Click the Add New Event Category button to save the new Category to the list of items on the right.
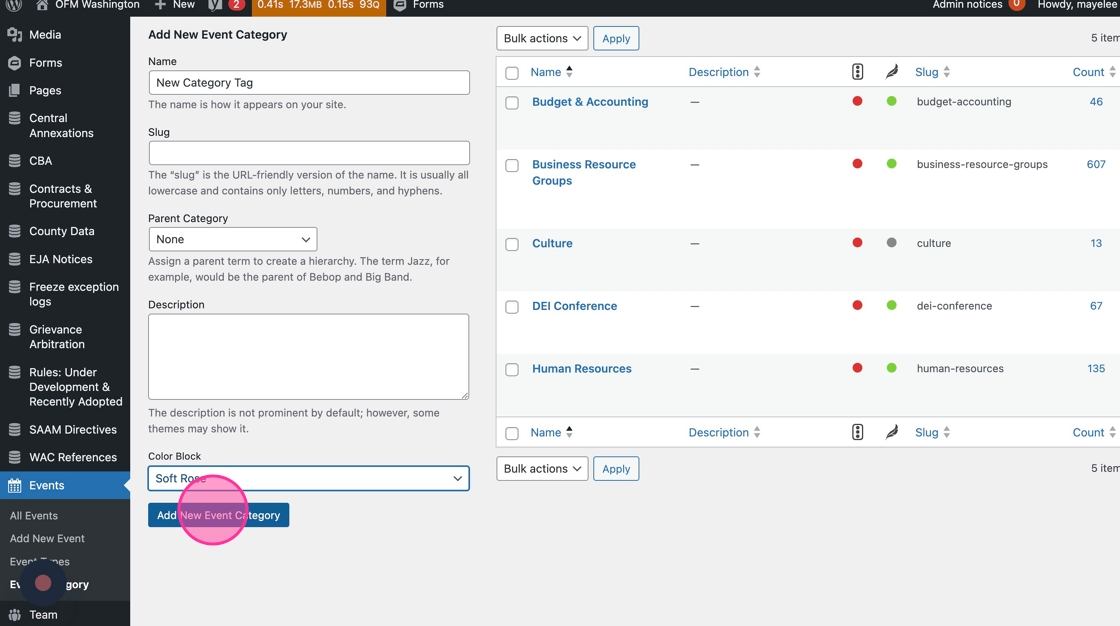
Tip: That’s it! If you need to add additional categories, repeat Steps 3–5 as needed.
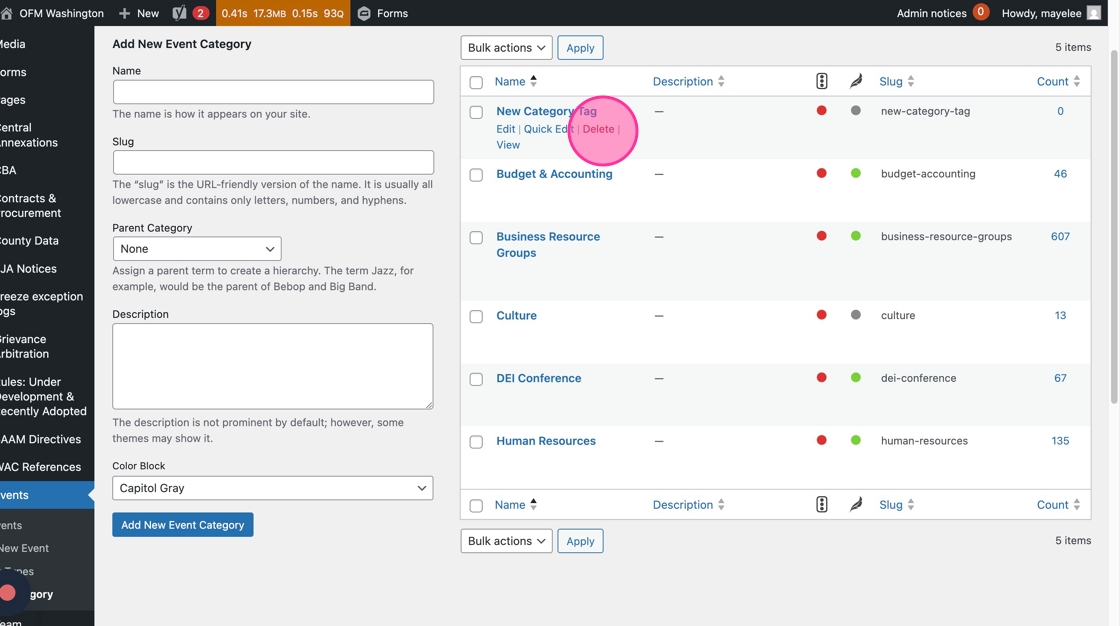
6. If you need to delete a Category tag, you will hover over the category row, then click the Delete option. Note: Proceed with caution as there is no double confirmation or undo option. Deleting a tag will impact the entire organization of the calendar and will impact all links to filtered views of the calendar using this tag.
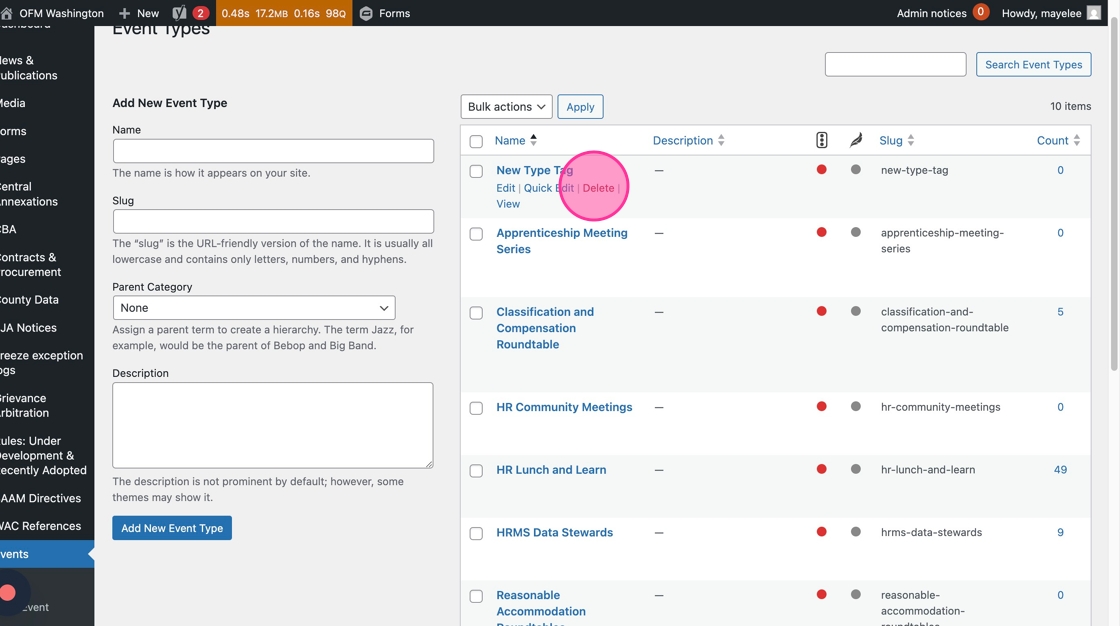
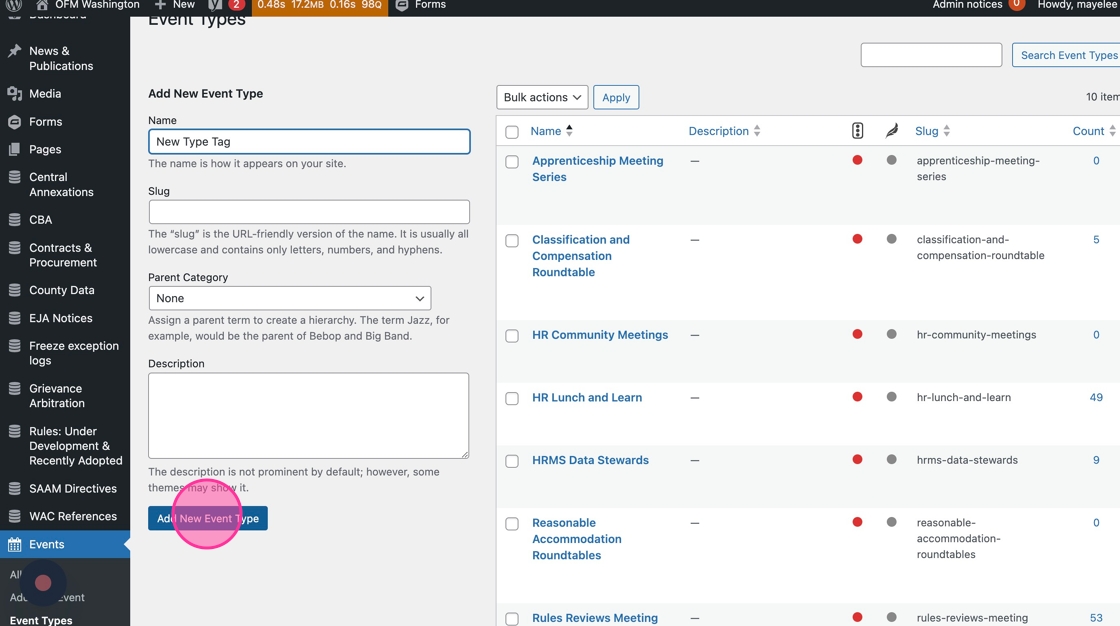
7. Similar to the Category tags, you’ll navigate to the Event Types section to add a new Type tag.
8. Click into the “Name” field and add the new Type tag’s name
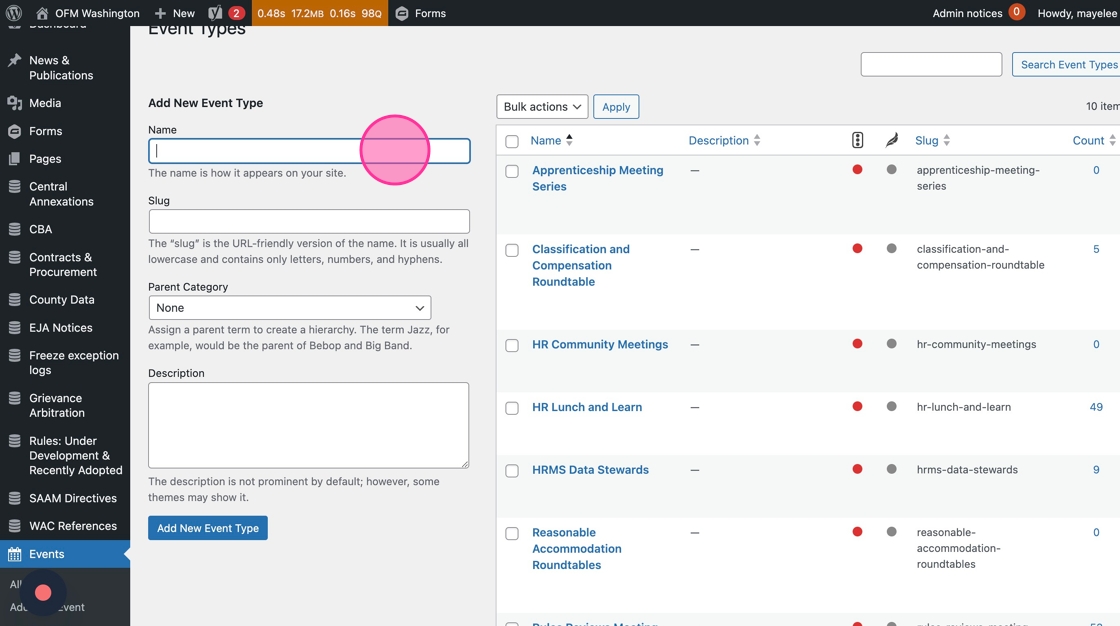
9. Click the Add New Event Type button to save the new Type tag to the list on the right
Tip: That’s it! You can repeat Steps 7–9 as needed to create additional Event Types.
10. Similar to the Category deletion process, you’ll hover over the Type row and click the Delete button to remove it from the list. Note: Proceed with caution as there is no double confirmation or undo option. Deleting a tag will impact the entire organization of the calendar and will impact all links to filtered views of the calendar using this tag.