Manage employee leave requests (supervisor/manager)
Use these procedures to approve/reject employee leave requests, submit Leave Requests on behalf of your direct or indirect employee and view your Team Calendar.
Supervisors should regularly monitor and review employee leave requests from the My Inbox tile to ensure requests are
- Approved/rejected to meet payroll processing cycles.
- Consistent with work schedules and agency-specific procedures.
- Coded correctly in accordance with WAC Chapter 357-31 (Holidays and Leave).
For more information on submitting leave requests, refer to My Leave Request.
For more information on setting up Planned and Unplanned substitutes for leave requests, refer to Manage my substitutes.
In This Section
Approve or reject employee leave request
Use this procedure to approve or reject leave requests submitted by your employees. Also use this procedure to approve or reject leave requests submitted by those employees whose supervisor/ manager assigned you as a substitute while they are out of the office.
For more informaton on setting up Planned and Unplanned Substitutes for leave requests, refer to MyPortal – Manage my substitutes.
If you are on concurrent employment and supervise two team note the following :
For concurrent employees in Single Sign On (SSO) agencies:
- Concurrent Employee in the same agency:
If your agency set you up with the same email for each Personnel Number, you will be directed to the MyPortal logon page after you select your agency’s Enterprise Active Directory option. From there you will logon to MyPortal using your respective Personnel Number and MyPortal password.
If you have different emails for each Personnel Number, you must log off your computer and log back in using your other Personnel Number. You will then be able to logon to MyPortal using SSO.
- Concurrent Employee in different agencies:
You must log off your computer and log back in using the Personnel Number from your other agency. You will then be able to logon to MyPortal using SSO for the agency you are logged in to.
For concurrent employees in Non-SSO agencies: Login to www.myportalext.wa.gov with your respective Personnel Number and MyPortal password.
Step 1
Click the My Inbox tile from your home page or My Inbox tab.
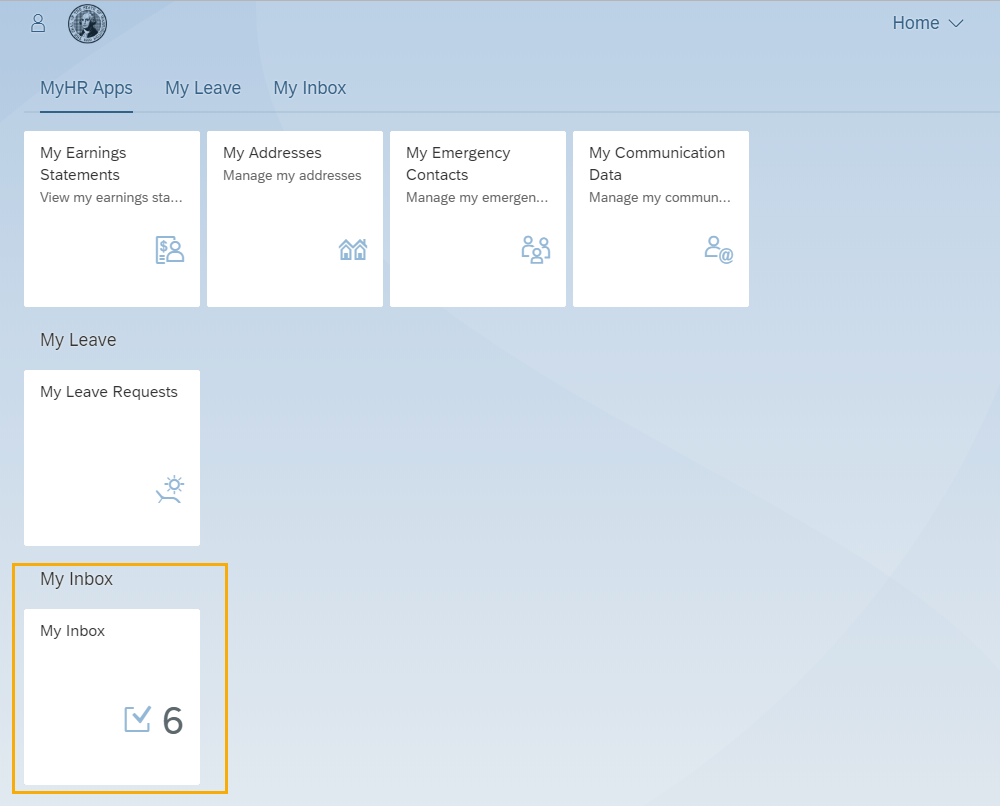
The number displayed on the My Inbox tile indicates the number of items that require action.
Step 2
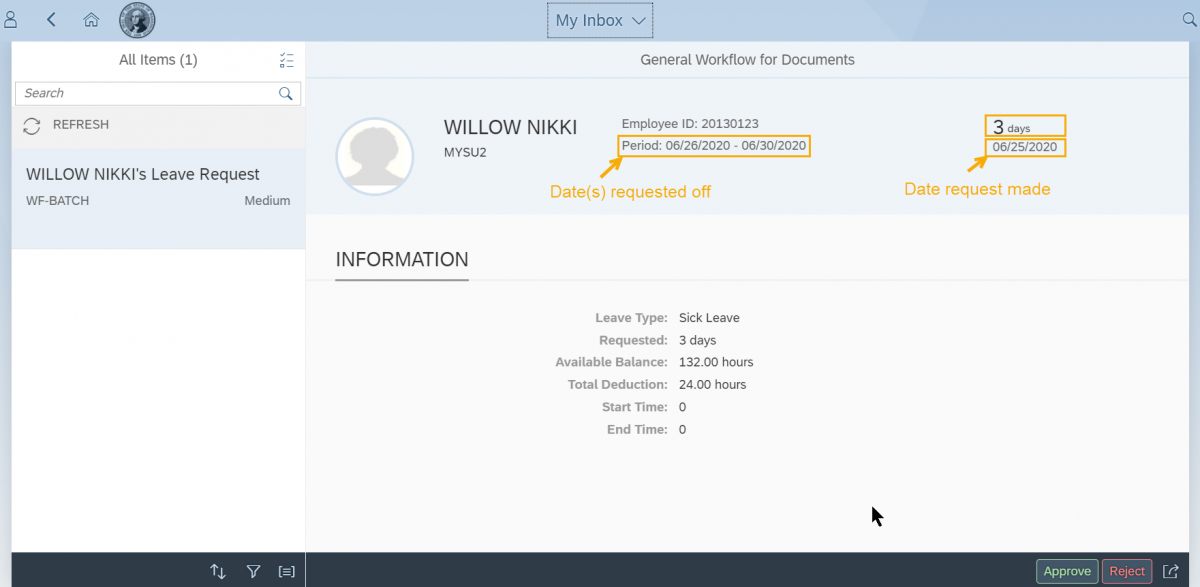
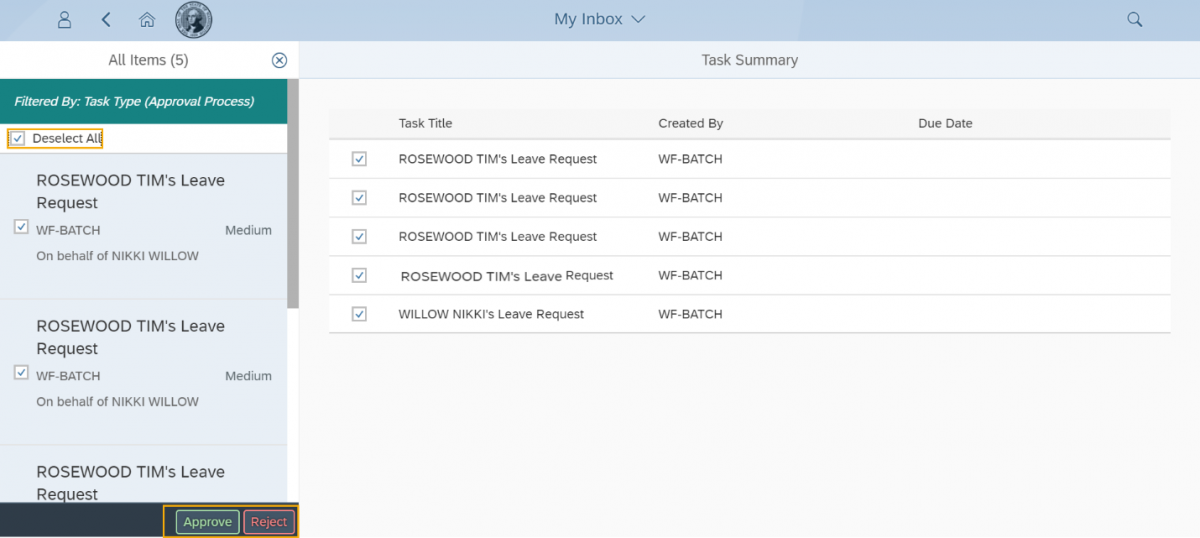
Click on a Leave Request in the All Items pane to review the request detail.
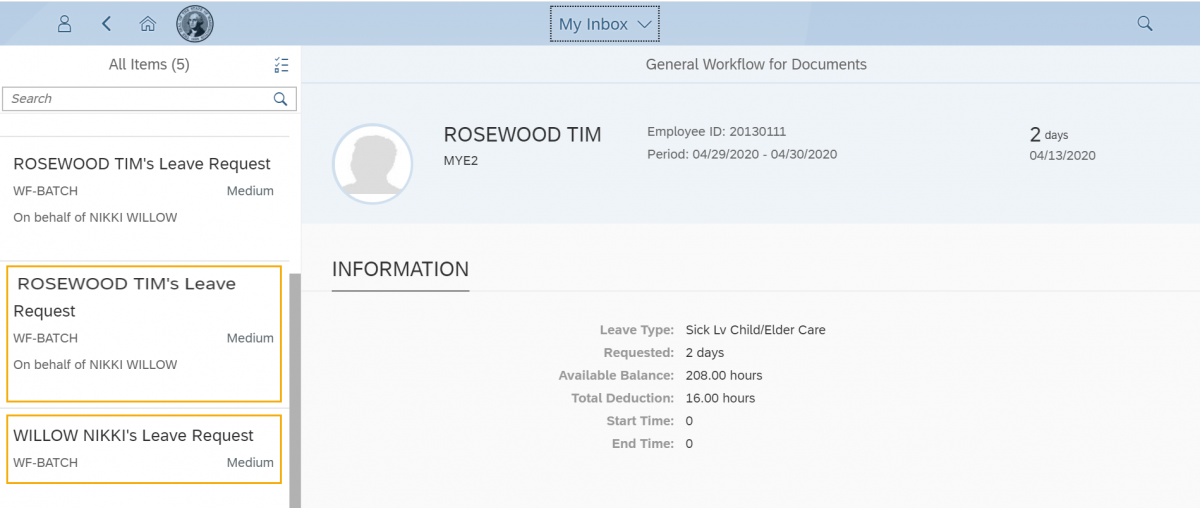
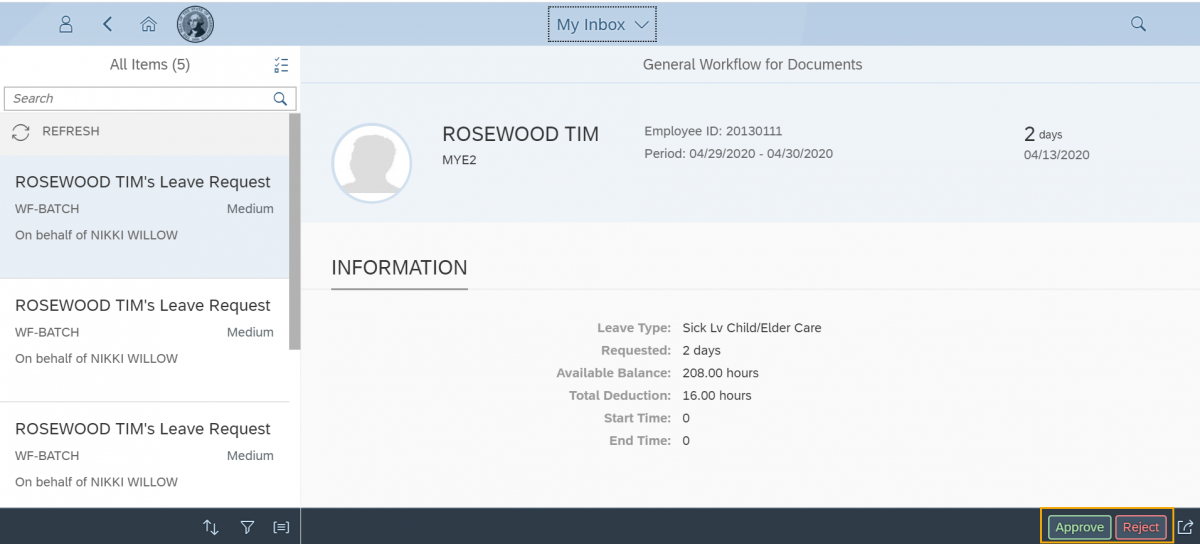
Tip: If you are designated as a substitute you can approve or reject the leave requests for another supervisor/manager’s direct employees. Their leave requests will display “On Behalf of <<Supervisor Name>>” in the leave request as shown above.
The Available Balance listed for the employee includes the deduction for the current request.
Some leave types such as bereavement, inclement weather, and LWOP will not have a ‘Total Deduction’ or ‘Available Balance’ section in the leave request detail since they do not accrue leave and they are not deducted from an existing balance. They will, however, include the Requested hours or days as well as the Start or End Time.
The WF-Batch and Medium text on the leave request indicates the workflow process that brings the leave request into the Approver’s Inbox and the priority of the leave request – this text does not change and does not impact the employee or supervisor.
Enter search criteria in the Search box below the All Items heading to search for a particular employee’s leave request.
The Sort, Filter, and Group By options at the bottom of the All Items pane are not applicable at this time.
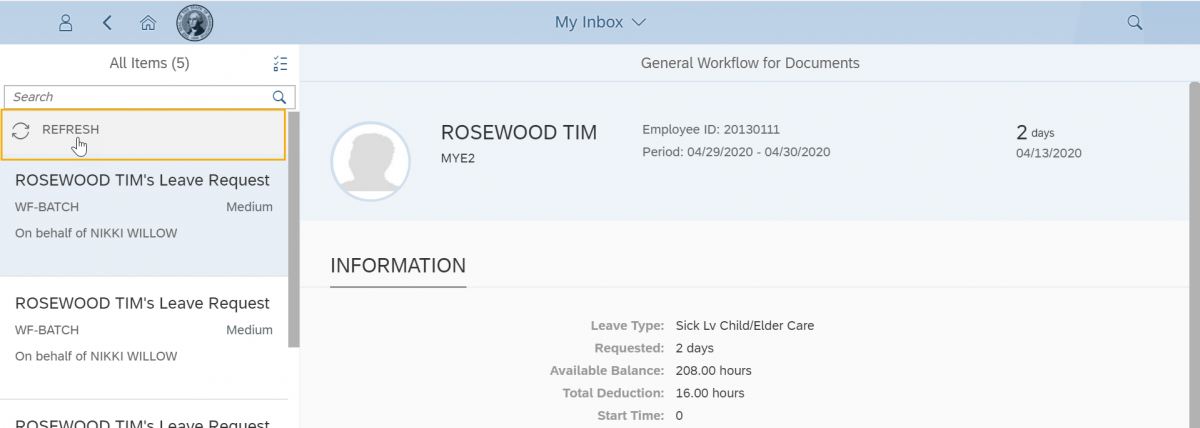
If My Inbox doesn’t refresh, click on the refresh button.
Period displays the date(s) the employee is requesting off. The day(s) listed is the total number of days/hours being requested off followed by the date the request was made.
Step 3
Click the Approve or Reject button.
Tip: During payroll processing, MyPortal may display a message ‘System unavailable, please try again in 1 hour’. If this message is displayed between 12pm and 1pm, wait about 15 minutes and try your request again.
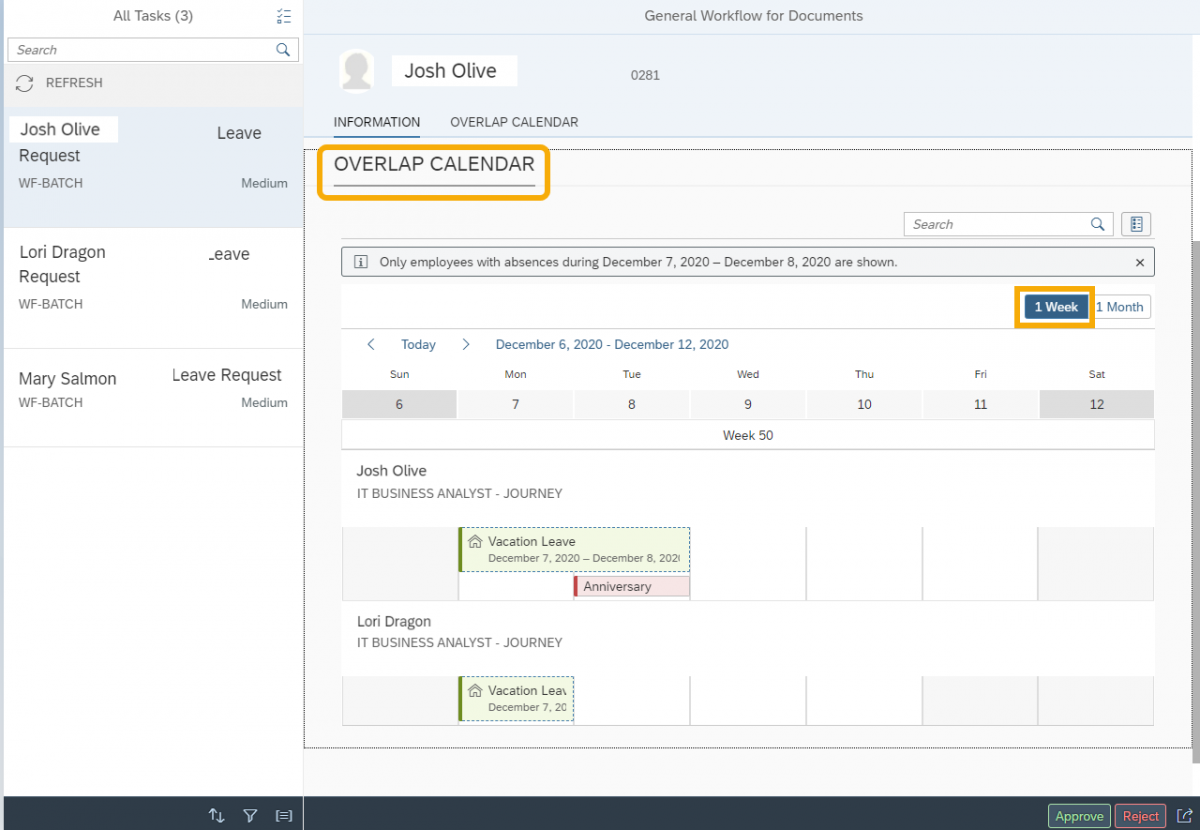
If there are multiple leave requests from your direct or indirect employees on the same day, the leave request will include an Overlap Calendar where you can see who has requested leave for the same day. There is a ‘1 Week’ view and a ‘1 Month’ view. The default and recommended view is ‘1 Week’ since it will show the overlap without having to select a specific day which is an additional step required on the ‘1 Month’ view.
If you are approving leave on behalf of another supervisor, the Overlap Calendar will only display leave overlap if all employees requesting leave on that day have the same supervisor. For example, if your direct report employee is requesting leave on the same day as an employee you are approving leave on behalf, the Overlap Calendar will not display.
Step 4
Add any notes for the requestor and click Submit to confirm the approval/rejection or Cancel to return to the Leave Request without submitting.
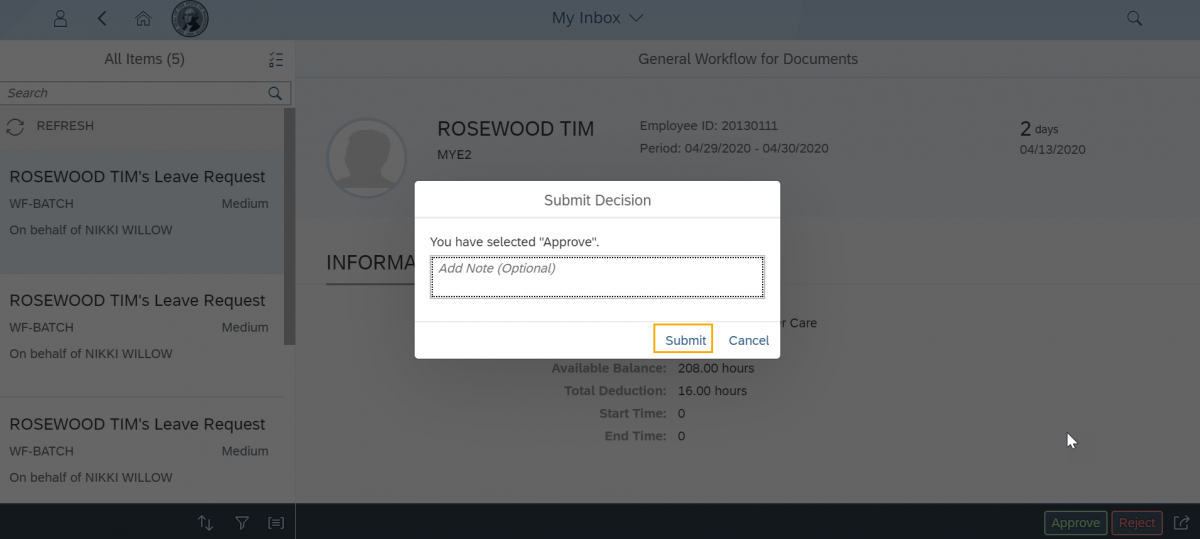
Once you select Submit, you will receive a confirmation message “Task successfully processed” and an email notification will be sent to the requestor once the leave has posted to the Human Resource Management System which occurs every 5 minutes.
Tip: You can approve/reject multiple or all leave requests at the same time by clicking on the Multi-Select option to the right of the All Items heading (Note: Due Date will always be blank). This option will not show the details of the leave requests.
Submit leave request on behalf of my direct or indirect employee
Use this procedure to submit leave requests on behalf of your direct or indirect employees when they are out of the office. You can also edit/delete an existing leave request on behalf of an employee.
Step 1
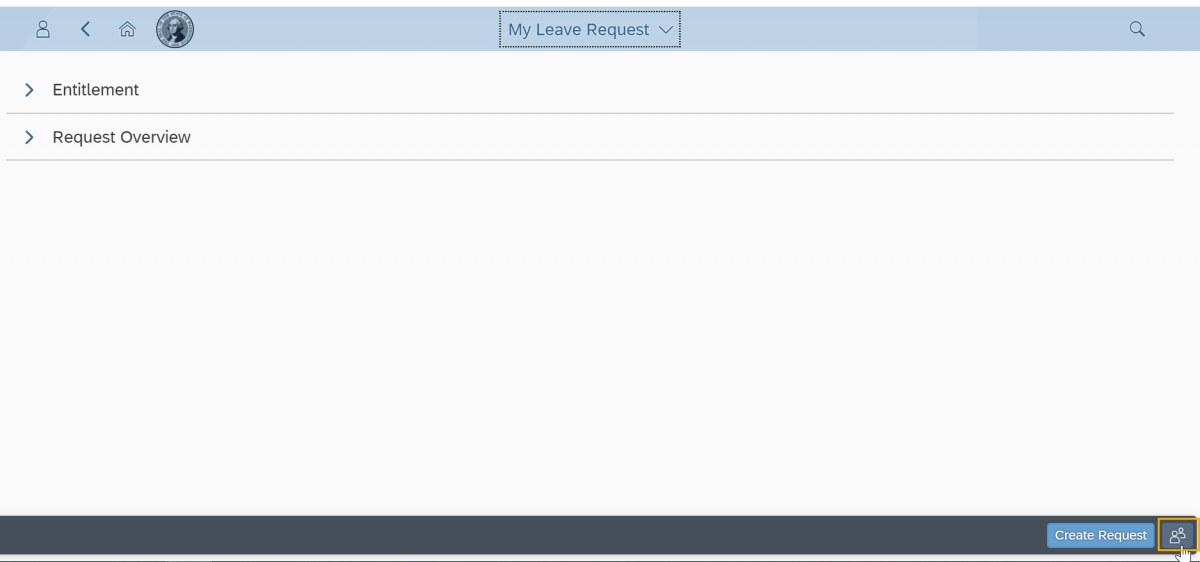
Click the My Leave Requests tile from the home page.

Step 2
Click the “Act on behalf of another employee” button to submit a leave request for your direct or indirect employee.
Step 3
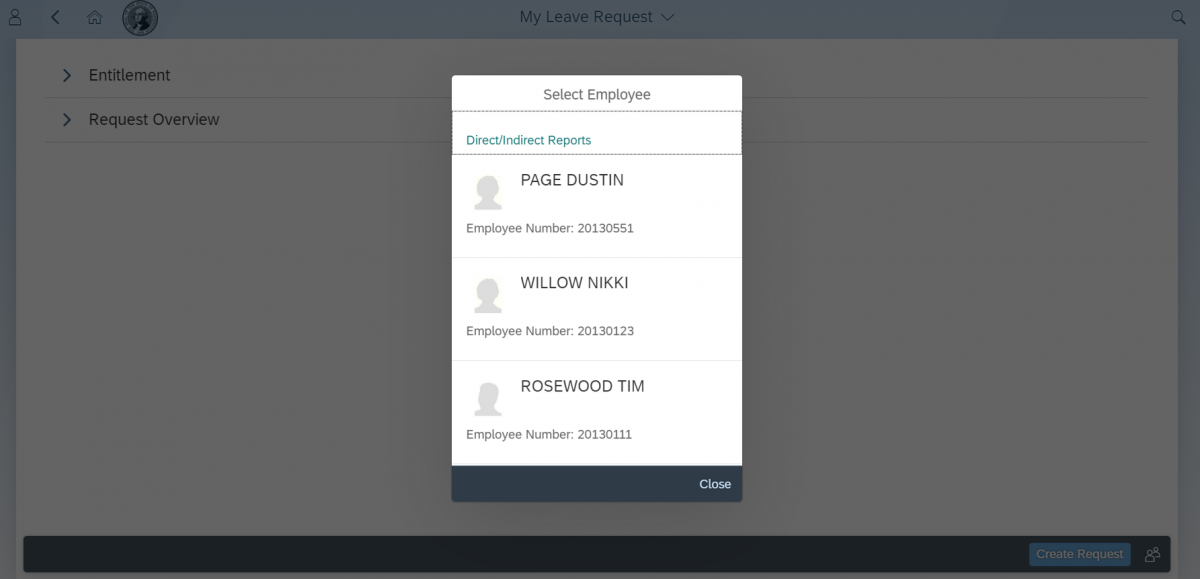
Select the employee you want to submit a leave request on behalf of (Note: You will only see a list of employees that are your Direct and Indirect Reports). Direct reports will appear first in alphabetical order by last name, followed by Indirect Reports in alphabetical order by last name.
Step 4
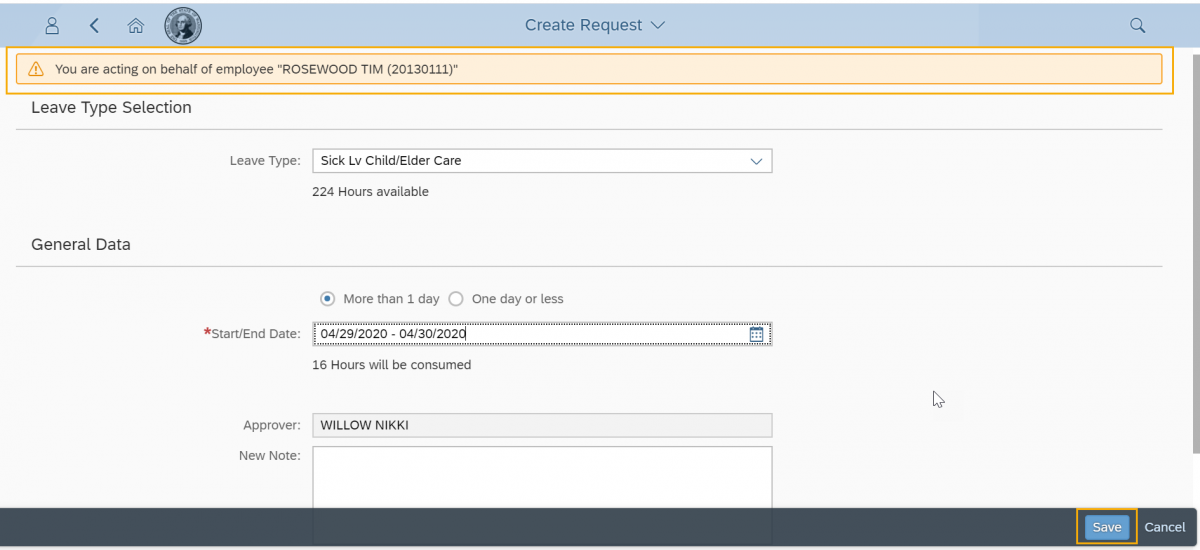
Click Create Request to submit a leave request on behalf of your direct or indirect employee. You will see a caption at the top of the Entitlement area that you are acting on behalf of an employee.
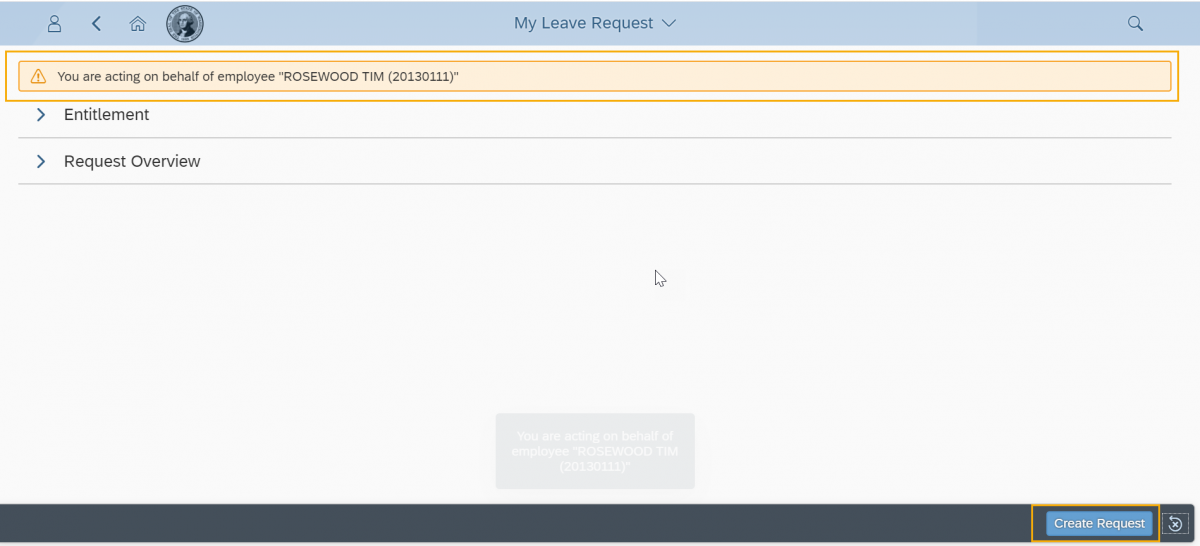
Note: You can also edit/delete a leave request on behalf of your employee by expanding the Request Overview section and selecting an existing leave request.

Step 5
Fill in the leave request and click Save to submit. Refer to the MyPortal – My Leave Request user procedure for more information on submitting a leave request.
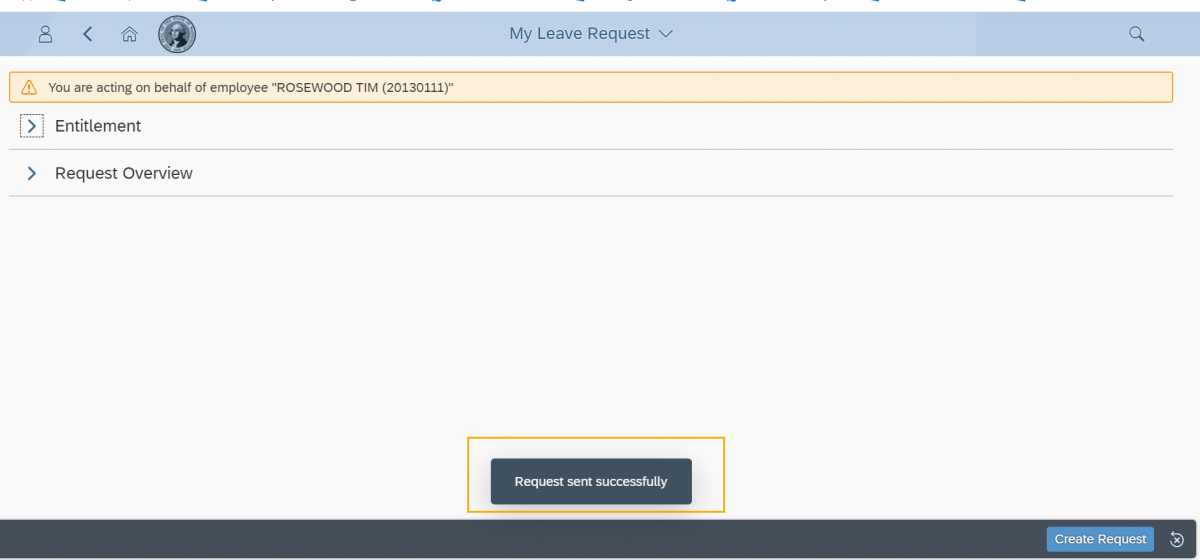
Step 6
You will receive a message “Request sent successfully”.
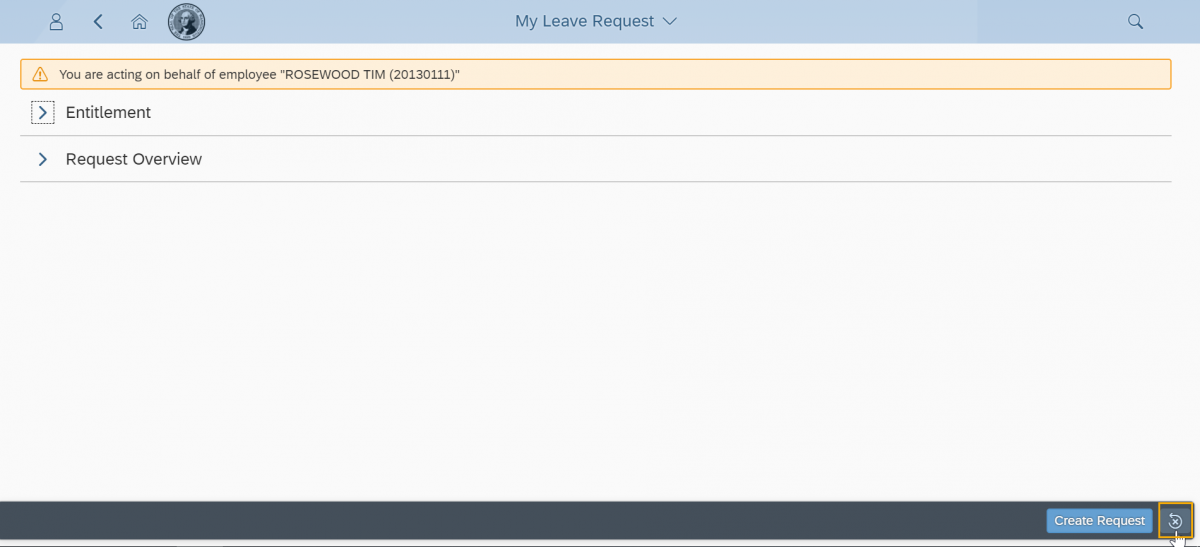
Step 7
Click the “Act as yourself” button to return to your own view.
Tip: Return to My Inbox to approve the leave you submitted on behalf of your direct or indirect employee.
My team calendar
Use this procedure to view absence and anniversary date information for your direct and indirect reports in a calendar view. You can also view absences and anniversary dates of peers within your organizational hierarchy structure.
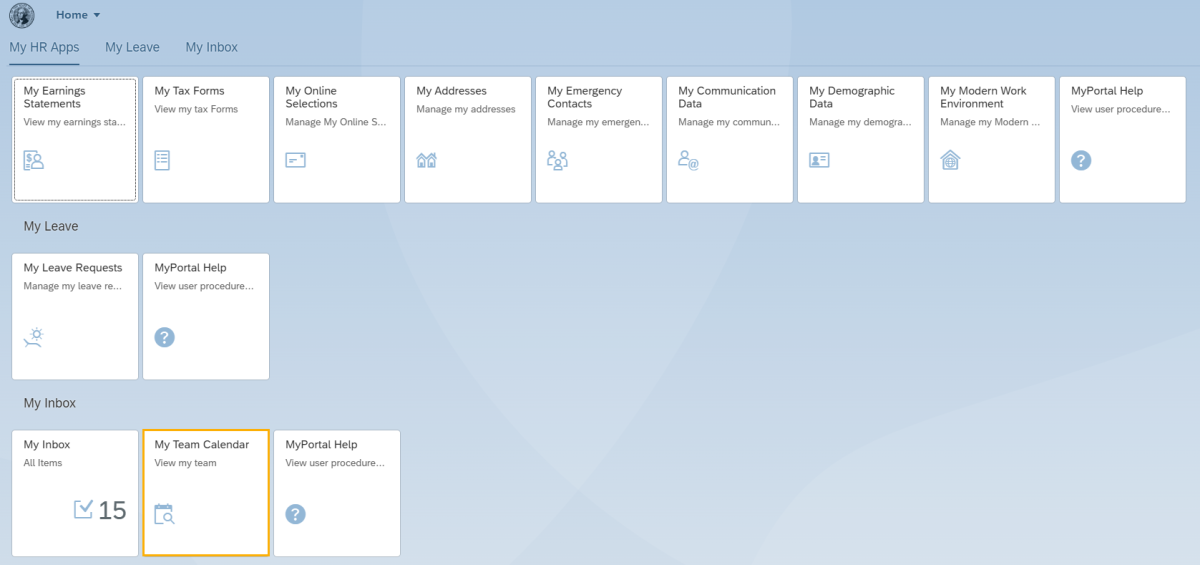
Step 1
Click My Team Calendar.
Step 2
My Team Calendar will display the Colleagues, Direct Reports and Indirect Reports tabs by default. Click the Colleagues tab to view high level absence information for your peers within your organization.
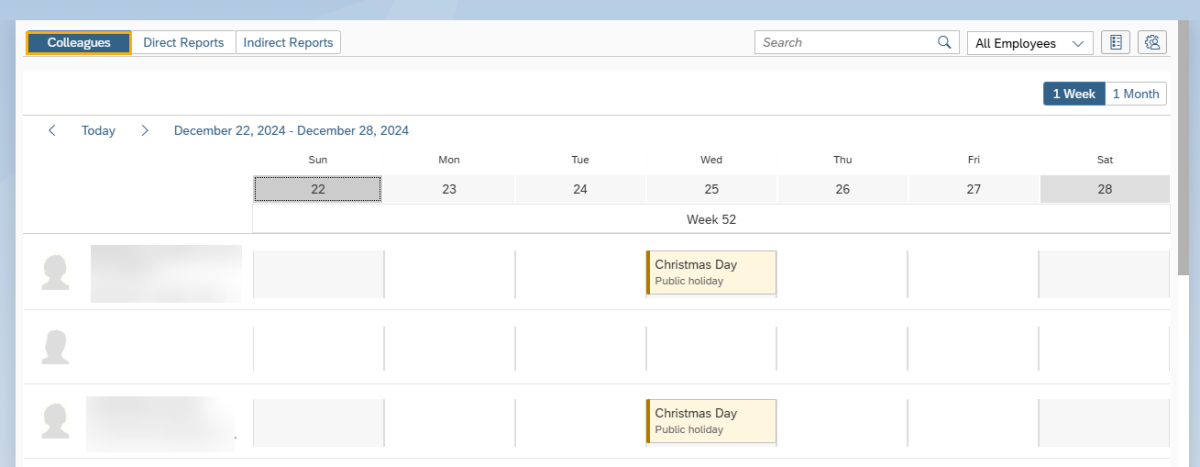
Tip: The colleagues are based on the agencies org structure (using the chief/manages relationship). An employee’s colleagues would be their peers that report to the same supervisor.
If you are seeing direct reports listed on the Colleagues tab, contact your HR office to ensure your position is set up as a chief position in the org structure in HRMS.
Step 3
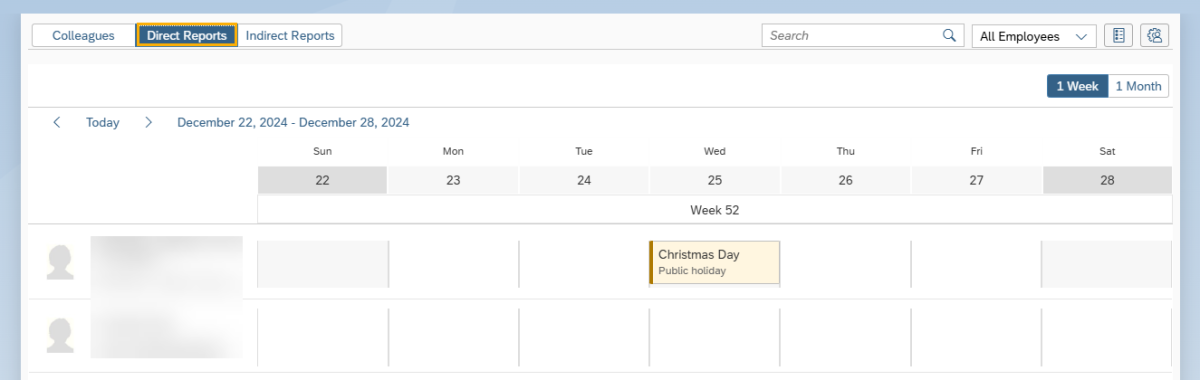
Click the Direct Reports tab to see high level absence and anniversary dates for your direct reports.
STEP 4
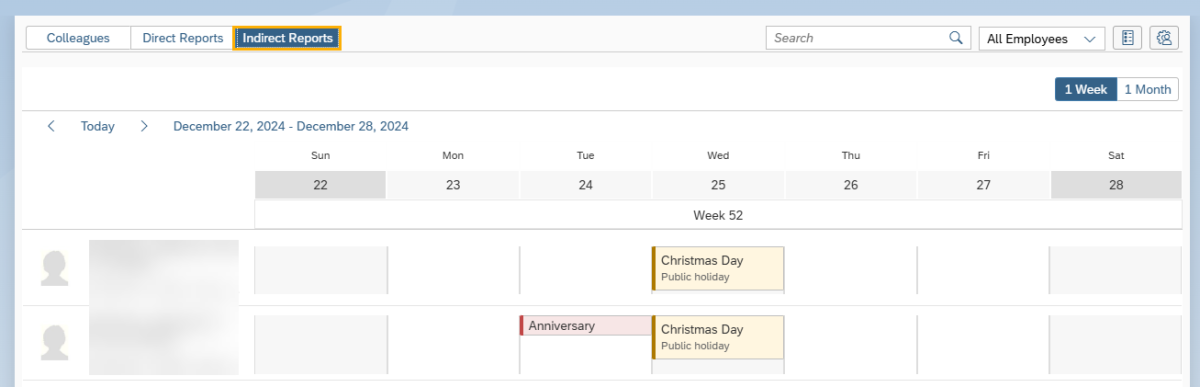
Click the Indirect Reports tab to see high level absence and anniversary dates for your indirect reports.
Step 5
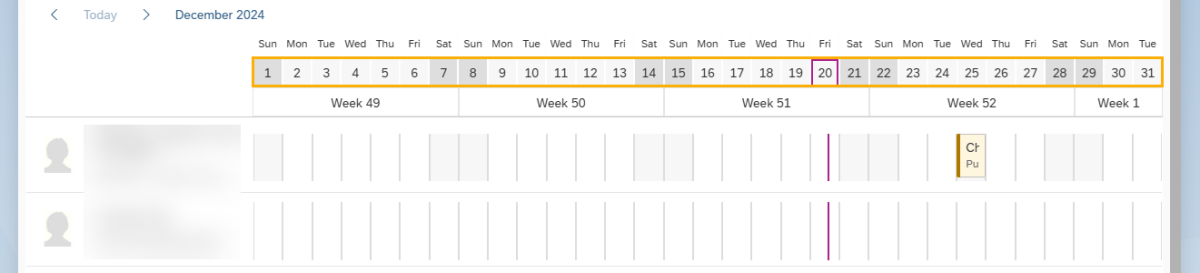
The calendar displays a weekly view by default. Click the 1 Month icon to view the calendar by month.

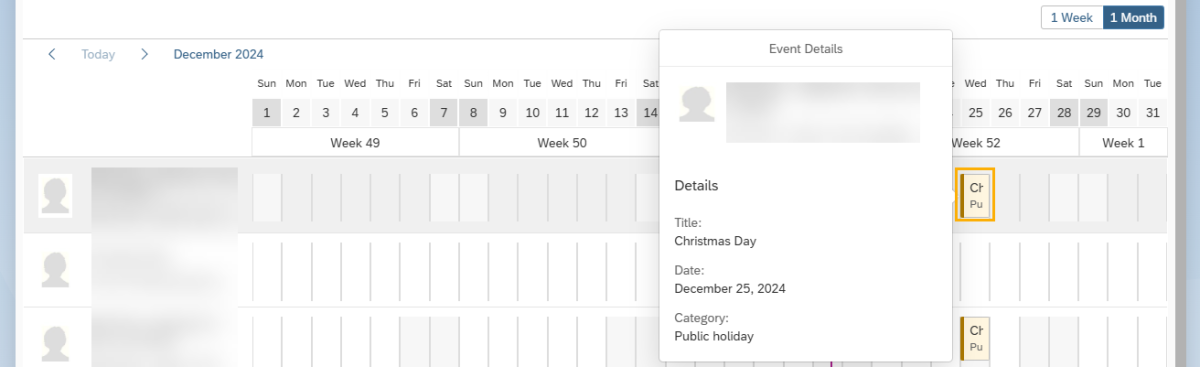
Tip: The month title will display above the days within the month. Click a date to view absence information for that specific day.
Click a date with an indicator and a pop-up box will display with detailed information.
Step 6
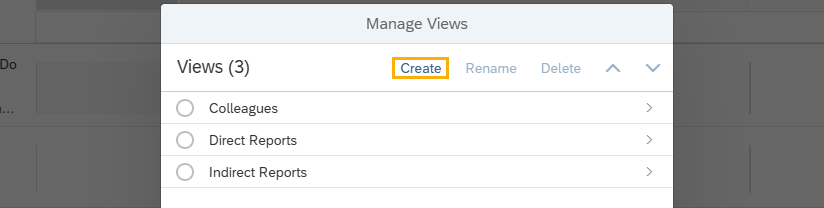
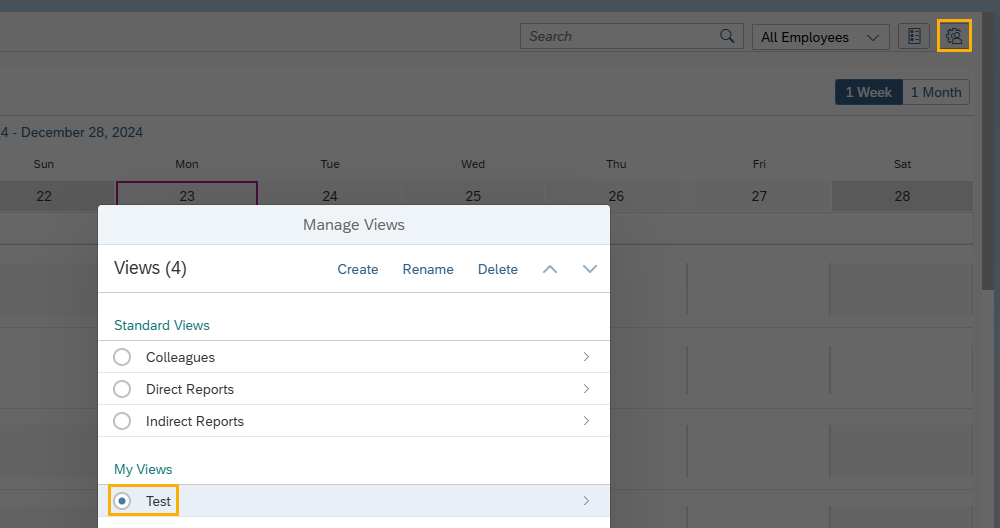
(Optional) You can create your own custom calendar view. Select the Manage Views icon.

Click Create.
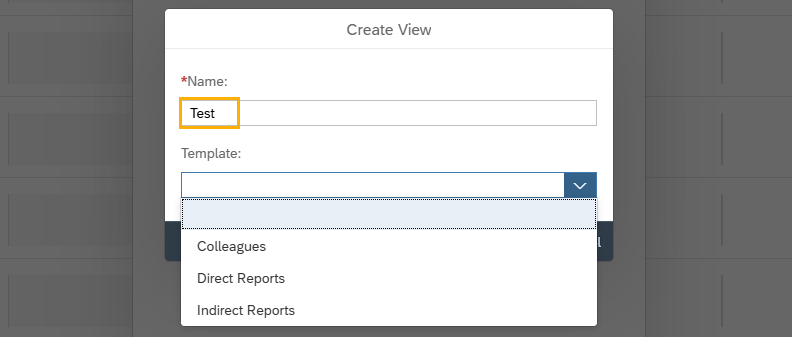
Enter a name for your custom view. Select a template from the dropdown menu or leave this section blank. Click OK.
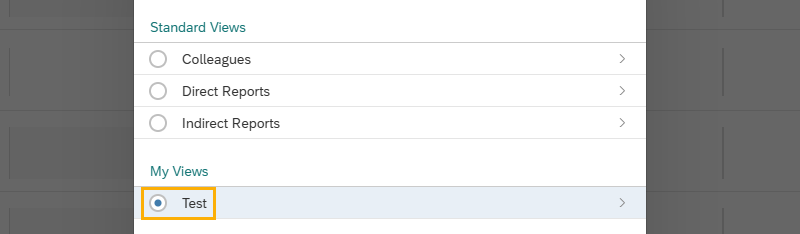
Click the new custom view.
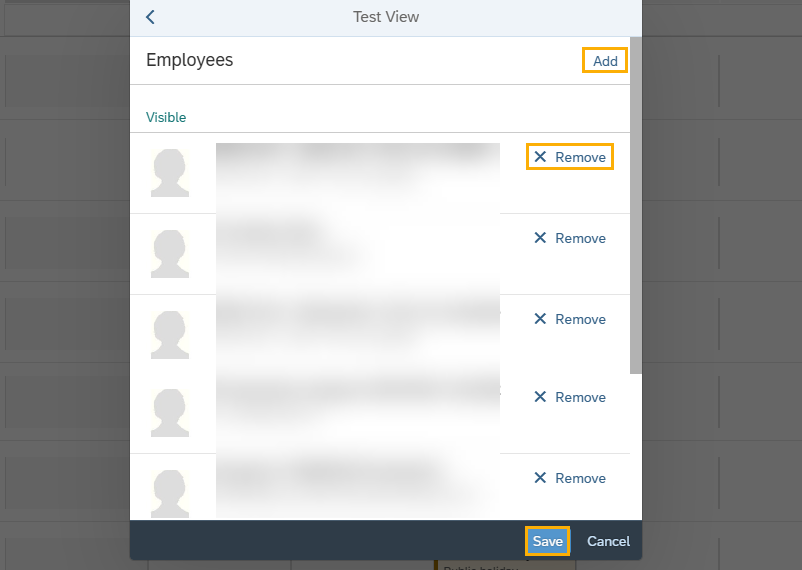
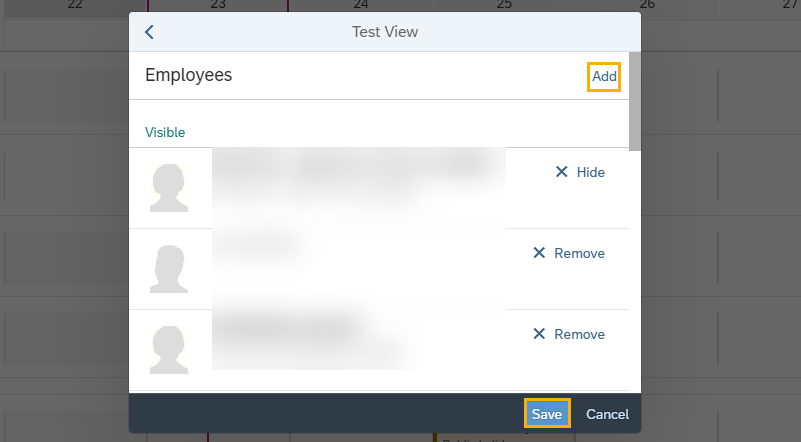
Click Add if you want to view additional employees. Click Remove if you no longer want to view an employee. Click Save.
Use the drop-down menu to select your custom calendar view.

Step 7
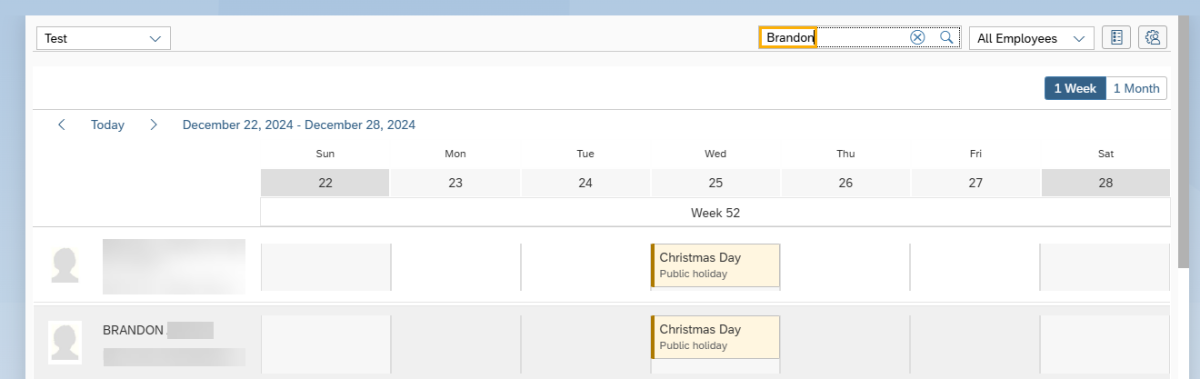
Use the Search field to search for employees by first or last name.
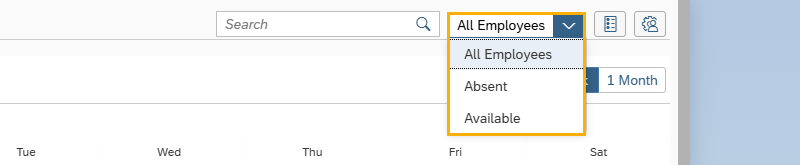
You can also select absent or available employees from the dropdown menu next to the Search field.
Step 8
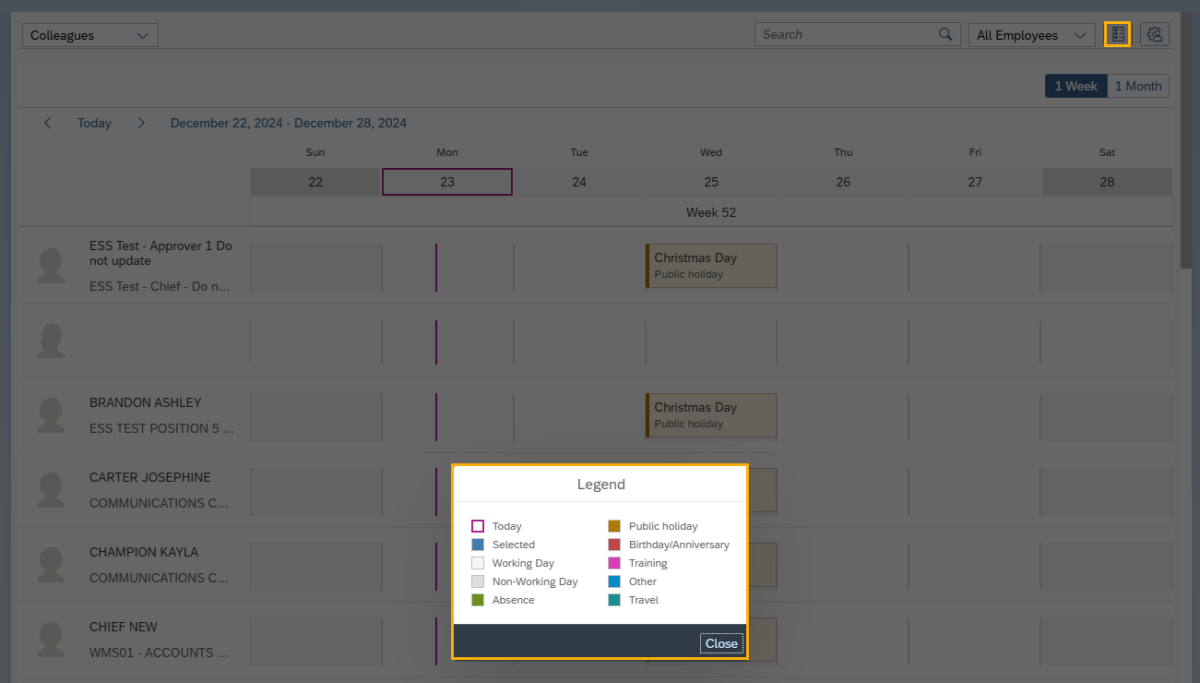
Click the Show Legend icon to view the calendar display values.
Step 9
You can change which employees you want to see by clicking Manage Views and selecting a view.
Step 10
Click Hide or Remove if you no longer want to view an employee. Click Save.
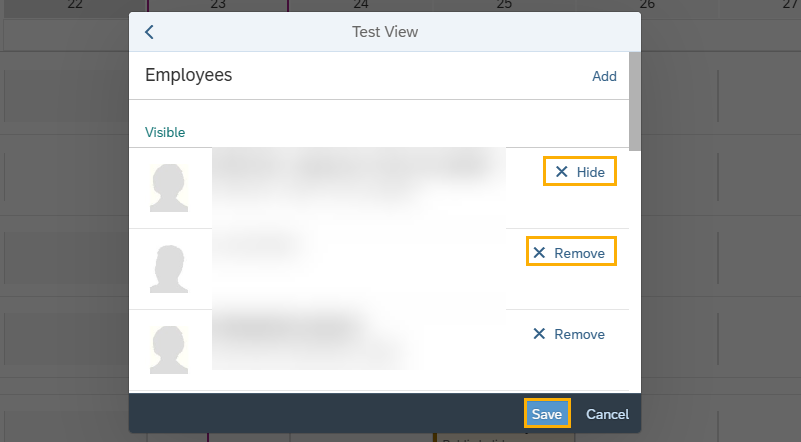
Tip: You can only remove employees from your custom view. Employees can only be hidden in the Colleagues, Direct Reports or Indirect Reports views.
Step 11
Click Add to if you want to view additional employees. Click Save.
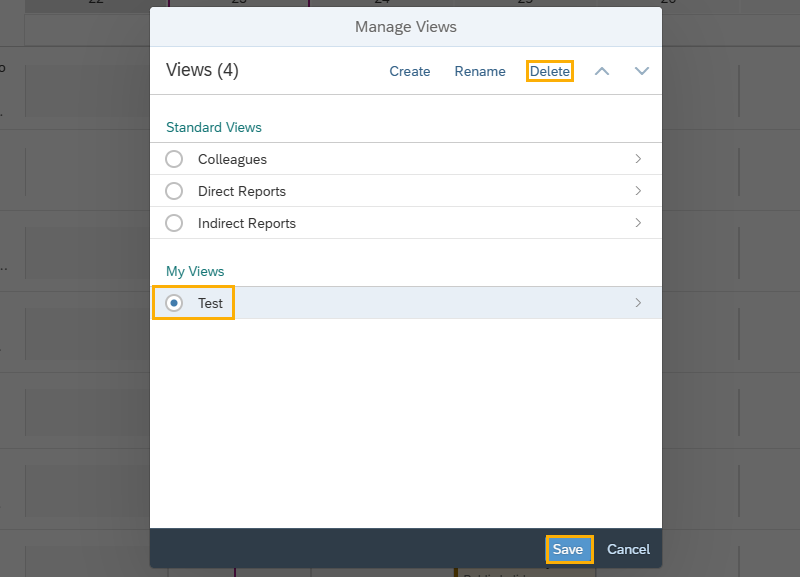
Step 12
You can delete a custom view. Select the view from the Manage Views screen and click Delete. Click Save.