


Advice on Using the Page Editor
Take a close look at tips and tricks for using the WordPress page editor.
In This Section
Adding Content Modules
Adding content modules to your pages
The Basic Page and Basic Page with Tabs templates are primarily made up of modules that you’ll mix and max to create unique layouts for your content. Here’s how to get them onto your pages.
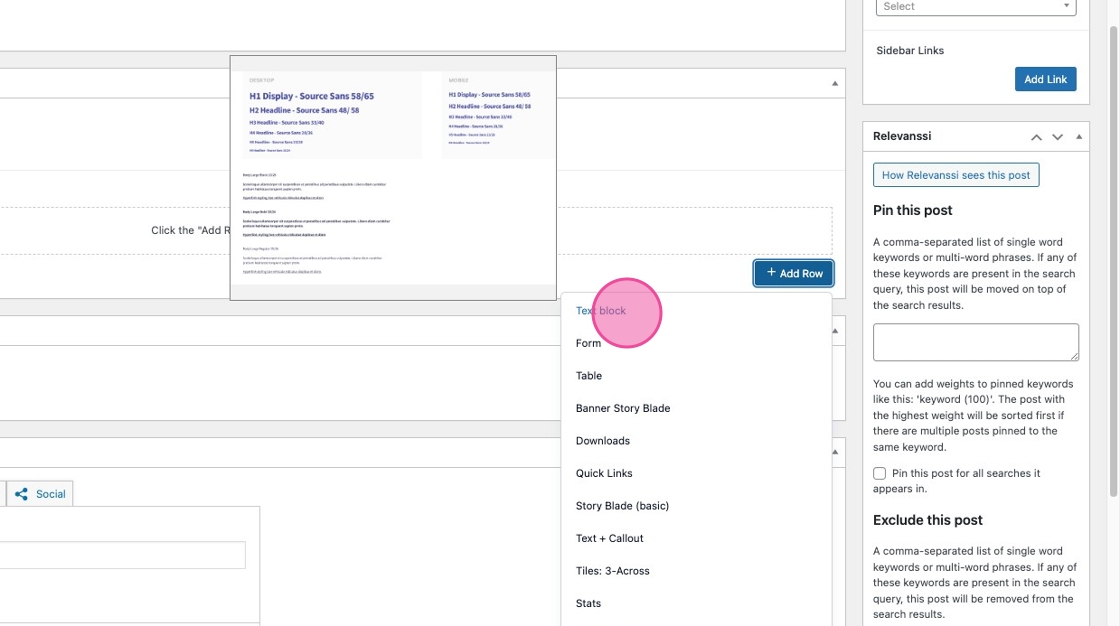
Click “Add Row” to add content modules one by one to your page

Note: Hovering over each one will give you a sneak peek about what the block looks like
New modules are added expanded by default — with all of their fields open. Click “Collapse All” to minimize all modules.

Clicking on the header of a collapsed module will pop it open.
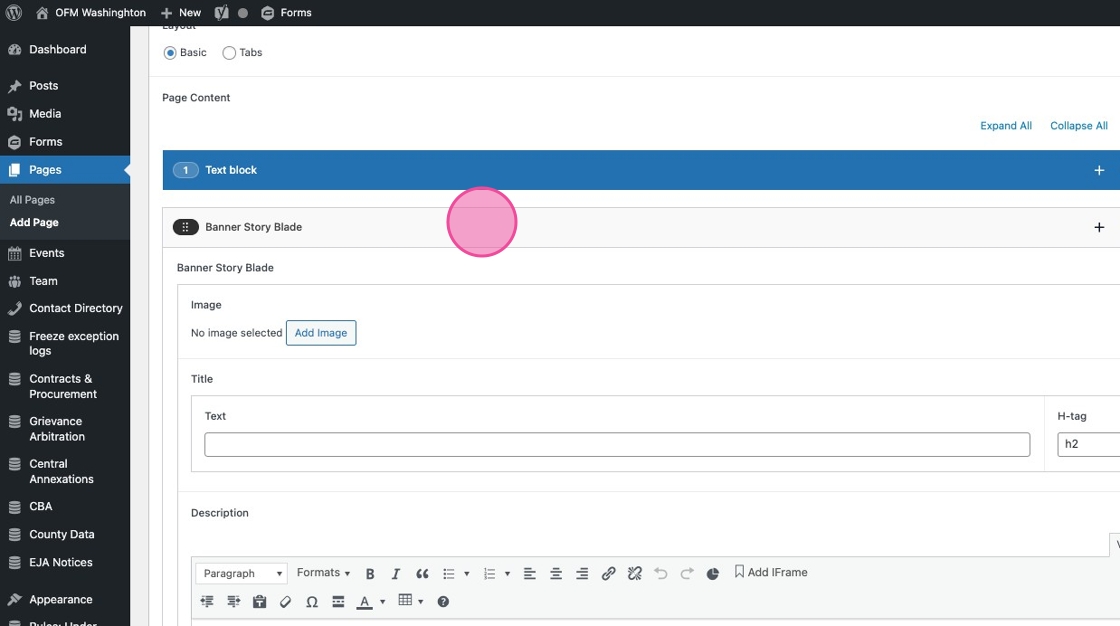
Hover and click on the six dots to drag+drop a module where you want it to go.

To insert a module in the middle of your existing modules, click the + button and select a module from the menu of options.

Click the 3-dot menu to see additional options, including:

- “Rename” to change the label of your module from its default
- “Disable” to hide content from the front end. This is helpful if you’re working on an update or are in the middle of drafting content on an already published page.
- “Delete” to remove a module. You will be required to “double-confirm” you want to delete to help prevent mistakes.
Click the “Duplicate layout” icon to — you guessed it — duplicate a module. This includes all content that you have inputted into that module, like text, links, and files.

Using the Text Block for iFrames, tables & more
Text block deep dive
Meet the Text block — also known as: Rich Text Editor or WYSIWYG editor. The toolbar at the top of this editor includes a host of features and styling options, similar to a Word document. Here are a few that may come in handy.
Creating <h> header text
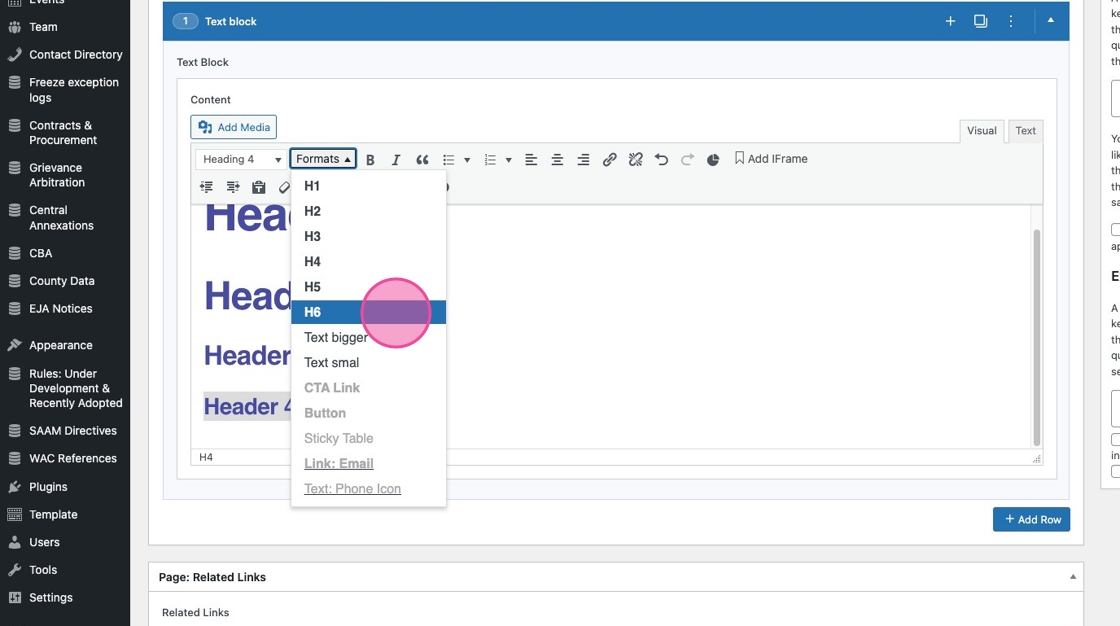
Highlight text and change it to header text using the paragraph dropdown
This dropdown determines what <h> tag your text be coded, and creates the hierarchy of the content on the page. This is an important part of accessibility.

Formats dropdown
If you want to change the visible styling of your header text — for example, to make an H3 header look like an H6 header — use for Formats menu.
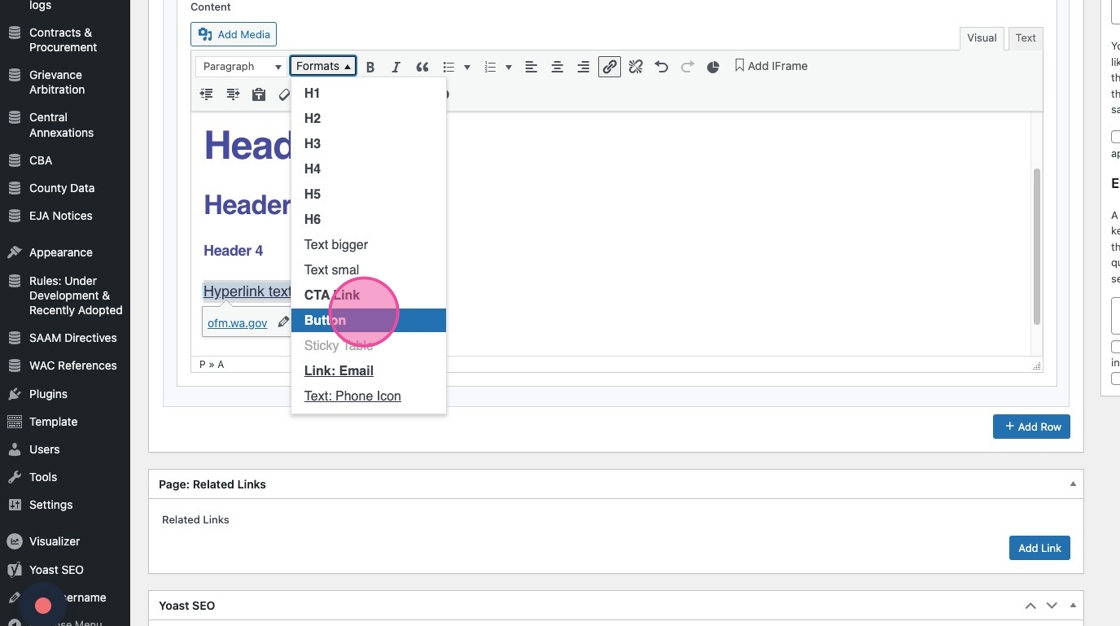
You can also use the Formats dropdown to change the look of a hyperlink — making it a button, a CTA-style link, etc.
Video
Add a YouTube video into your Text block by simply pasting in the video URL. It will automatically render.

Tables
You can insert Tables into the Text block

Create header columns and rows through the Cell Properties menu.
If you have a table with a lot of columns, you can make the first column “sticky” on scroll using the Formats dropdown.

iFrames
Click “Add IFrame” to insert the URL of your iframe content, such as PowerBI dashboards

Charts
Coming soon!
Adding to the Media Library
Adding to the Media Library
All files hosted on OFM’s site — PDFs, images, Word docs, Excel files, etc — are saved in the Media library.
The same folder structure you were familiar with on the Drupal version of the site has been applied to the WordPress media library. Here’s how you’ll add a new file.
1. From the dashboard, click “Media”

2. If you need to, drag the 3-dot icon to make your folder menu wider or skinnier

3. To create a new sub-folder for your Division, click on the parent folder

Click the Add Folder icon
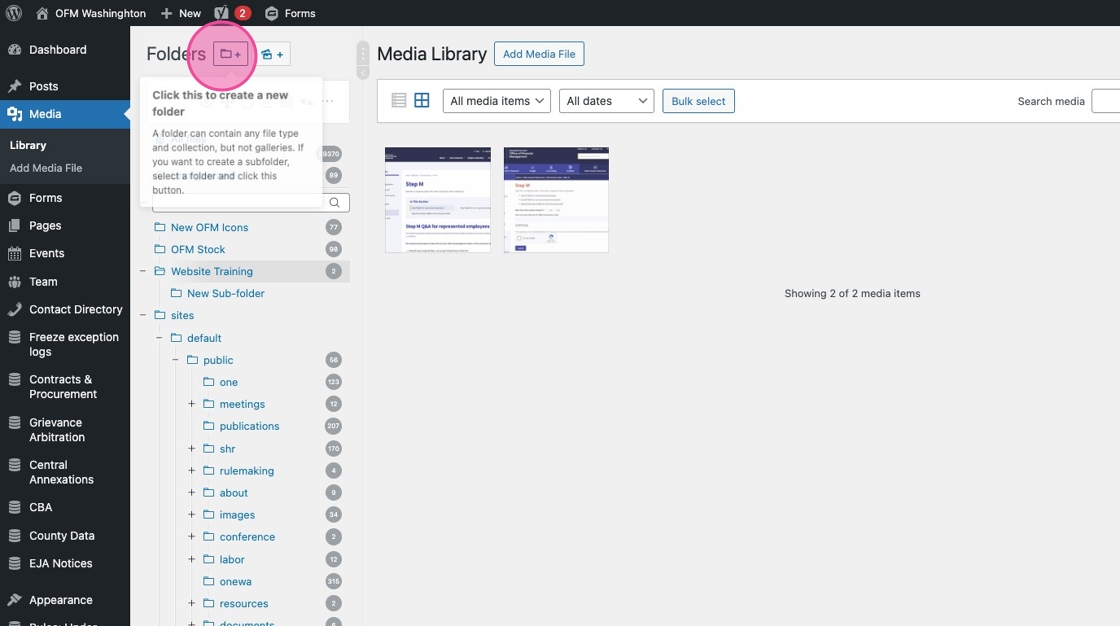
Title your new sub-folder and hit “Enter” or click away

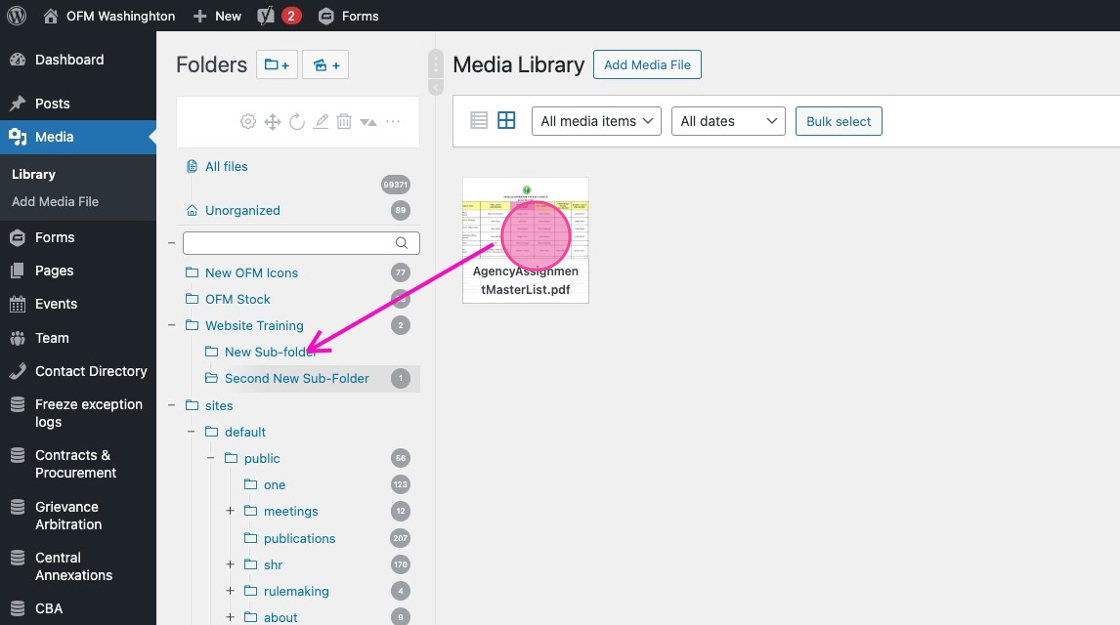
4. To add media to any folder, click “Add Media File”

If you add it to the wrong folder, simply drag it where it needs to go
Update your file’s meta data — like Alt text and title — by clicking into the file. It will automatically save when you X out of the file.

Linking to PDFs and other files
Linking to PDFs and other files
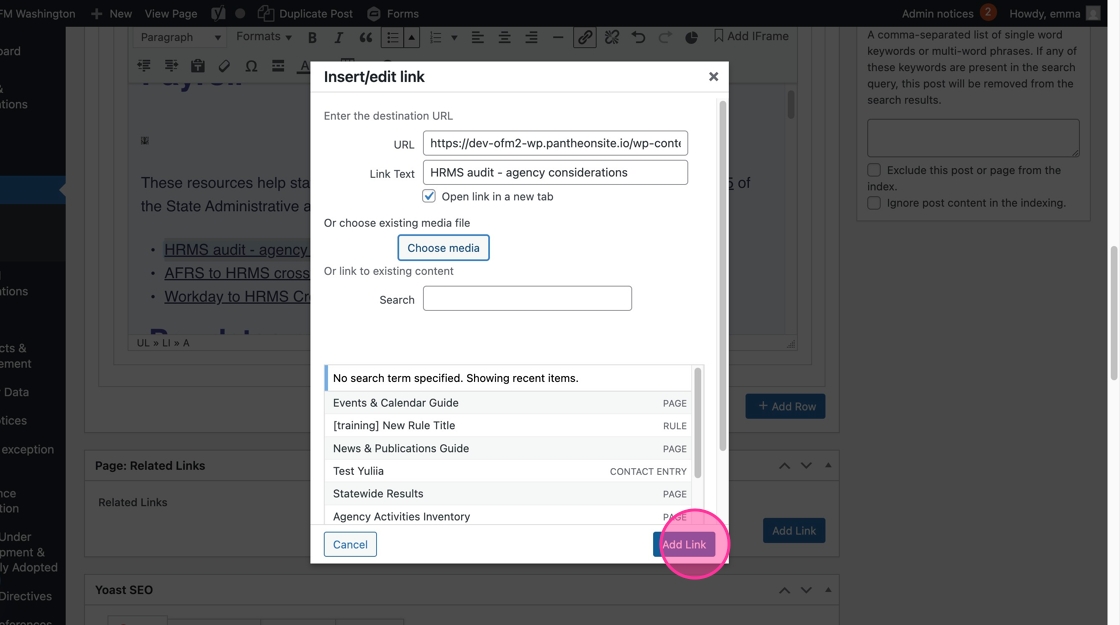
The easiest way to link to a PDF, doc, spreadsheet, or other file is through the link selector.
1. Highlight your link text

2. Click “Insert link”

3. Click the gear icon

4. Click “Choose media”

5. Select the file you want to link to, either in your Division’s folder, or using the search bar

6. Click “Add Link”
The same process applies if you’re linking to a file from a content module like the Downloads module, populating a CTA, or adding a Related link.


Organizing the Sidebar Navigation
Organizing the Sidebar Navigation
All newly published pages will automatically be added to the top of the on-page sidebar navigation, under its parent page.
In this example, I want to move the page “How to do business with OFM” so it is first, above “OFM Supplier Diversity Program”

1. In the admin panel, hover over the Parent page (Procurement and sole-source contracts) > Click Navigation Order

2. Then, click on the page you want to reorder, and drag it its correct order.

3. That’s it! This new order will automatically save and display on the front end.
Replacing a Document or File Link
Replacing a Document or File Link
You can “overwrite” and replace an existing document or file with a new version in the Media Library. This is a good option if you need to replace the file everywhere it is being linked to throughout the site, and/or if you are frequently updating the same link with new information.
1. Navigate to the Media library and click on the file you want to replace, either in your Division sub-folder, or using Search Media

2. Click “Upload a new file”

3. You can either drag-and-drop your new replacement file into the New section, or click into the white box to upload the file from your computer

4. Scroll down to select one of two options:
- Just replace the file will overwrite your existing file, but keep the same file name, link address, title, etc. Using this option, you must replace the file with the same file type — for example a PDF with another PDF. You cannot replace a PDF with a Word Doc.
- Replace the file, use the new file name, and update all links will update everything including the file name and link address. Note that if other websites are linking directly to the old file, their links will break.

5. You’ll also find the option to update the date, if you’d like to.
7. Click “Upload” to finish replacing your file