Create a New Basic Page with Tabs
This is the second most common page type on the new WordPress site. Use it when you’d like to make a clump of like-minded pages all live together in one section.
1. Click on Pages
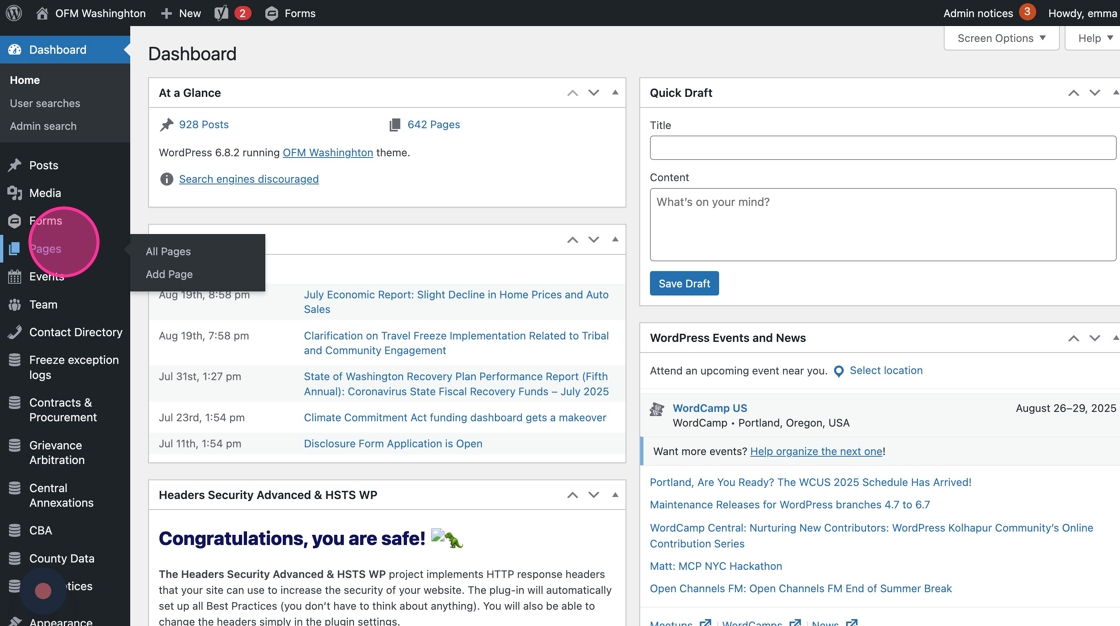
2. Hover over the parent page of your new page, then click Create Child Page
Don’t worry if you choose the wrong parent page. You’ll have a chance to update it in step 5 if needed.

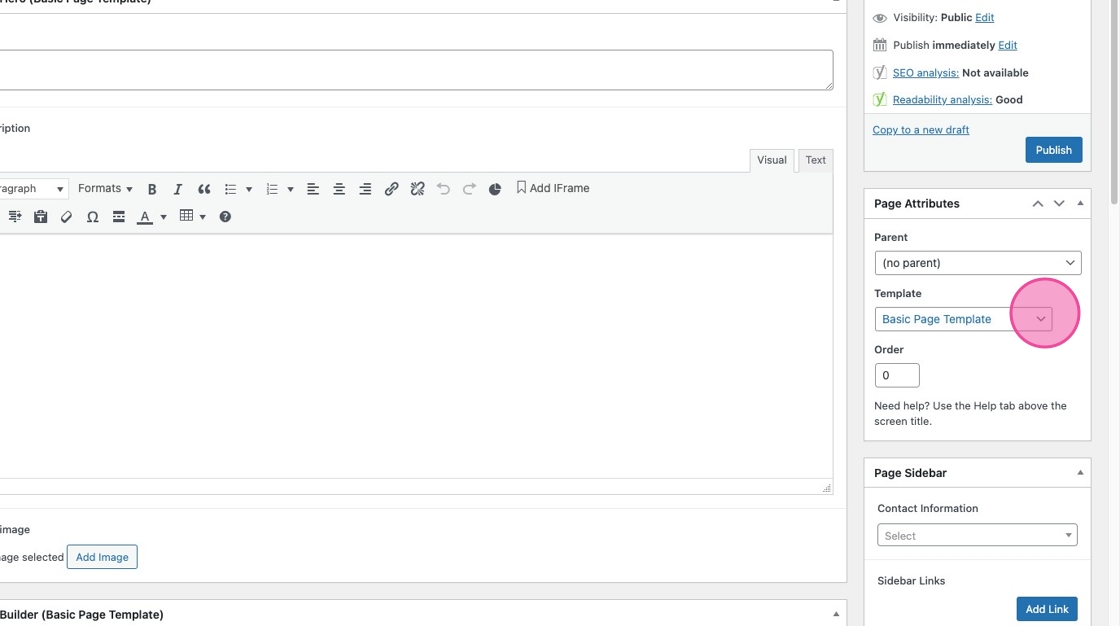
3. Under Page Attributes > Templates, make sure you’ve selected Basic Page Template
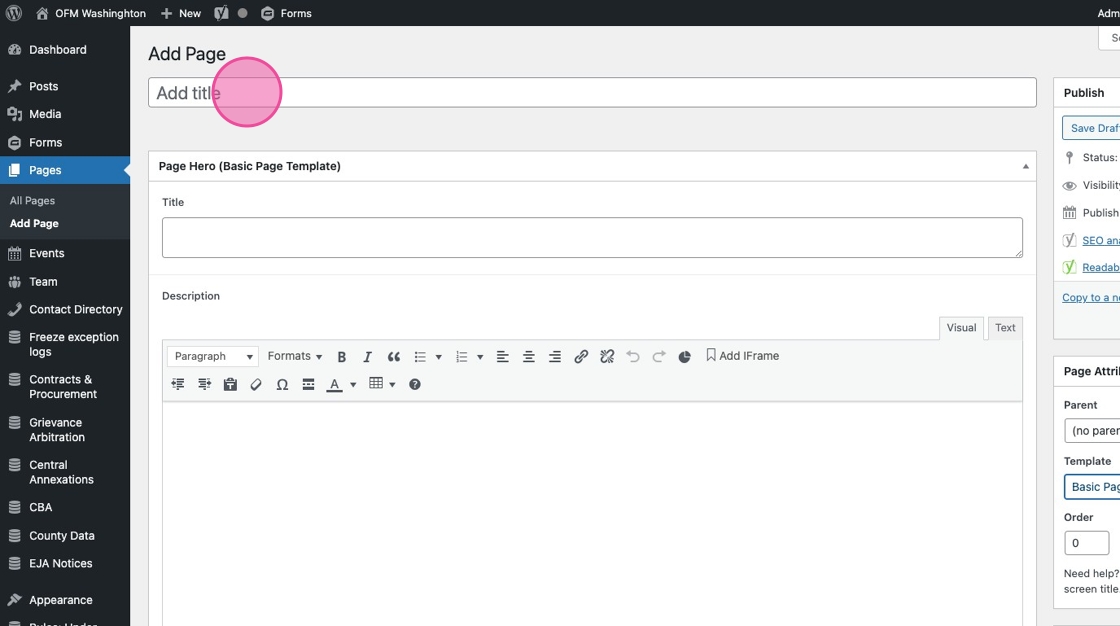
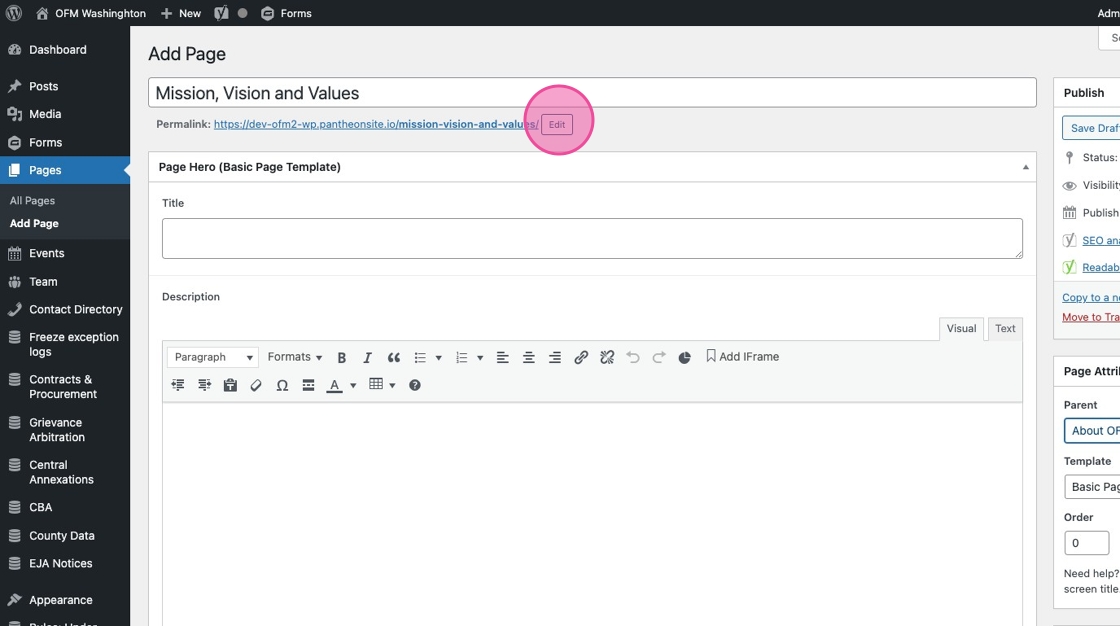
4. Add your page title
Note that this is what will show up as the title in the WordPress admin panel, and in the on-page navigation. It does not necessarily need match what the H1 title will be on your page.
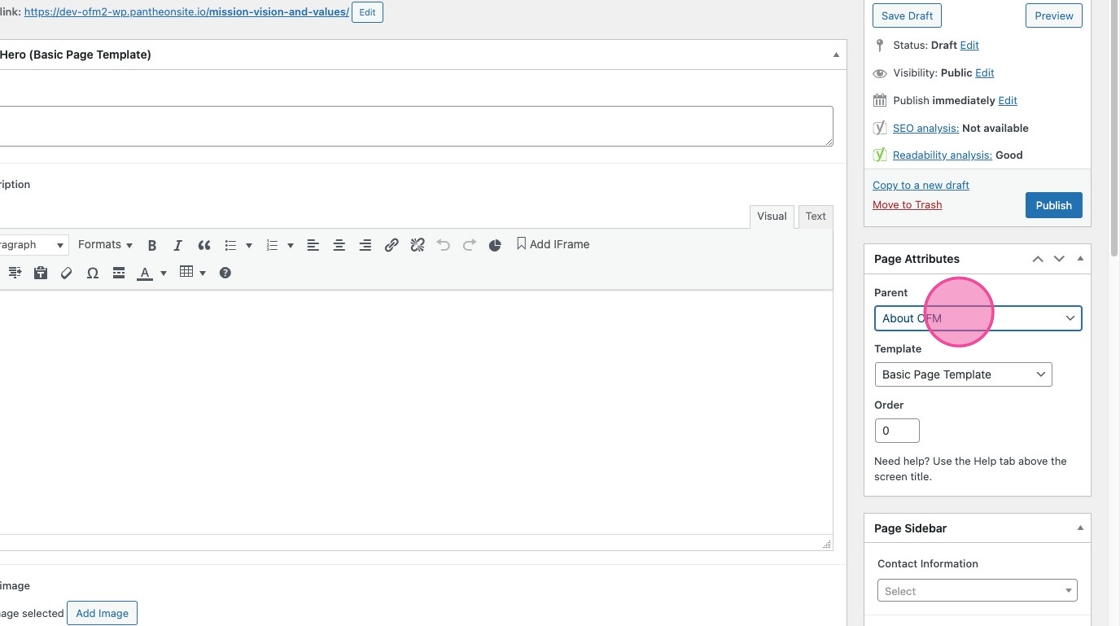
5. Select a parent page from the dropdown of published pages.
This determines how your page is nested on the site and the URL path. Your parent page should be the most relevant page in the hierarchy of the sitemap. Email alma.perez@ofm.wa.gov for help determining your parent page.
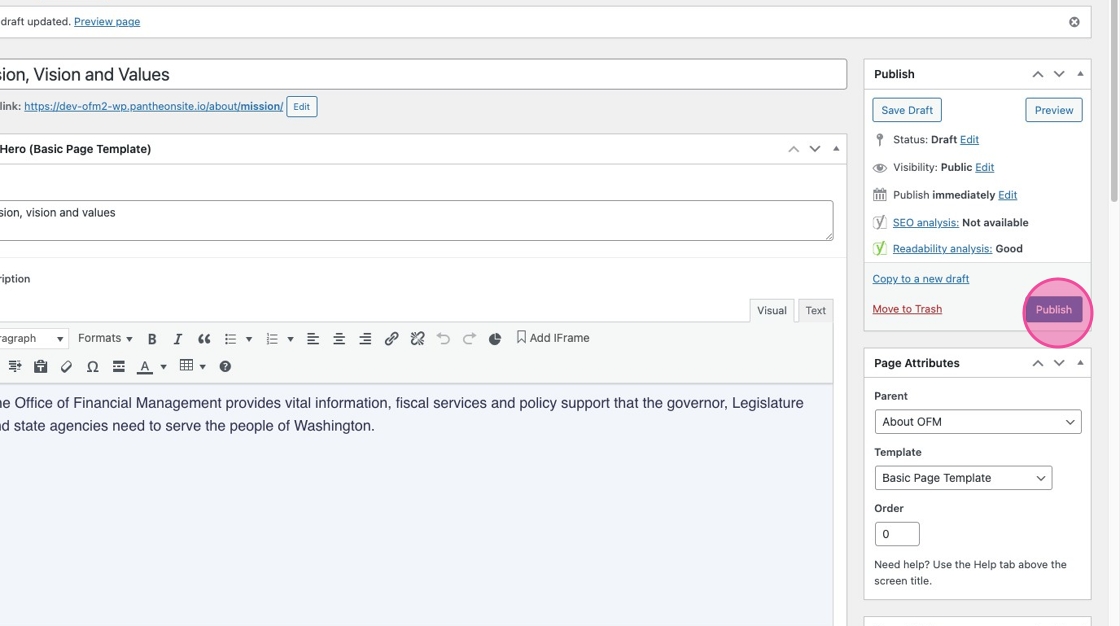
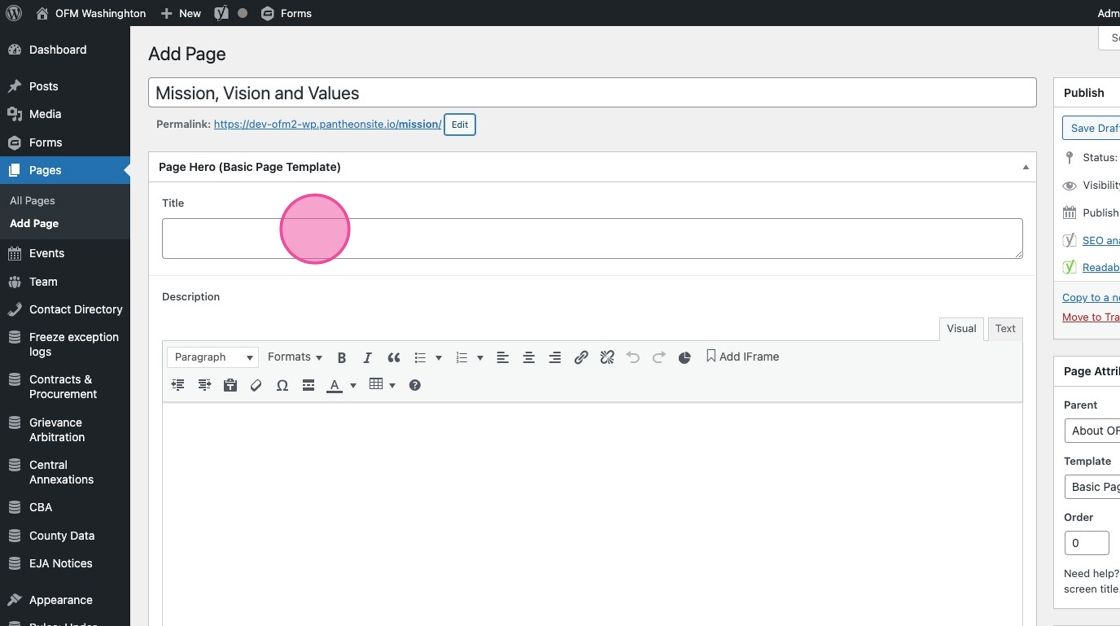
6. Edit the permalink to customize your slug.
The permalink slug automatically defaults to your full page title — but shorter is better. Edit your slug to remove extraneous words like “and” and “for,” then condense even more where possible.
For example, edit “mission-vision-and-values” to simply “mission”
7. In the Page Hero section, add the title you want to display on the page.
This automatically defaults to an H1
8. You also have the option of adding in a short introductory description and/or hero image.
Both of these fields are optional — you can skip them if the content on your page doesn’t require it.
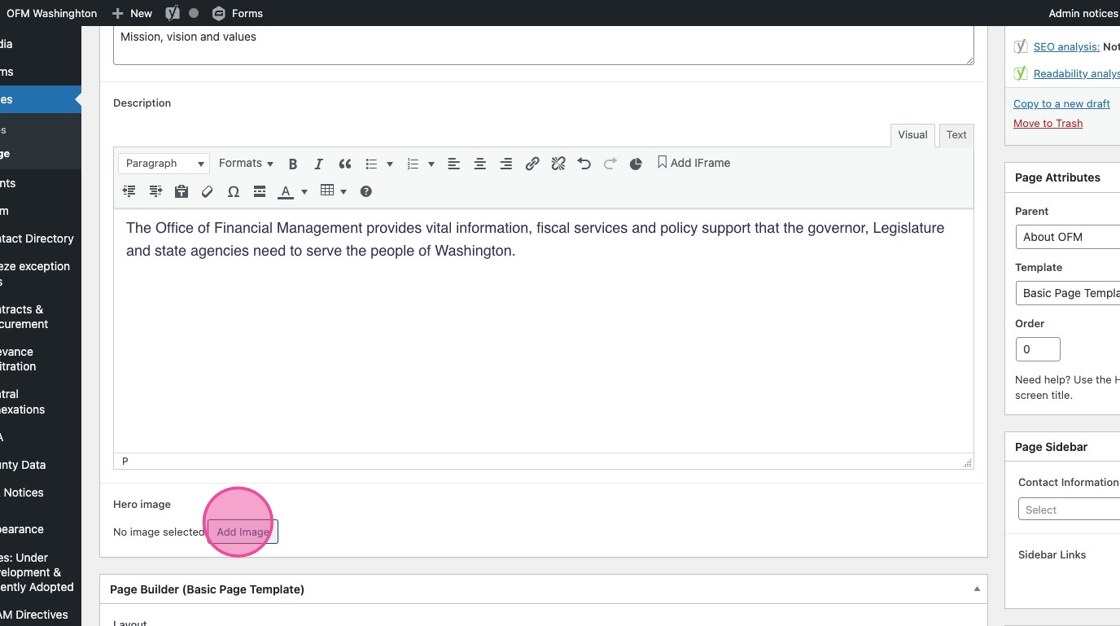
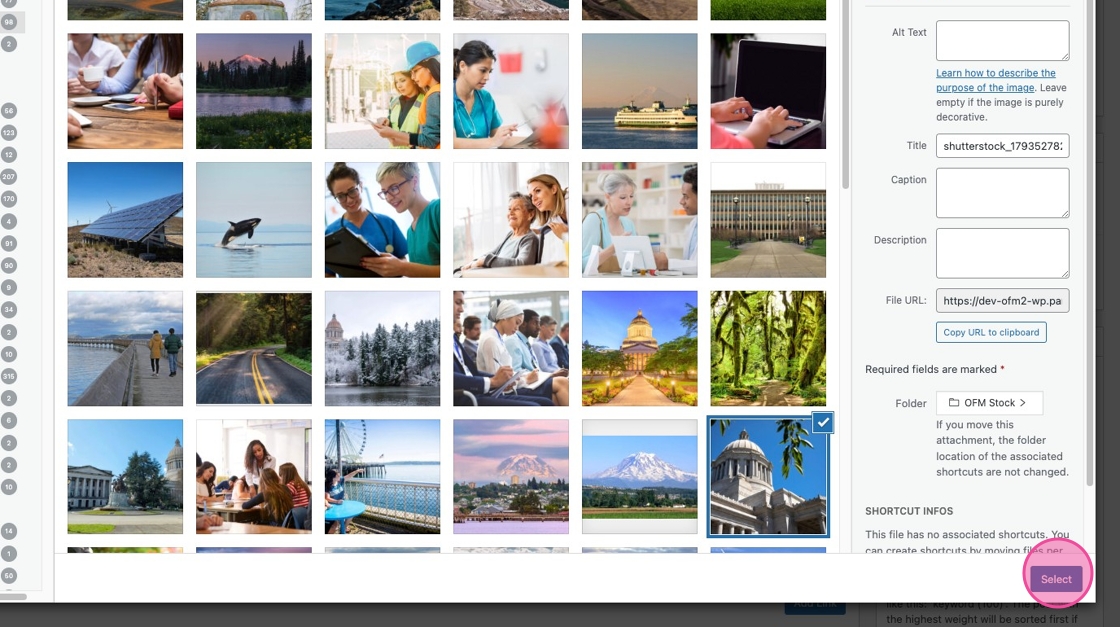
9. If you decide to include a Hero image on you page, the Media Library will automatically open.
You can either navigation to the OFM Stock folder to browse available options, or upload your own image to one of your Division’s folders.
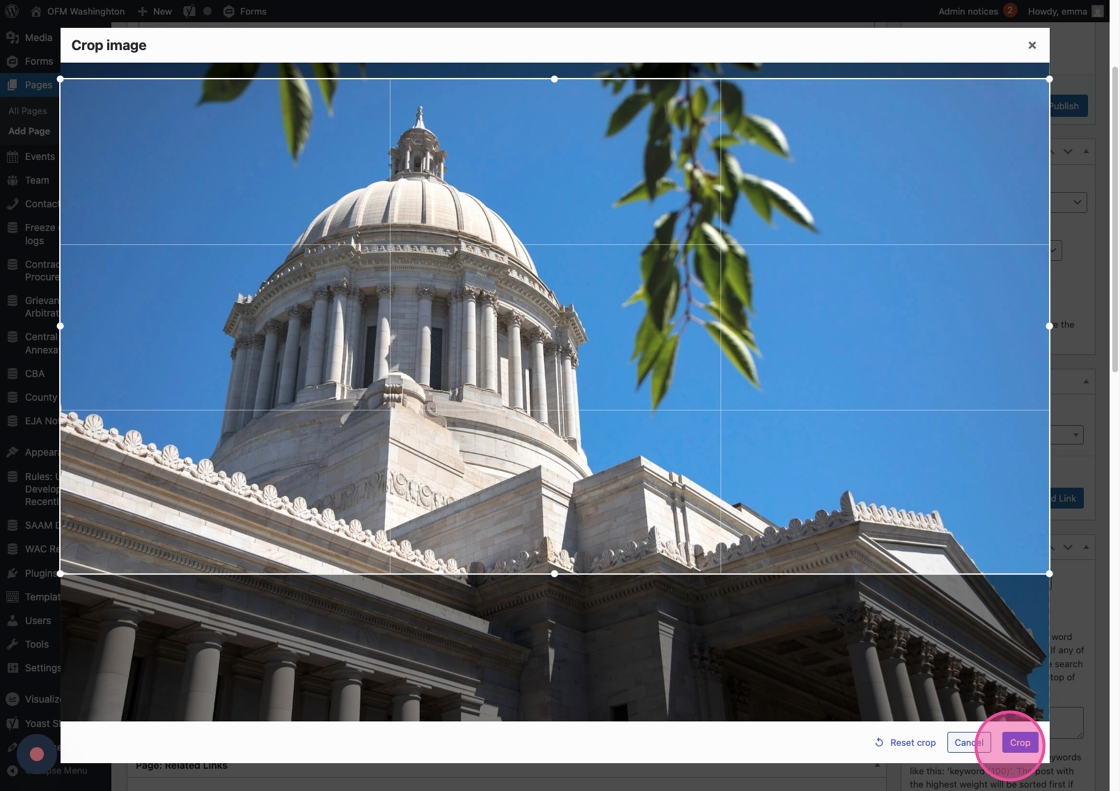
10. You may be prompted to crop the image.
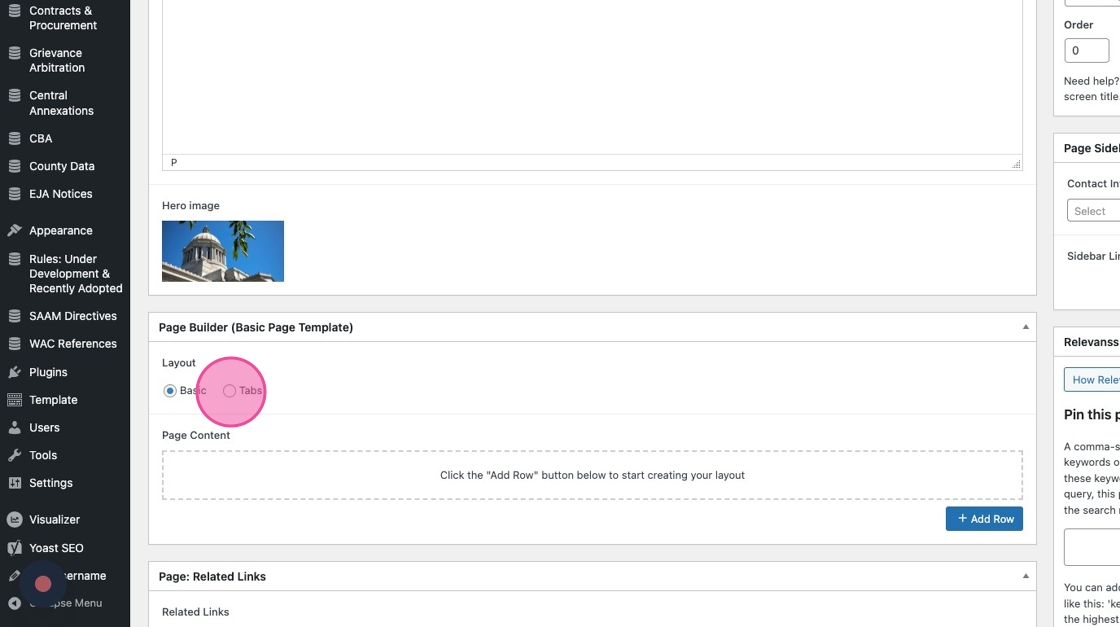
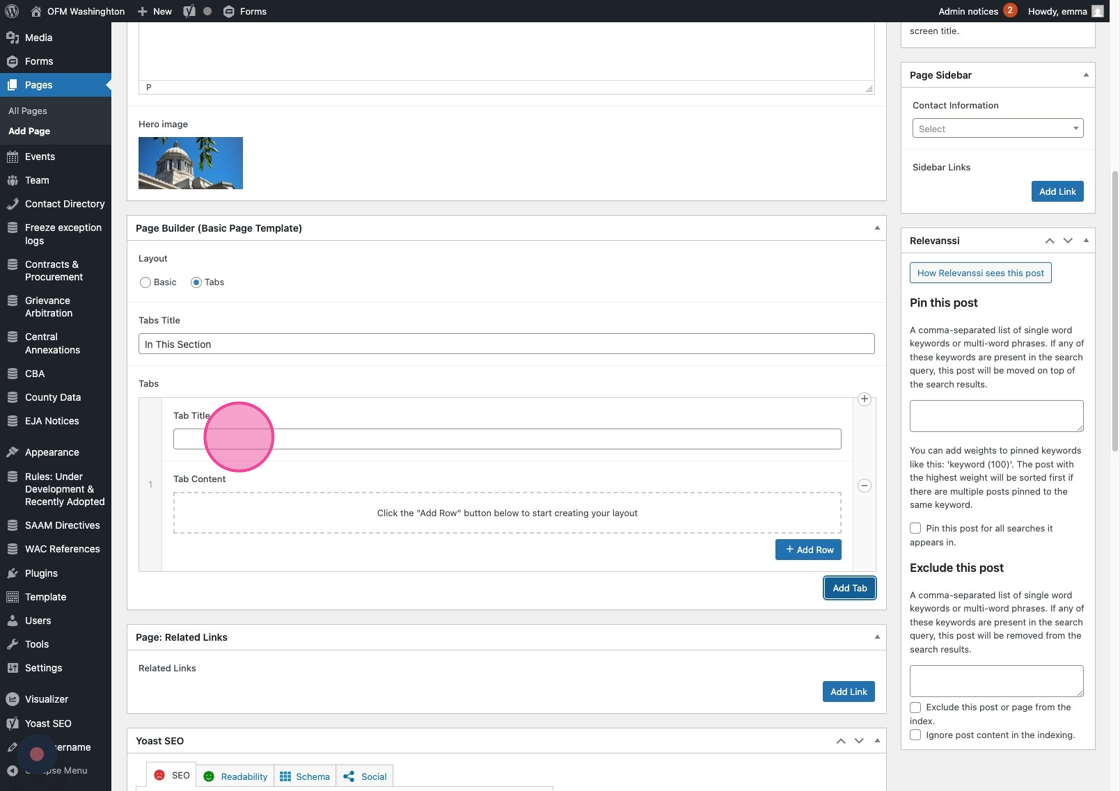
11. Click the Tabs radio dial to start using the “In This Section” template
12. Click “Add Tab” to add a new tab.
You can add multiple tabs to a page — but we recommend no more than 8-10.
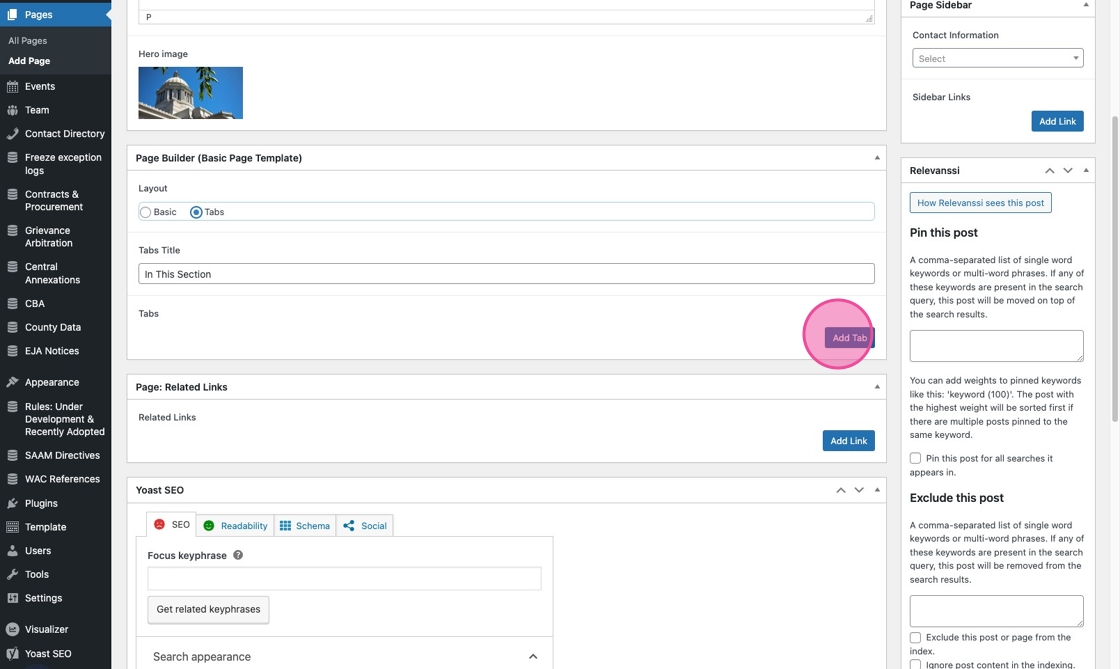
13. Label each tab by filling in the Tab Title field
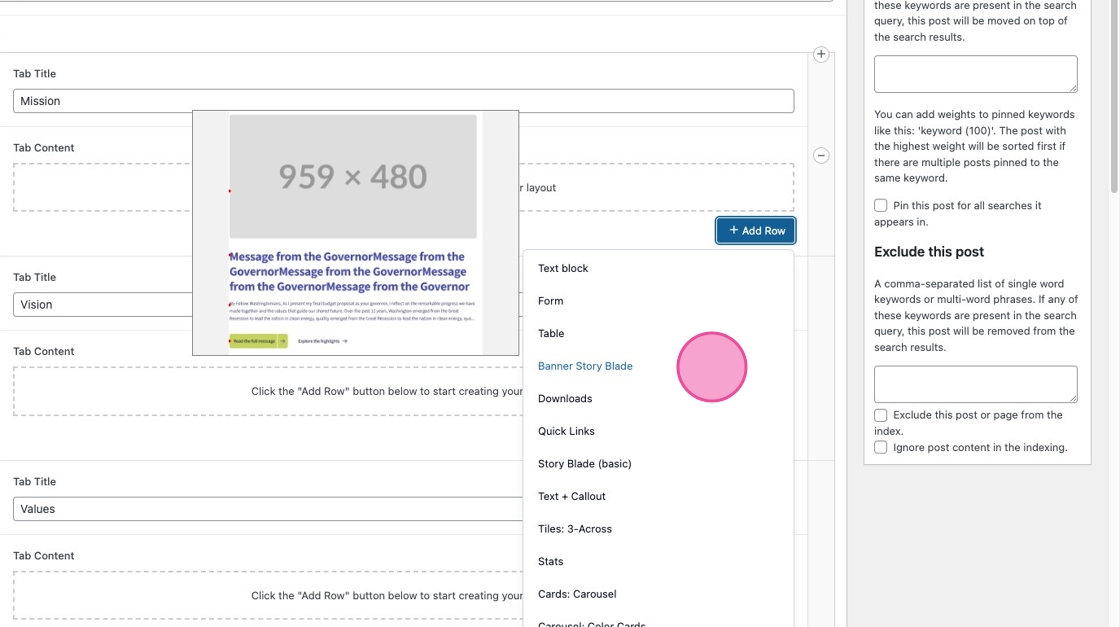
14. Click “Add Row” to start adding content modules and build out the content for each Tab on your page. When you add a module to your page, it will open the fields you will customize with your content.
A lot of the time, you’ll be using the Text block — but you have a bunch of modules to experiment with over time. Check out the Module Library.
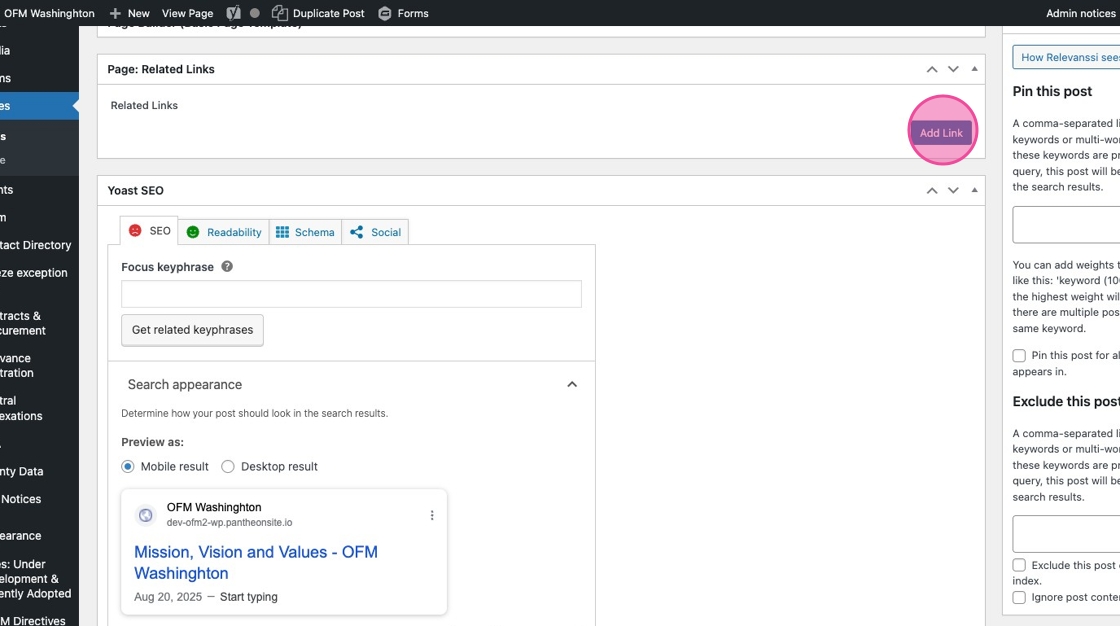
15. Click “Add Link” in the Related Links section to start building out your related links.
You will be able to add as many as you need for your page.
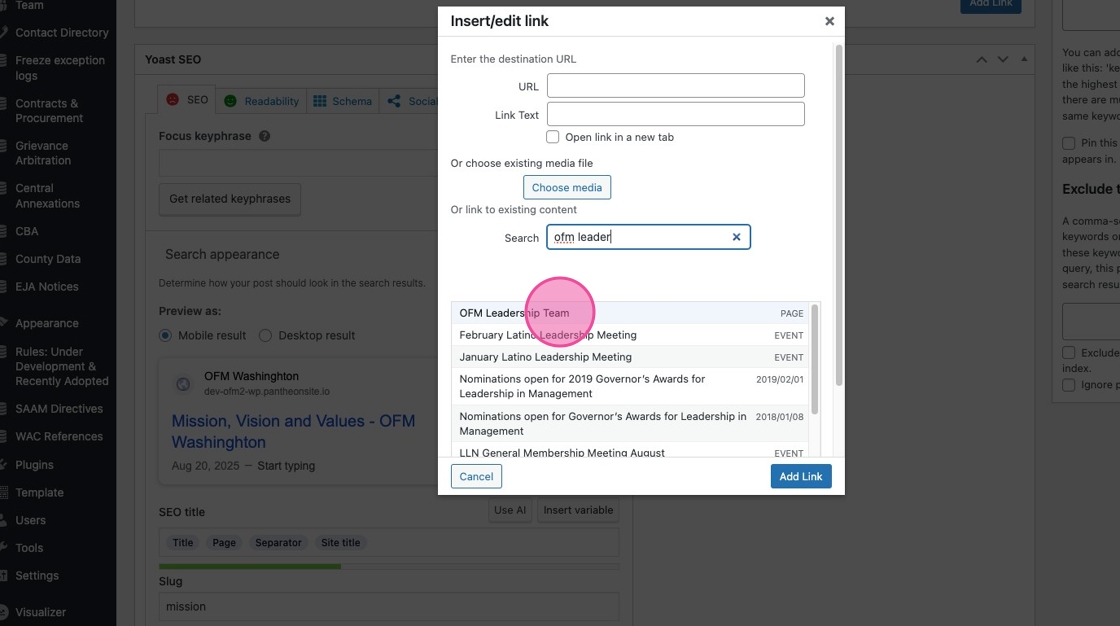
16. Click “Select Link”
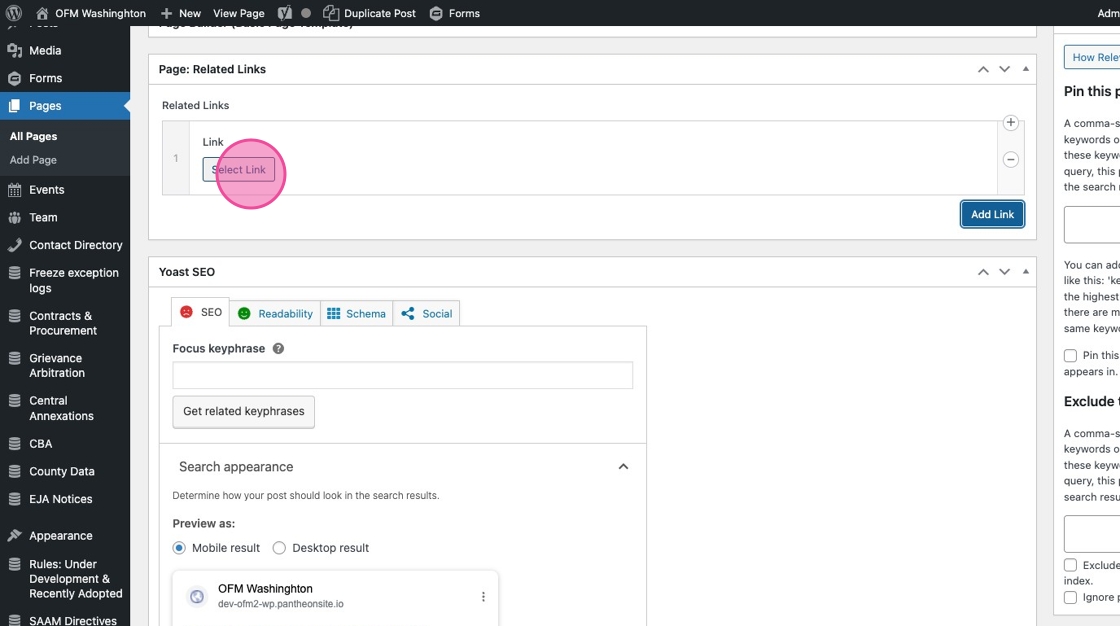
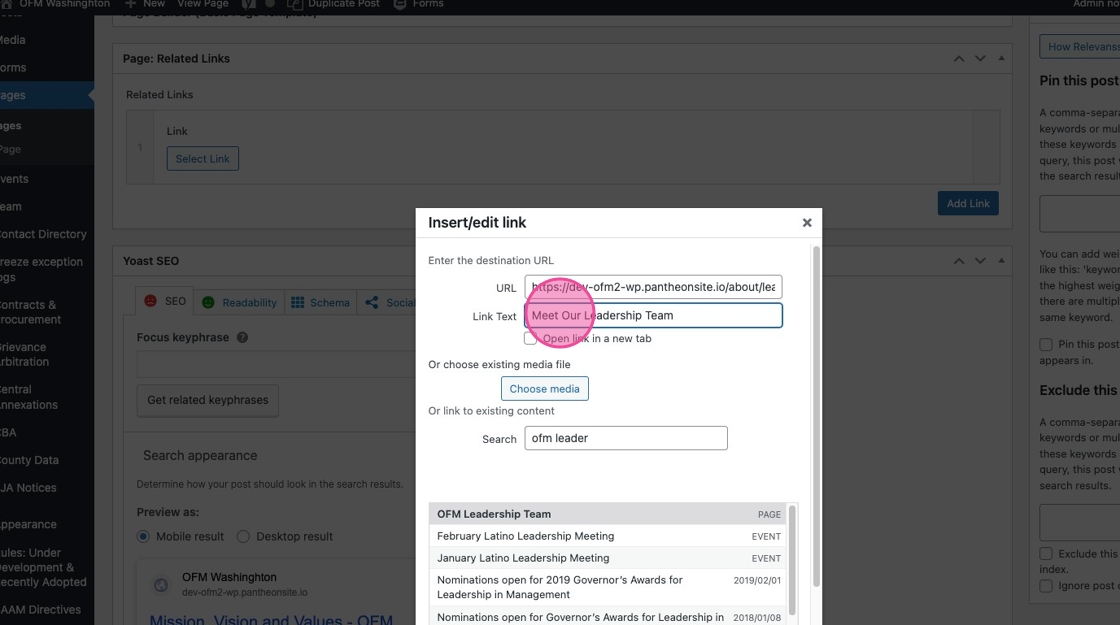
17. If your linking to another page on ofm.wa.gov you can either paste the full link directly into the URL field, or use the Search field to look up a page by its page title.
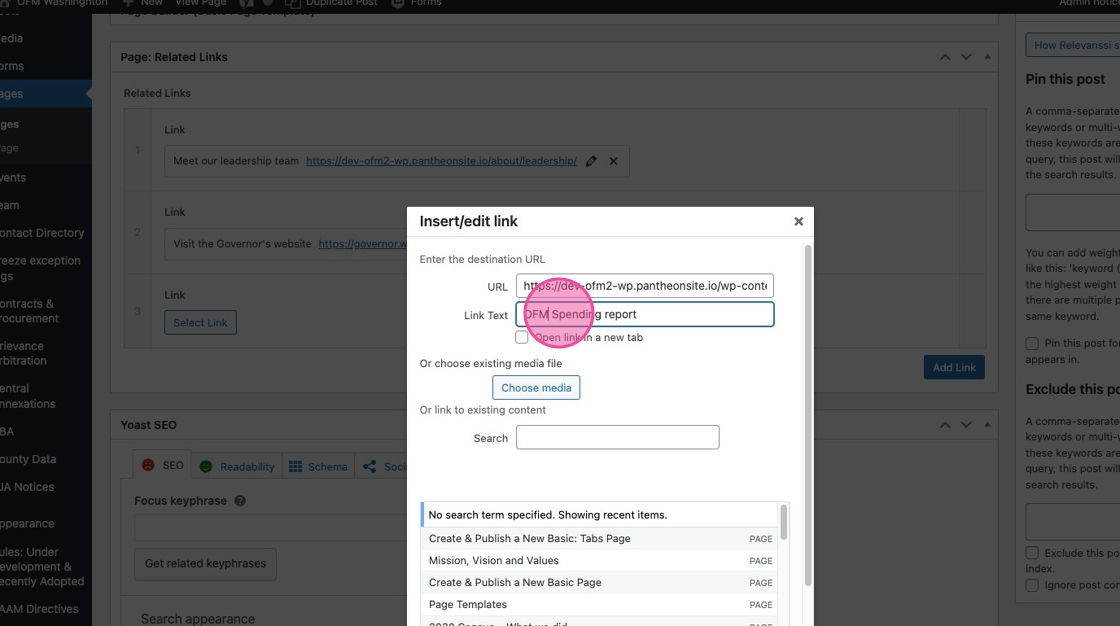
18. Customize the Link Text field with what you want your Related Link to say
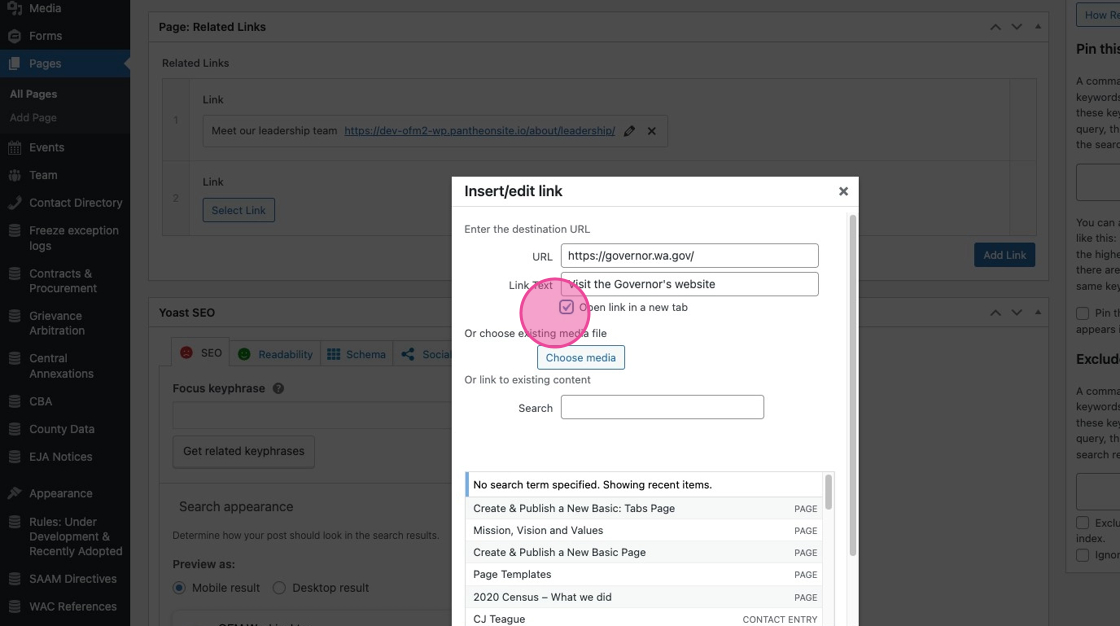
19. If you are linking to a page that is on a different website, input the URL in the URL field and customize your Link Text.
Then check the box next to “Open link in a new tab.”
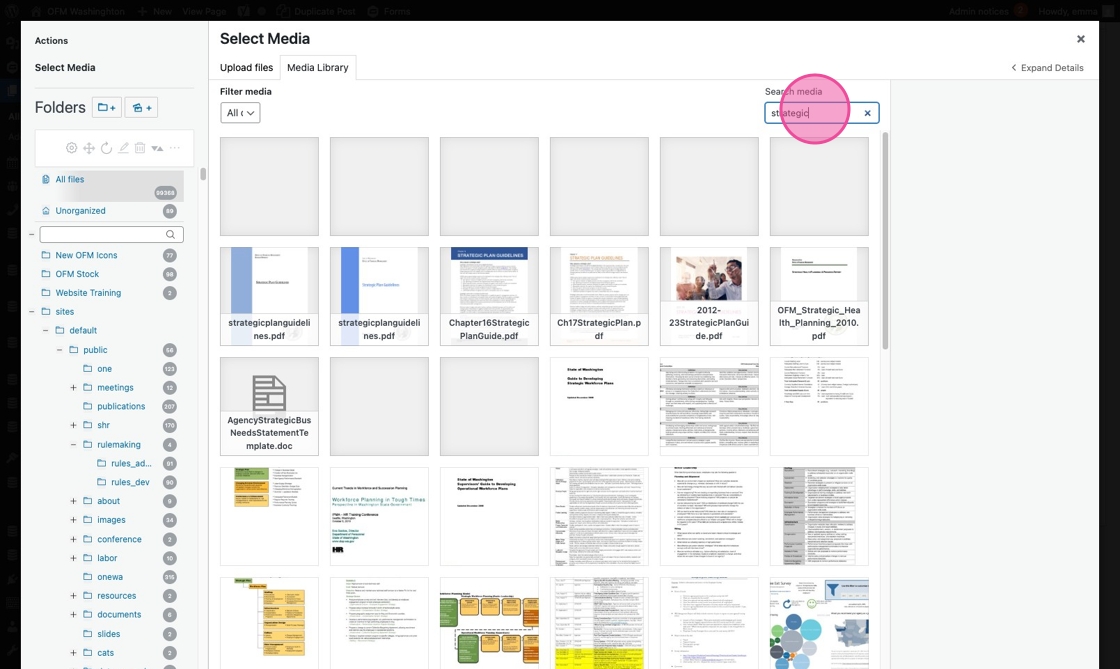
20. If you are linking to a file, click “Choose media”
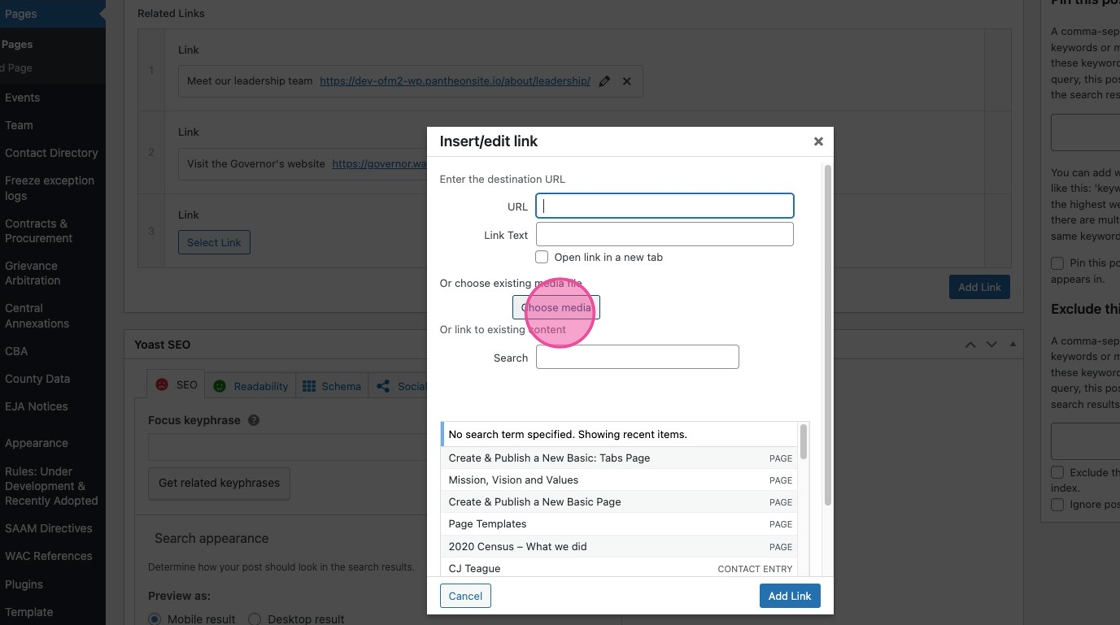
21. This will automatically open the Media Library. You can either search for your file in the search box, or use the file folders in the left menu to locate your file.
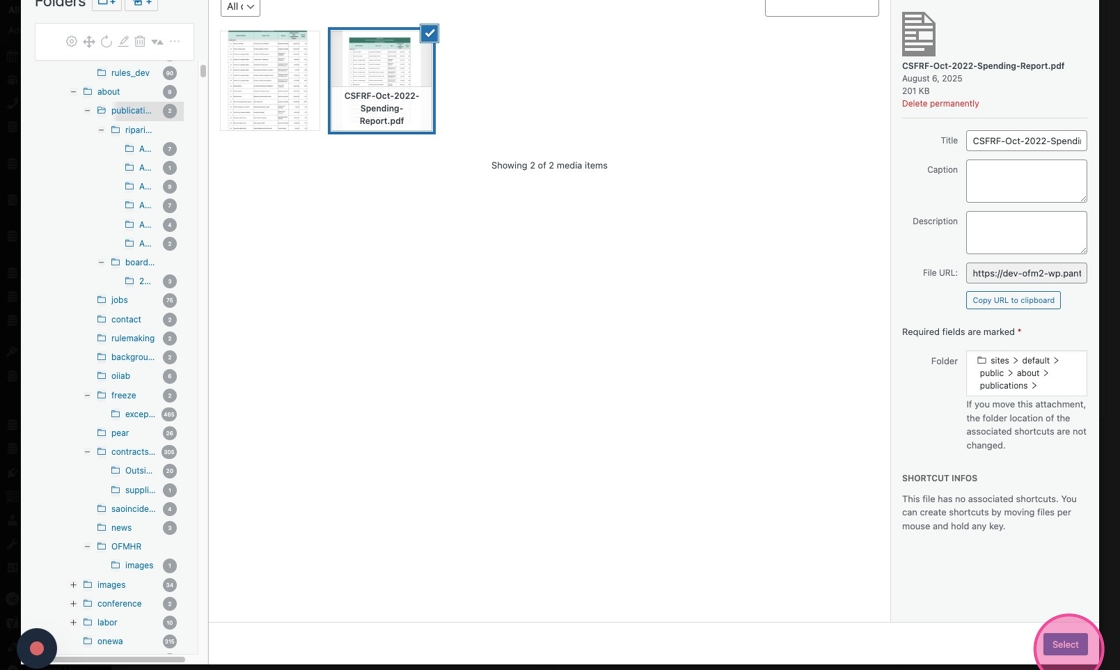
22. Click “Select” to create a link to your file.
23. Customize the “Link Text” field.
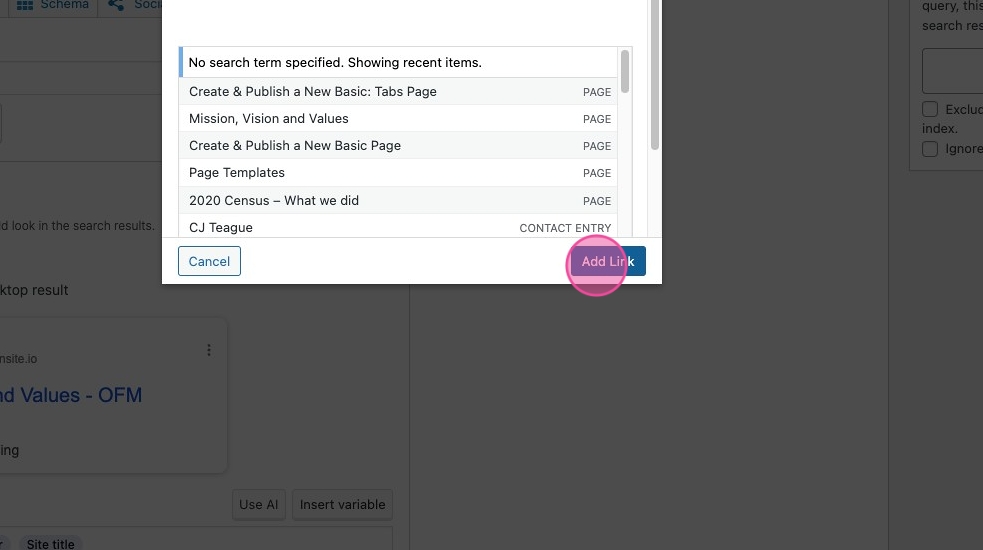
24. Click “Add Link”
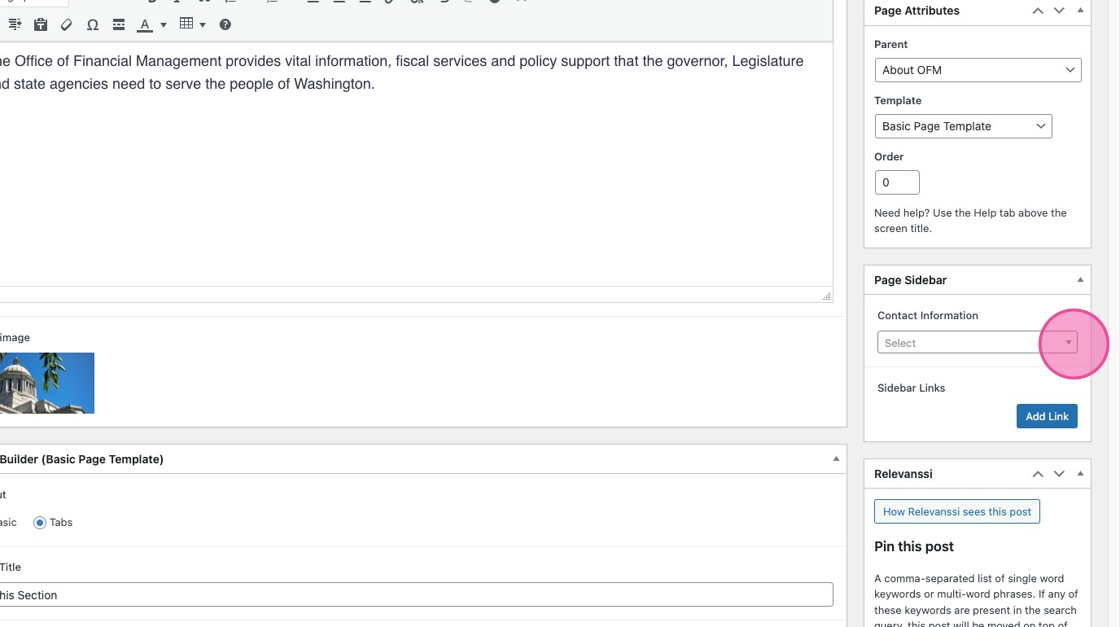
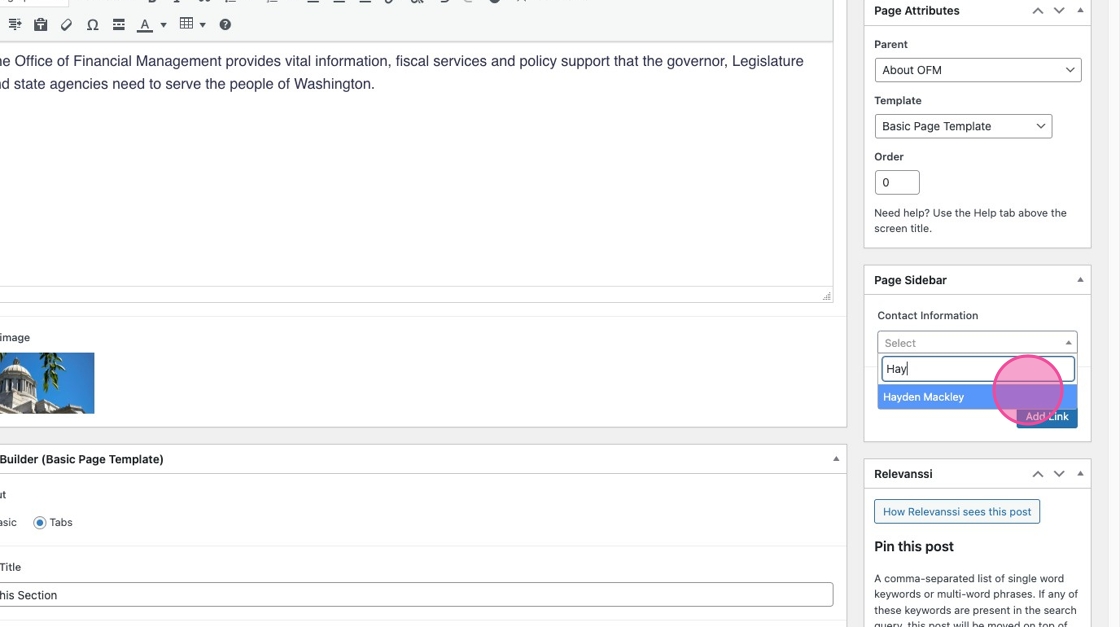
25. You have the option to add a contact card from the Contact Directory. It is not required.
26. If you choose to, you can start typing a name to narrow down the results.
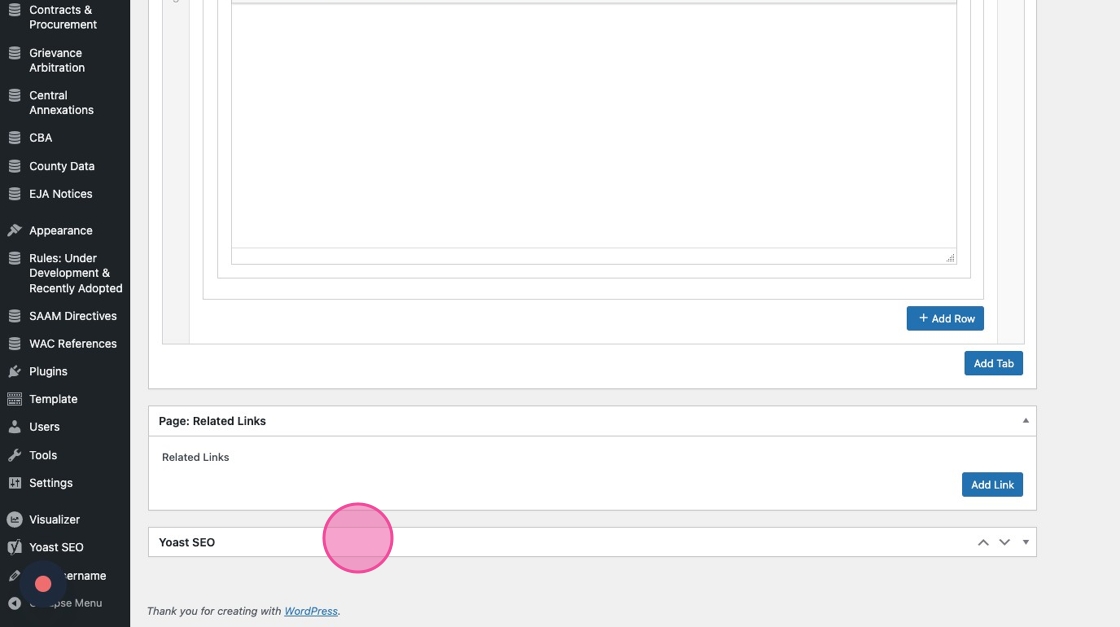
27. Scroll down and click on the Yoast SEO block to customize your page’s meta data.
Meta data will help your page surface in online search algorithms.
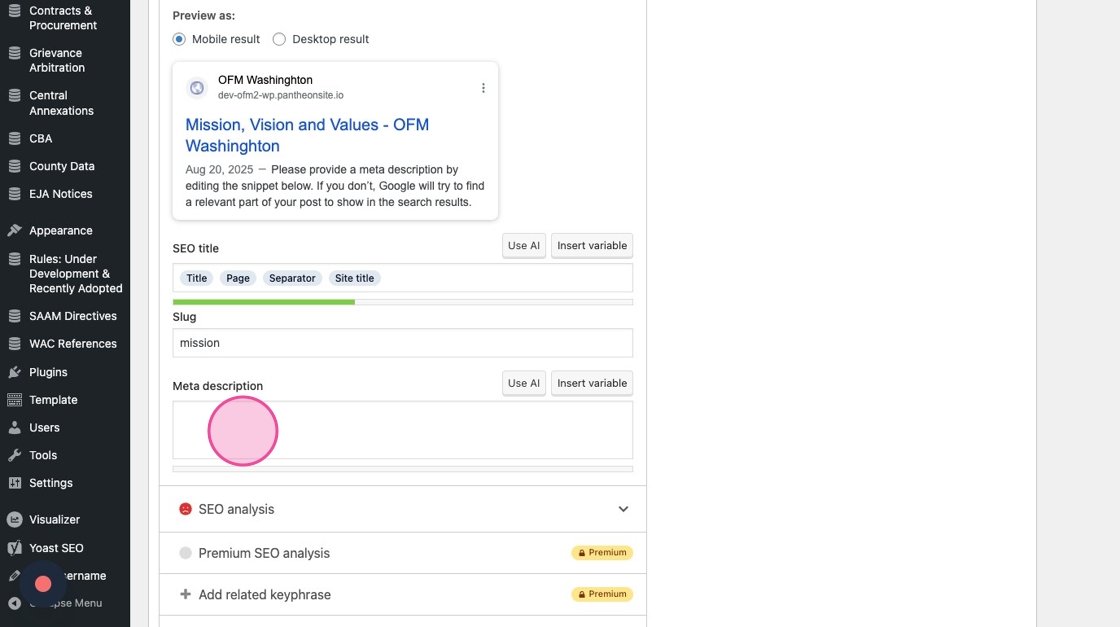
28. The SEO title is be pre-populated with your Page title. You can customize it if you want.
Then add in your page’s meta description.
29. Save as a Draft as you create your page. Click “Preview” to see how it looks.
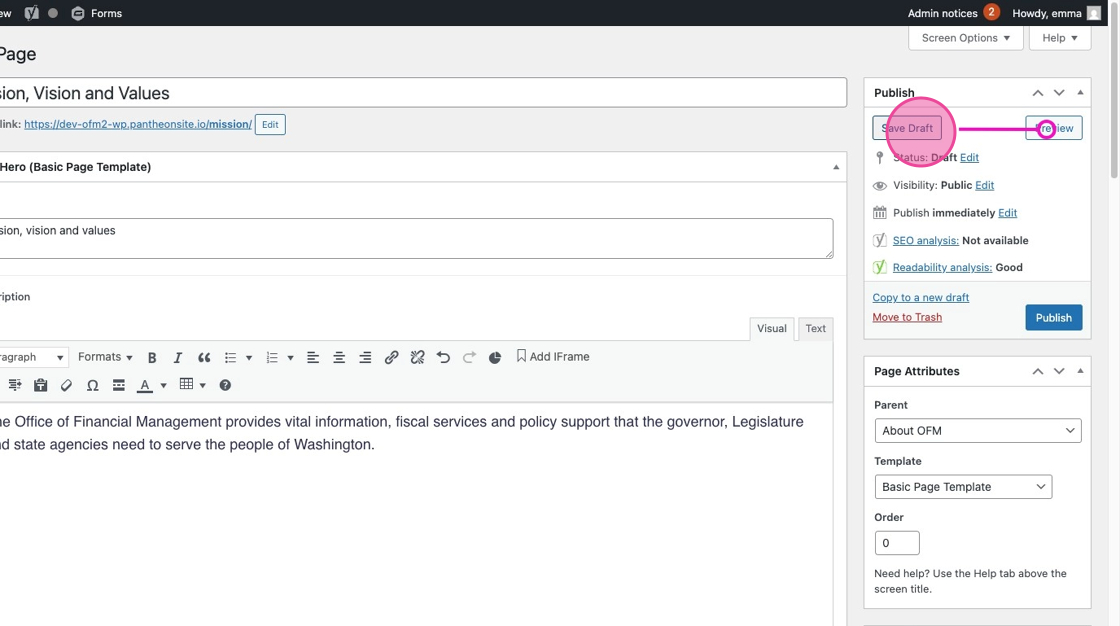
30. Click “Publish” when you’re ready to go live.